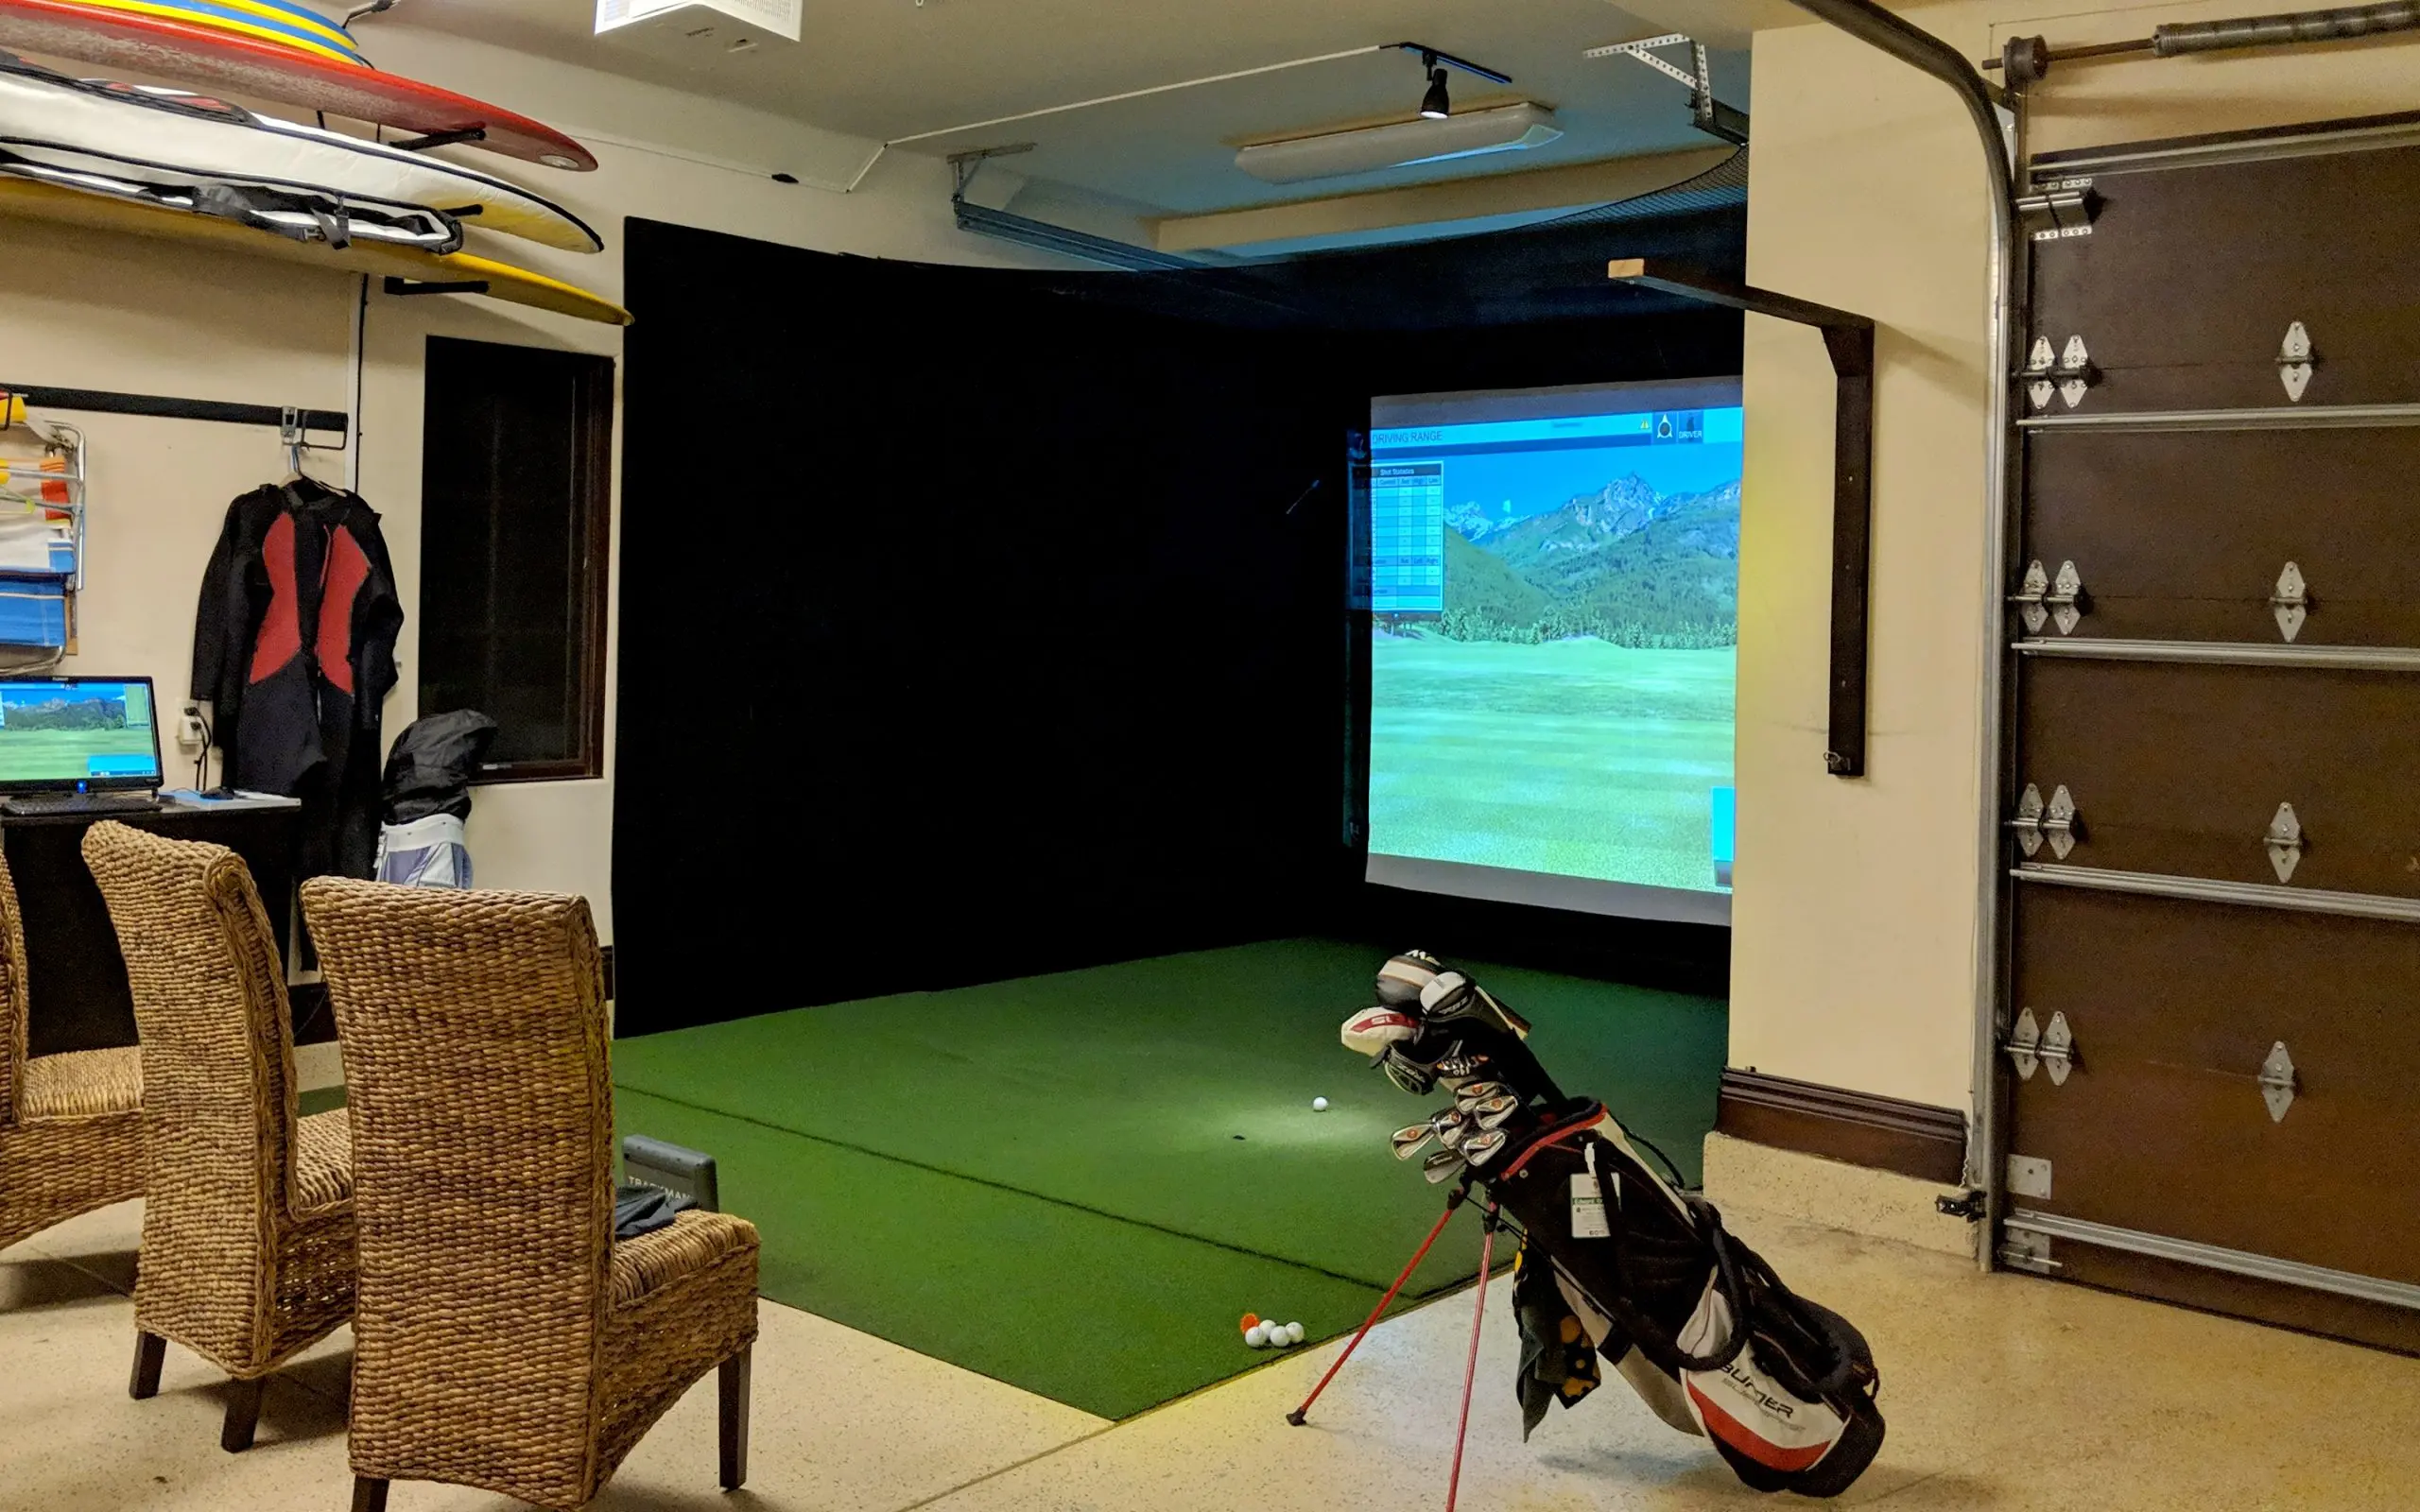
You don’t need a massive basement or a luxury golf room to practice like a pro. Many golfers believe that setting up an indoor practice area requires a huge budget and a dedicated space, but that’s far from true. If your garage is sitting unused or doubling as storage, you’re already halfway there. With a little planning, creativity, and smart equipment choices, you can transform your garage into a year-round golf practice zone that fits your budget and your lifestyle.
Let’s walk through exactly how to build a compact, cost-effective setup that delivers real results.
Why a Garage Is the Perfect Spot for Your DIY Setup
Year-Round Access and Weather Protection
Your garage provides the ideal indoor space for golf practice because it shields you from rain, heat, or snow. You can practice anytime—early morning or late at night—without worrying about weather conditions or limited daylight. The ability to train consistently, regardless of season, is what leads to noticeable skill improvement over time.
Space Efficiency
Unlike a full-size golf room, your garage doesn’t need a complete redesign. Even a single-car garage can accommodate a practice area if planned correctly. Most setups only require about 10 feet of height, 10 feet of width, and 12–15 feet of depth—dimensions that fit comfortably in many standard garages.
Step 1: Measure and Plan Your Space
Before buying anything, take precise measurements. You’ll need enough room to swing your longest club comfortably. Remember to check ceiling height—drivers and fairway woods require more clearance than irons or wedges.
Sketch a quick floor plan and identify where your hitting area, screen or net, and projector (if using one) will go. Planning ahead helps prevent wasted money on oversized equipment that won’t fit properly in your available space.
Step 2: Choose Your Hitting Area and Turf
Use a Durable Hitting Mat
A high-quality mat is the foundation of your simulator setup. Choose one that mimics real turf feel and minimizes strain on your wrists and joints. Durable mats also protect your floor from repeated impact, especially on concrete surfaces.
Add a Launch Zone or Hitting Strip
If your budget is tight, consider a smaller hitting strip instead of a full-size mat. You can embed it into a custom-built platform using plywood and foam padding. This not only saves money but also helps you maintain proper stance and balance.
Step 3: Set Up Your Screen or Net
Impact Screen Setup
If you plan to project visuals, use a heavy-duty impact screen designed to absorb ball speed. Mount it on a simple PVC or steel frame. Ensure the screen is at least 12–16 inches from the wall to allow impact cushioning and prevent damage.
Net Setup
For simpler builds, a collapsible hitting net works perfectly. It’s portable, easy to store, and great for smaller garages. Pair it with a hitting mat, and you can start practicing immediately.
Bonus tip: Place foam padding or netting behind the main net for extra safety and reduced noise.
Step 4: Lighting and Safety Considerations
Proper Lighting
Good lighting improves visibility, especially if you’re using tracking sensors. Use adjustable LED ceiling lights or portable lamps to illuminate your hitting area evenly. Avoid direct glare toward the impact screen or projector zone.
Safety First
Always double-check your swing clearance. Keep fragile items, cars, or tools out of range. For added protection, install foam padding on nearby walls or ceiling edges to absorb any accidental deflections.
Step 5: Add the Tech – Launch Monitors and Sensors
Start with a Simple Setup
You don’t need to buy the most expensive gear. Many affordable launch monitors accurately measure swing speed, launch angle, and ball spin. These tools give you instant feedback so you can make data-driven improvements.
Upgrade When Ready
Once your setup is running smoothly, you can explore more advanced golf simulators that project full-course visuals and offer 3D analysis. These systems make practice immersive and fun, allowing you to play virtual rounds on world-class courses without leaving your garage.
Step 6: Optimize for Storage and Flexibility
Garages often serve multiple purposes, so design your setup to be flexible. Use foldable nets, roll-up screens, or retractable curtains that can be stowed away when not in use. Store clubs and accessories on wall-mounted racks to save floor space. This way, you can easily switch between “practice mode” and “garage mode” within minutes.
Step 7: Personalize the Experience
Create a Comfortable Environment
Add a small fan or heater depending on the season. Use rubber flooring or turf tiles to make the space feel more like a mini golf studio. Some golfers even add LED strips, a Bluetooth speaker, or a putting mat to make the area motivating and enjoyable.
Track Your Progress
Keep a small whiteboard or notebook nearby to record swing metrics or goals for each session. Tracking your improvement helps maintain focus and encourages consistent practice.
Step 8: Maintenance and Upkeep
Regularly clean your mat, screen, and sensors to maintain performance. Dust and dirt in a garage can affect accuracy and longevity. Cover your setup when not in use, and check all cables, mounts, and frames periodically for safety and wear.
Final Thoughts: A Golf Space That Works for You
Building a DIY golf setup in your garage doesn’t require professional installation or a huge investment—it just needs smart planning and creativity. With the right setup, you’ll have a practice zone that fits seamlessly into your space and schedule.
You’ll save money, practice consistently, and enjoy your favorite sport year-round—all without leaving home. It’s not about how much room you have; it’s about how effectively you use it to improve your game every single day.
