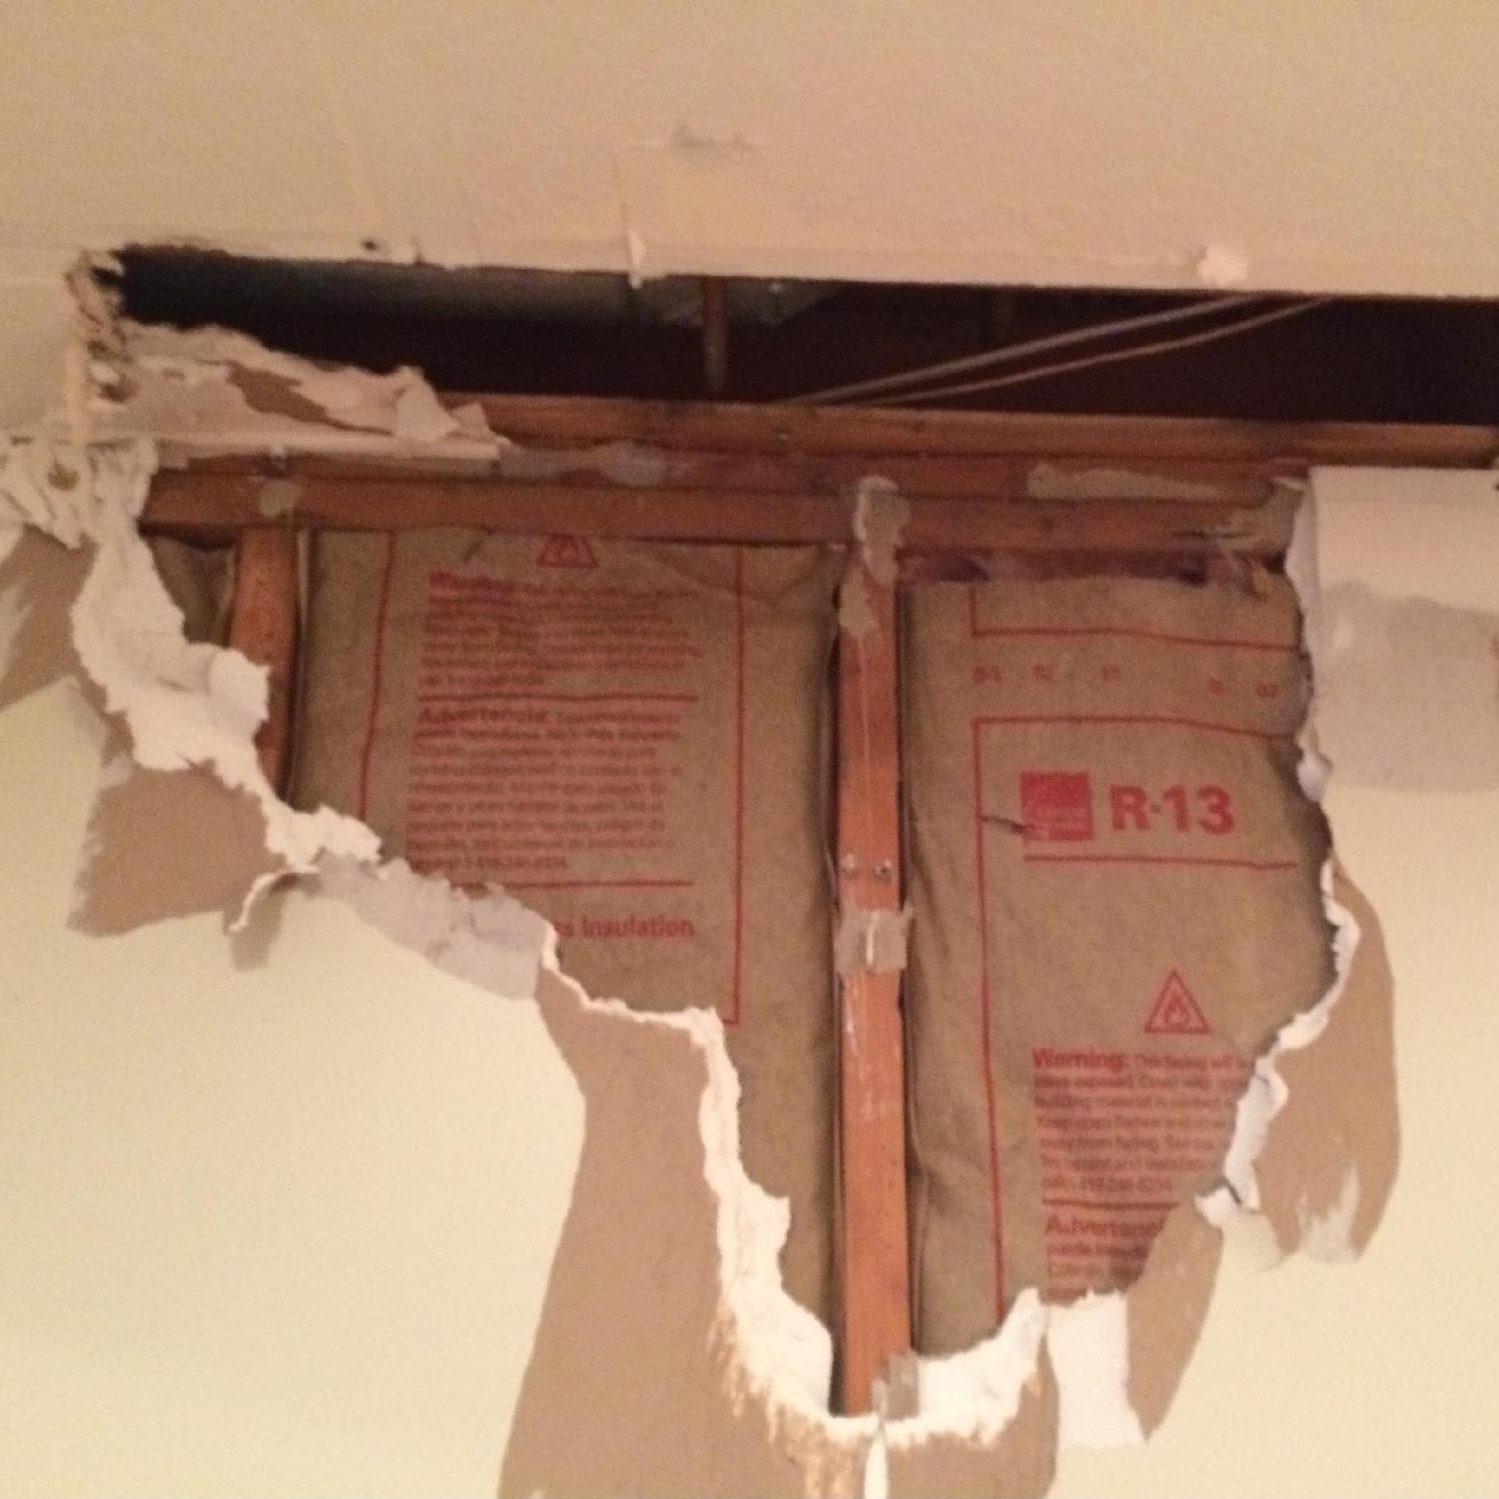
My daughter had a plumbing problem that resulted in a little too much water in their basement. I had my granddaughters stand in front of it and this is their sad look.

Materials Needed:
- Drywall
- Utility Knife
- Measuring Tape
- Pencil
- Straight edge
- Drywall Saw
- Drywall Screw
- Drill and philips bit
- Drywall Tape
- Drywall Mud
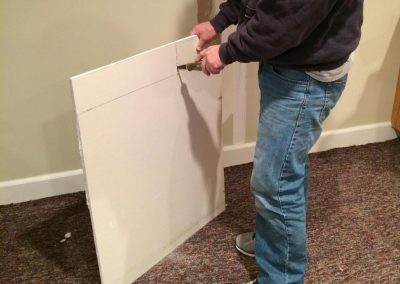
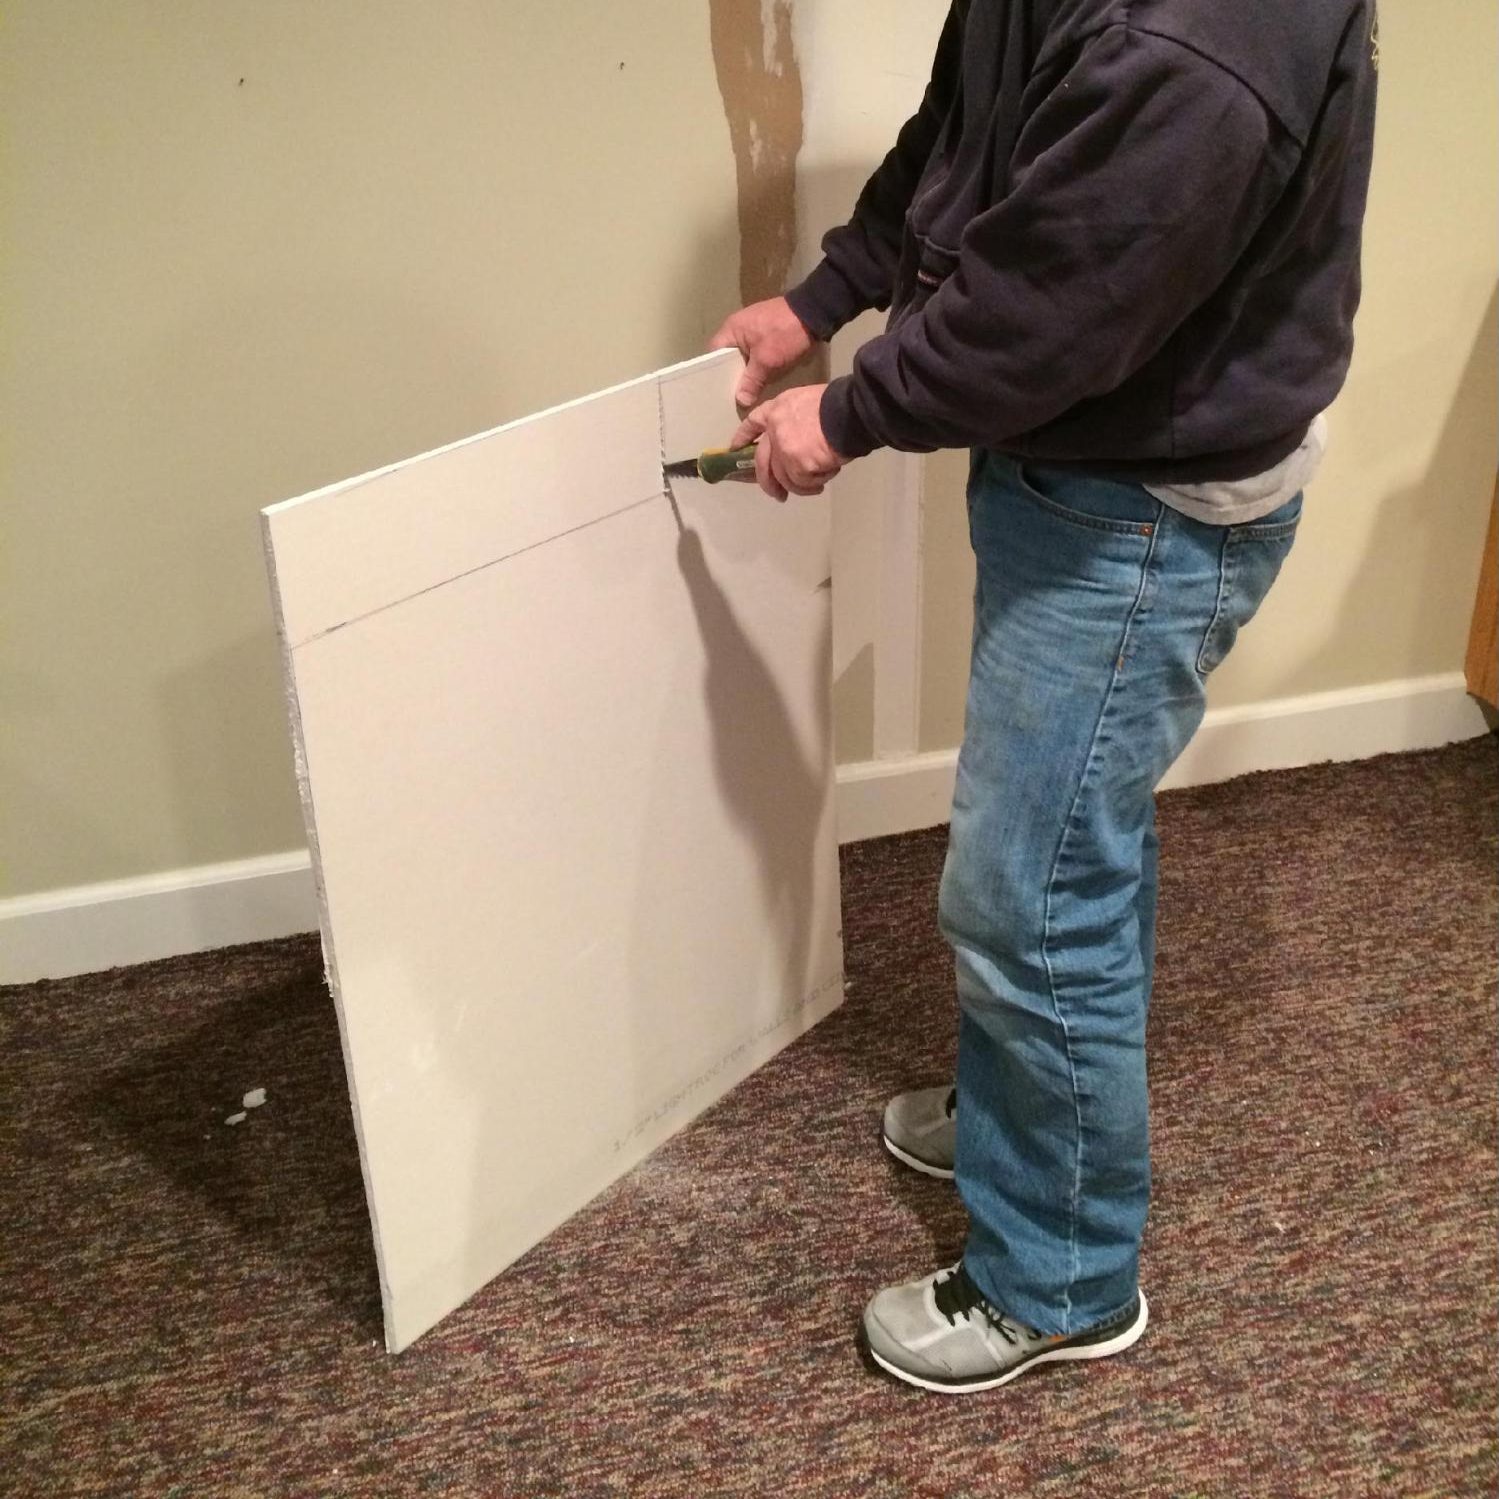
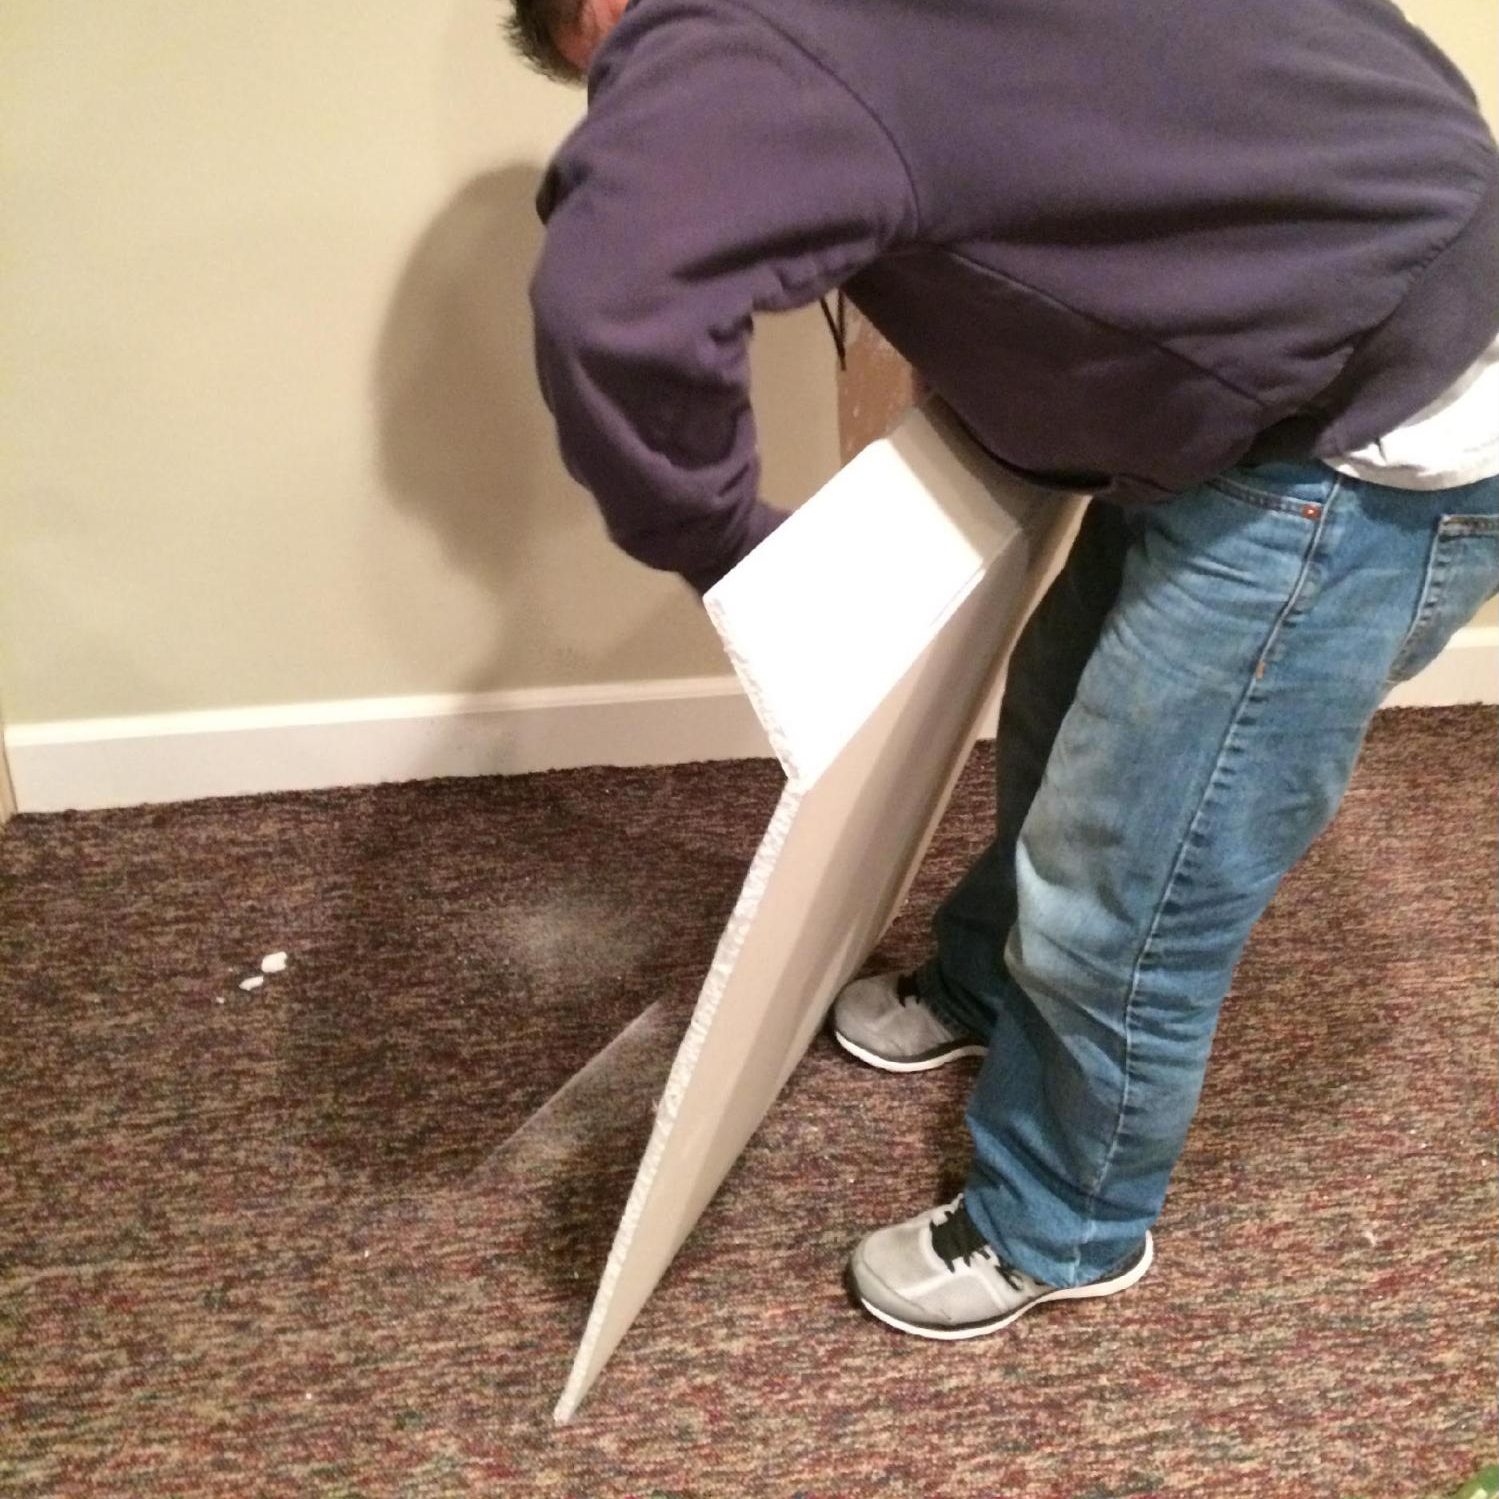
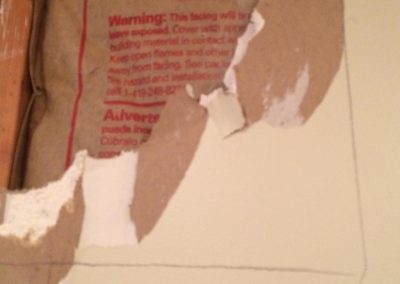
Step 1: Get and Cut Drywall
Get a piece of drywall that is a little bigger than the hole. Measure the drywall and square it up. You can use any wood saw to cut the drywall. You can also use a utility knife and score one side, snap it and finish the cut.
-
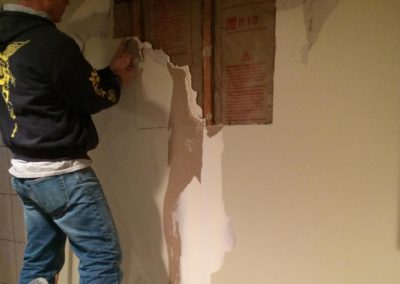
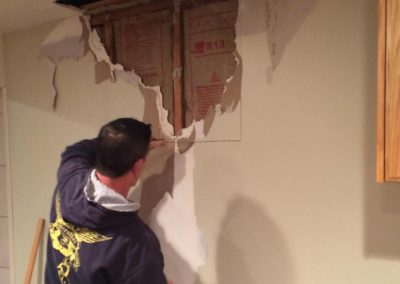
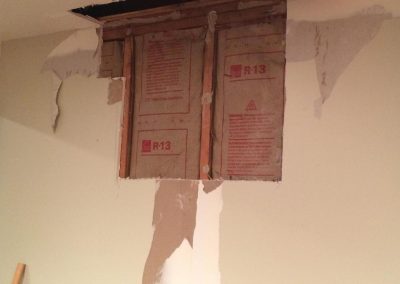
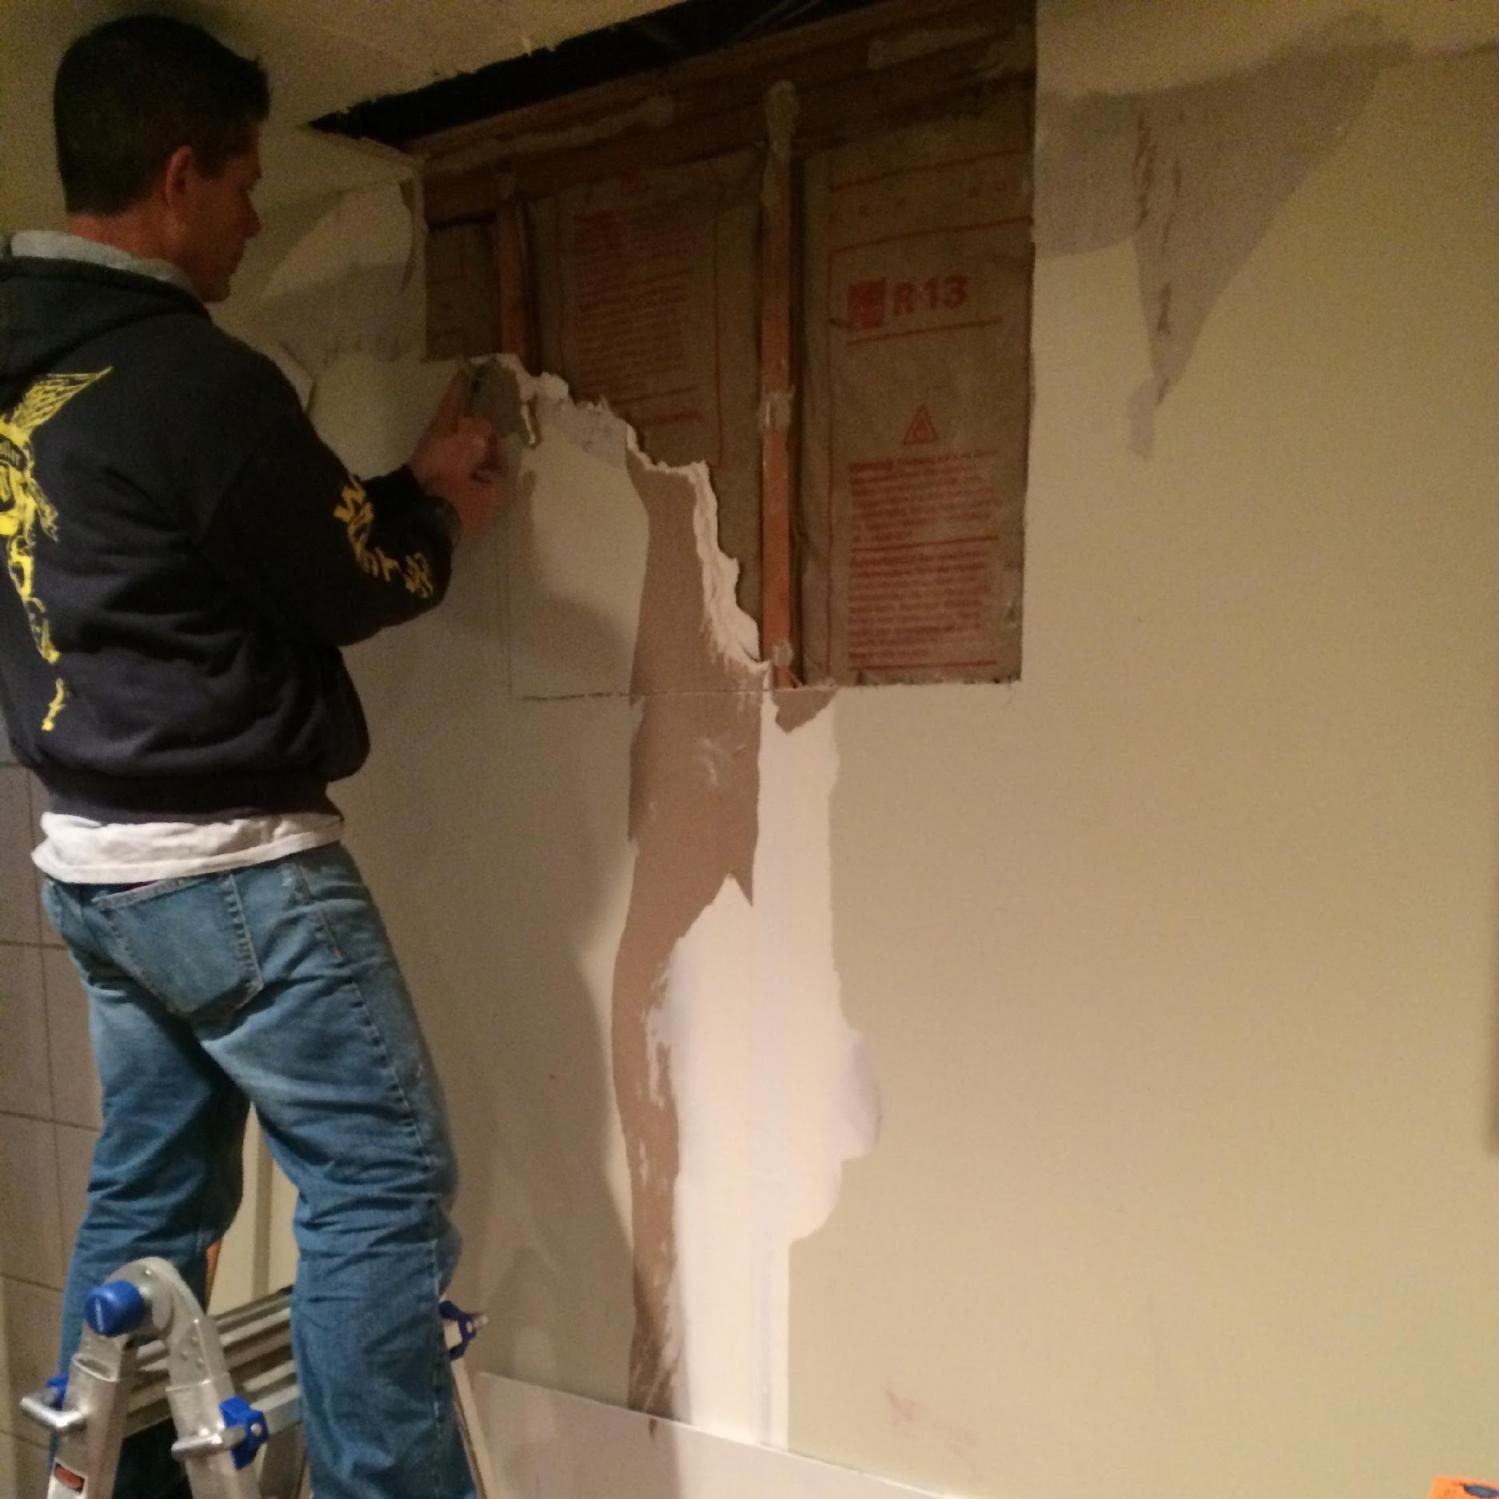
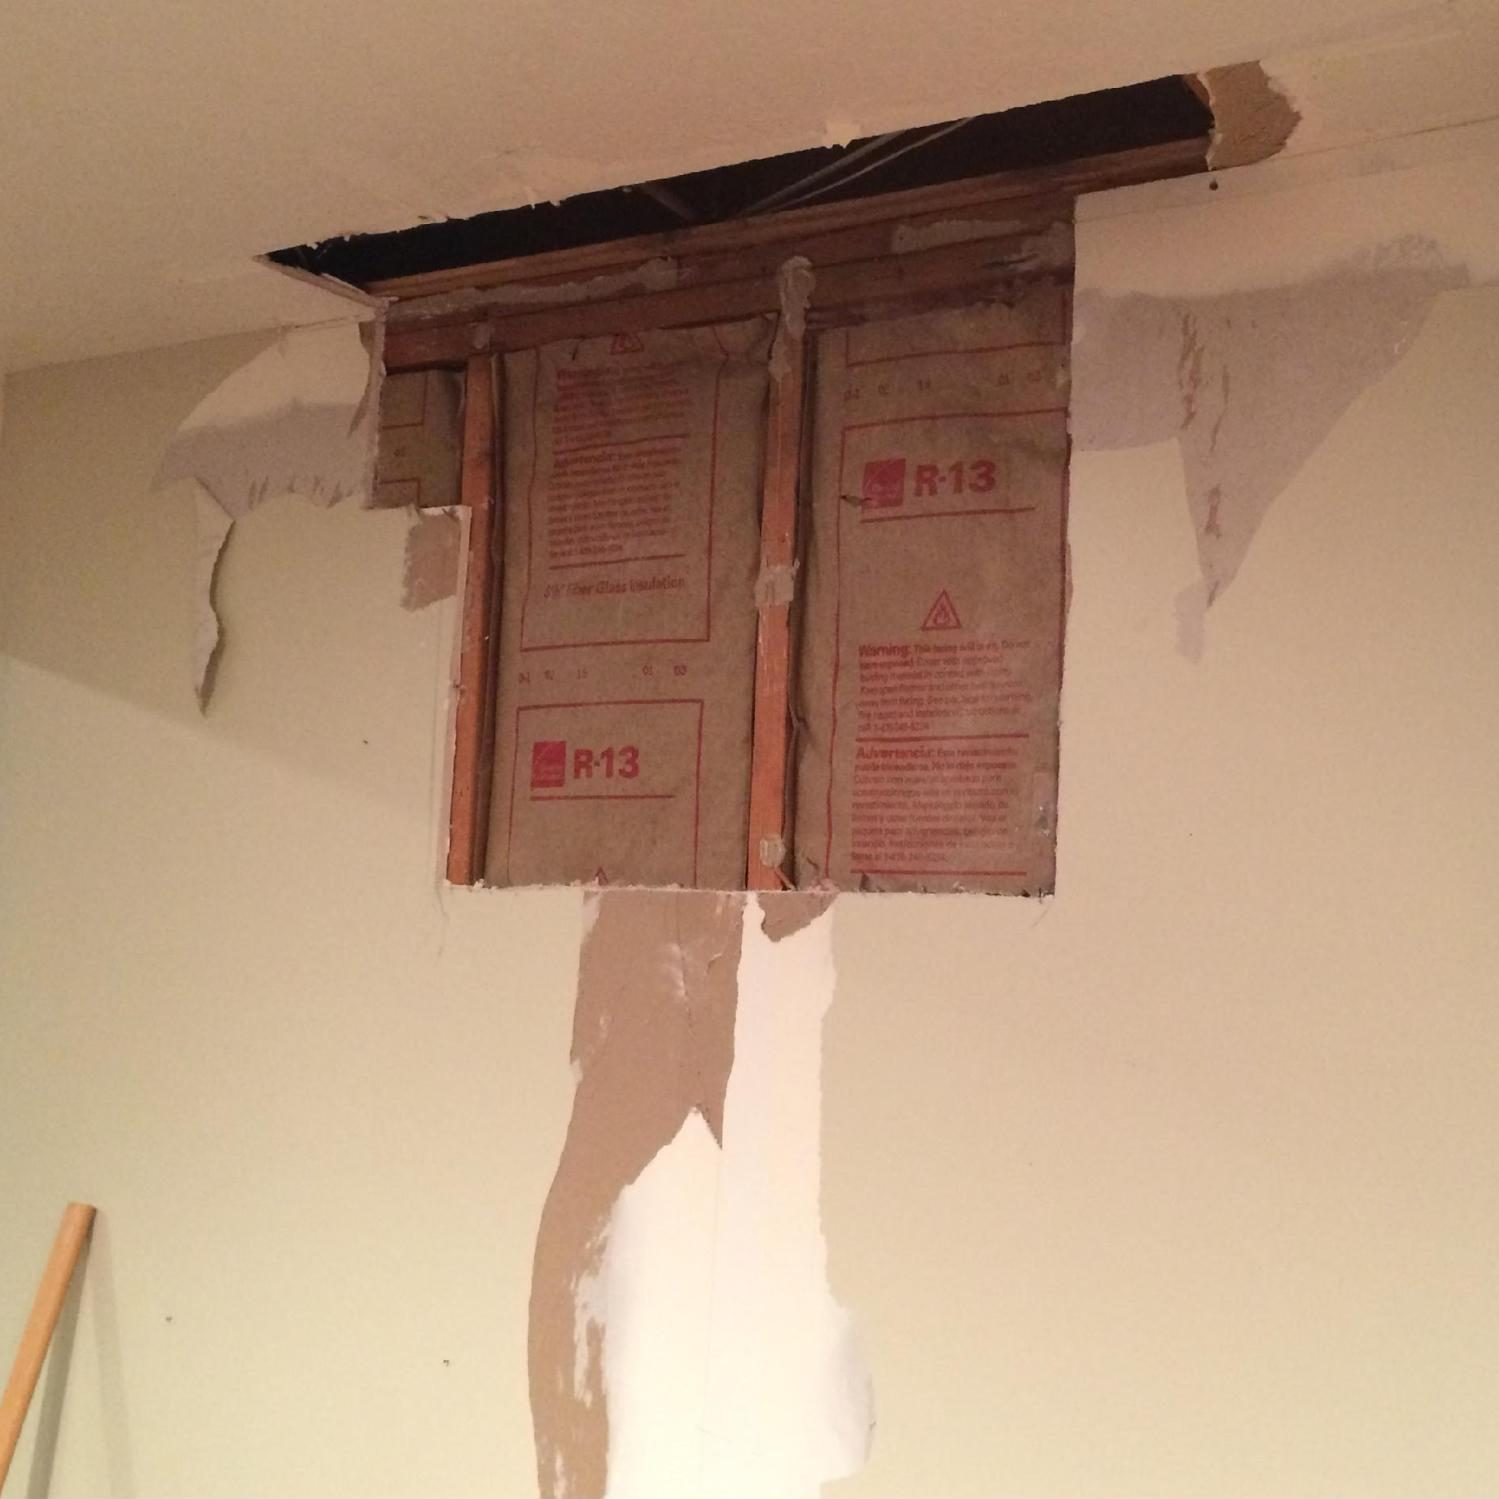
This is the area of Wall needed drywall repair.
-
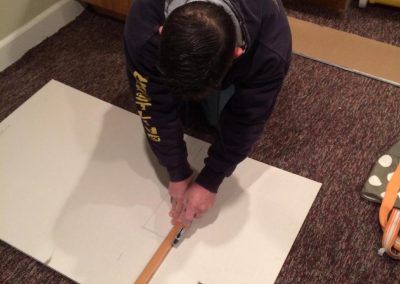
Measure the drywall. It's okay if it's a bit bigger than the hole.
-
Score the front.
-
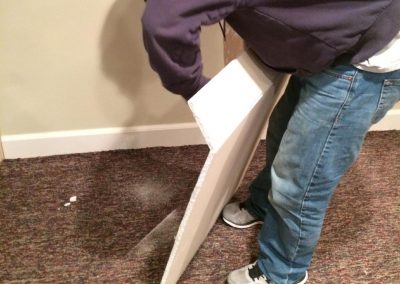
Pop the drywall with your hands and score the back.

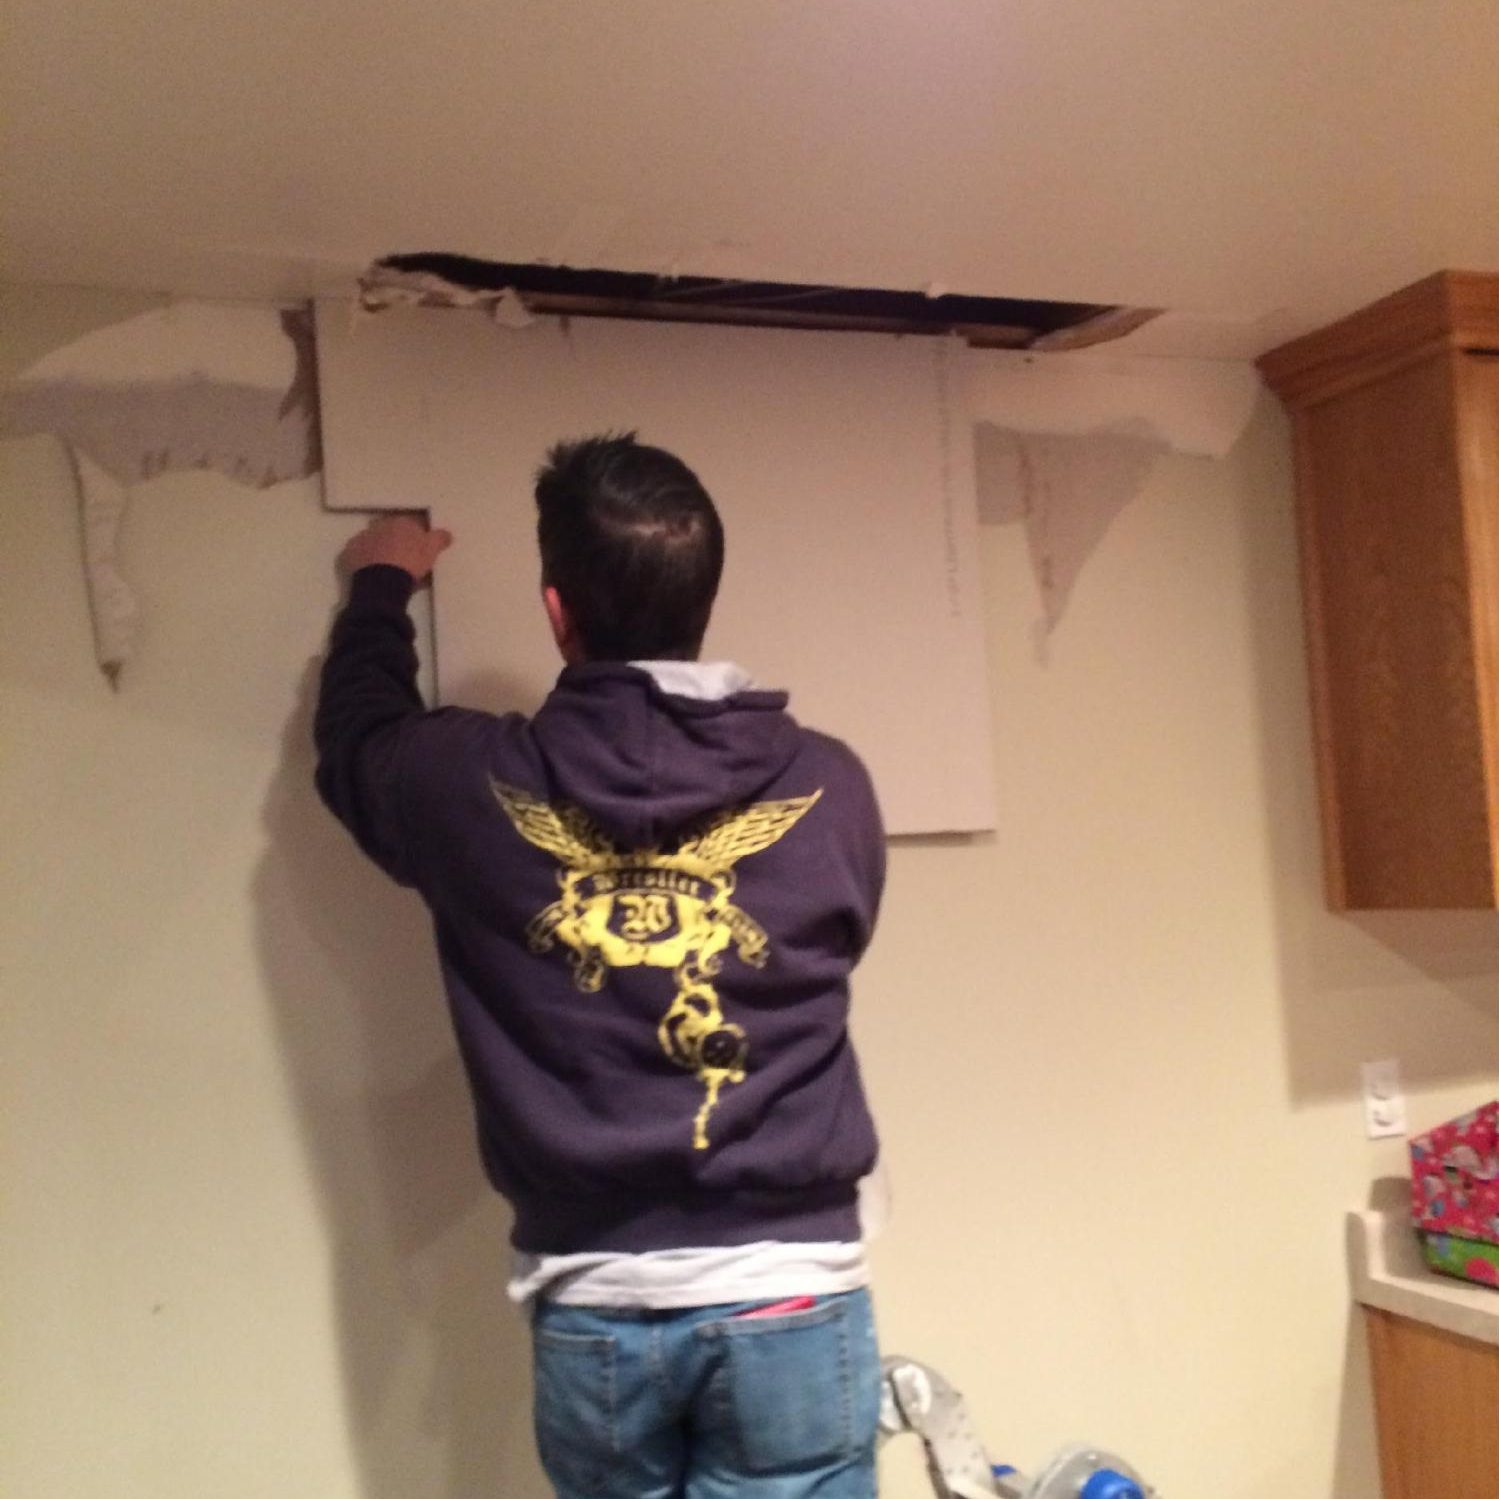
Step 2: Trace over the drywall hole
Take the piece you cut and put it up to the hole. Make sure that the entire hole is covered. Take a pencil and sketch around the cut piece.
-
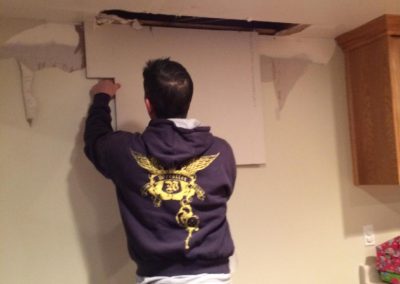
Put patch piece up on the wall.
-
Begin Tracing.
-
Continue tracing...
-
Here is the traced portion ready to be cut out.

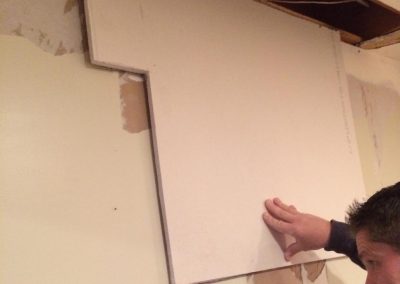
Step 3: Square Drywall Opening
Now cut along the pencil mark and square up the opening using a drywall saw. Cutting the wall instead of cutting the scrap piece to fit the wall is much easier!
-
Cut along the traced Lines
-
Continue Cutting....
-
Huzzah! Everything is nice and straight.
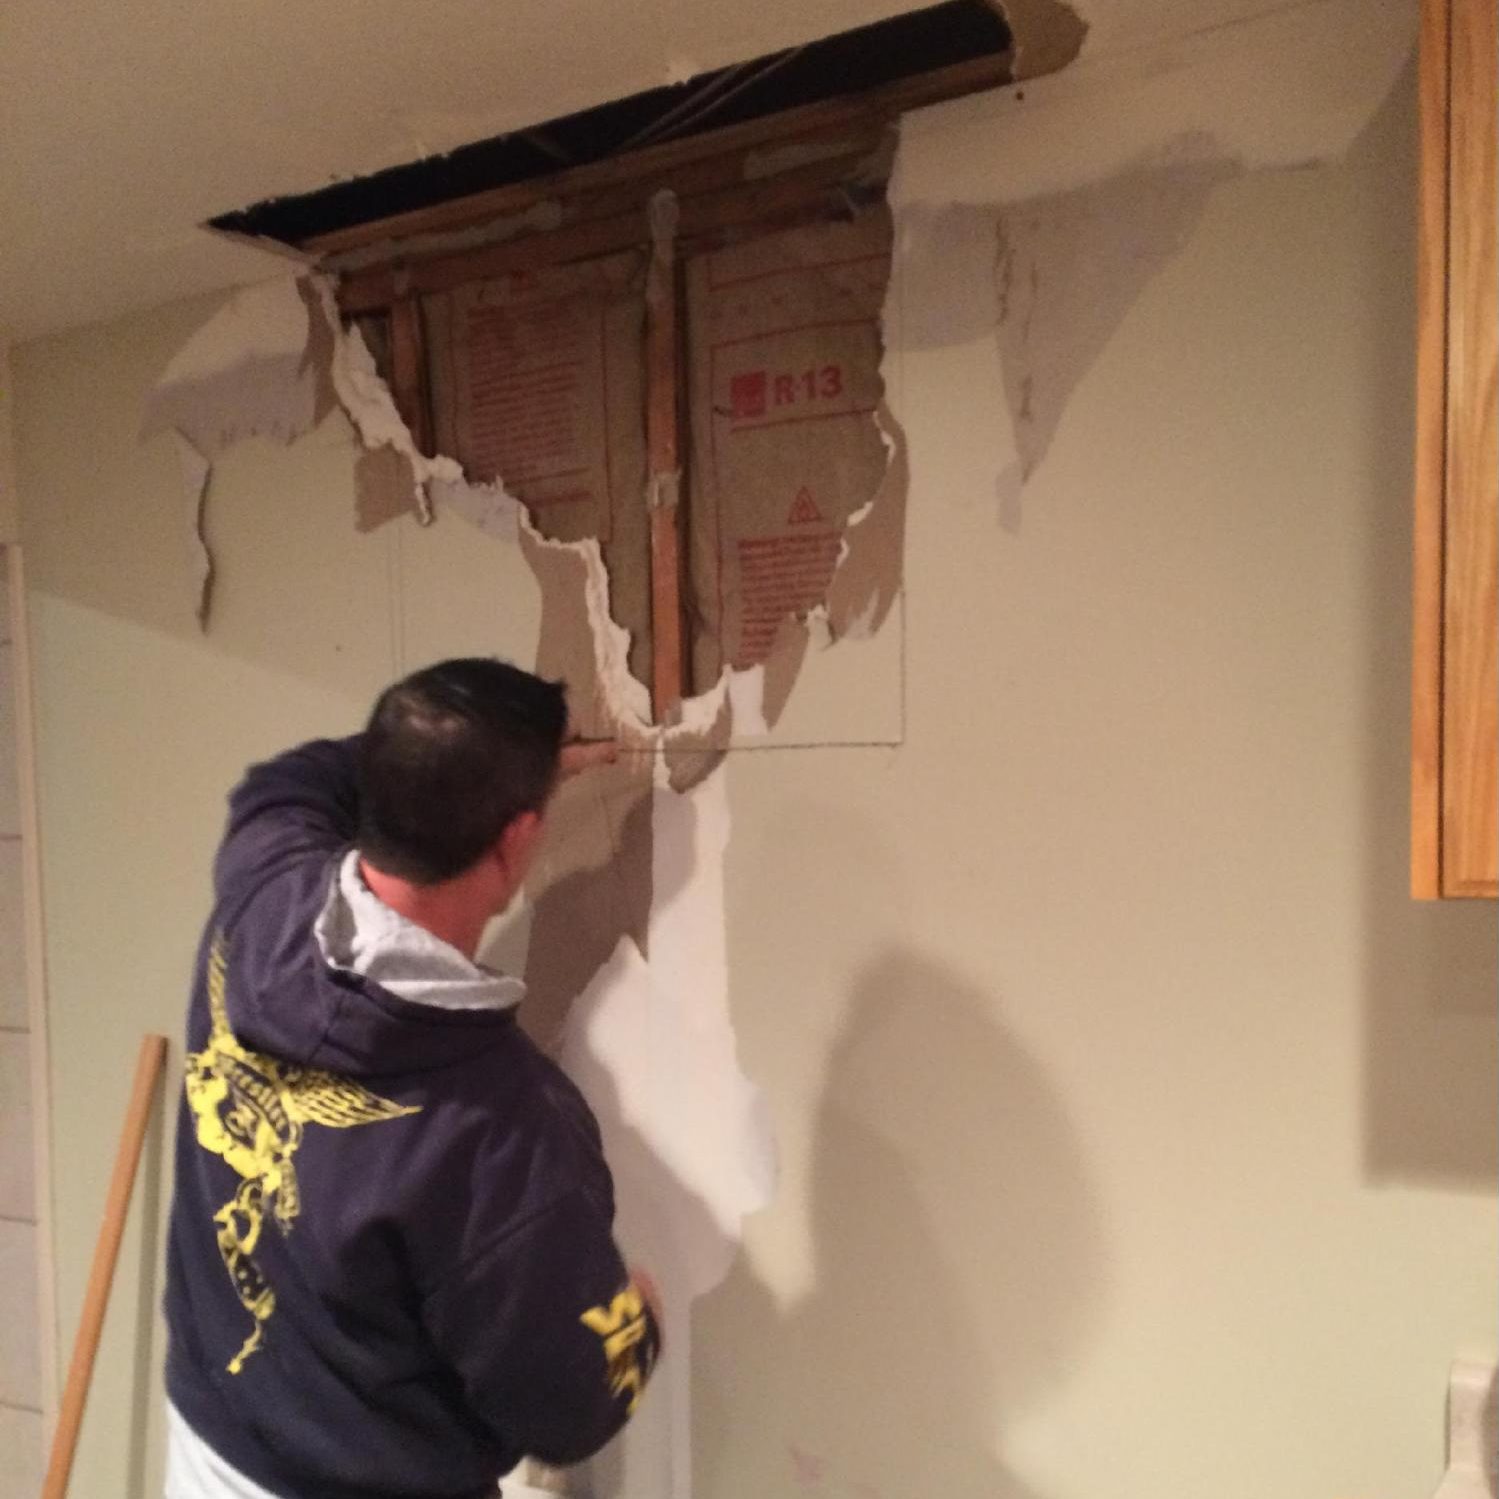
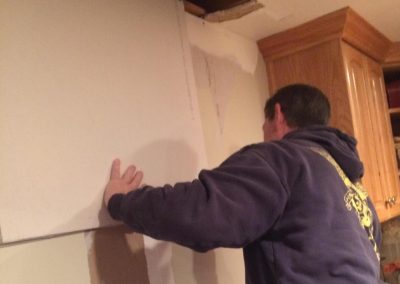
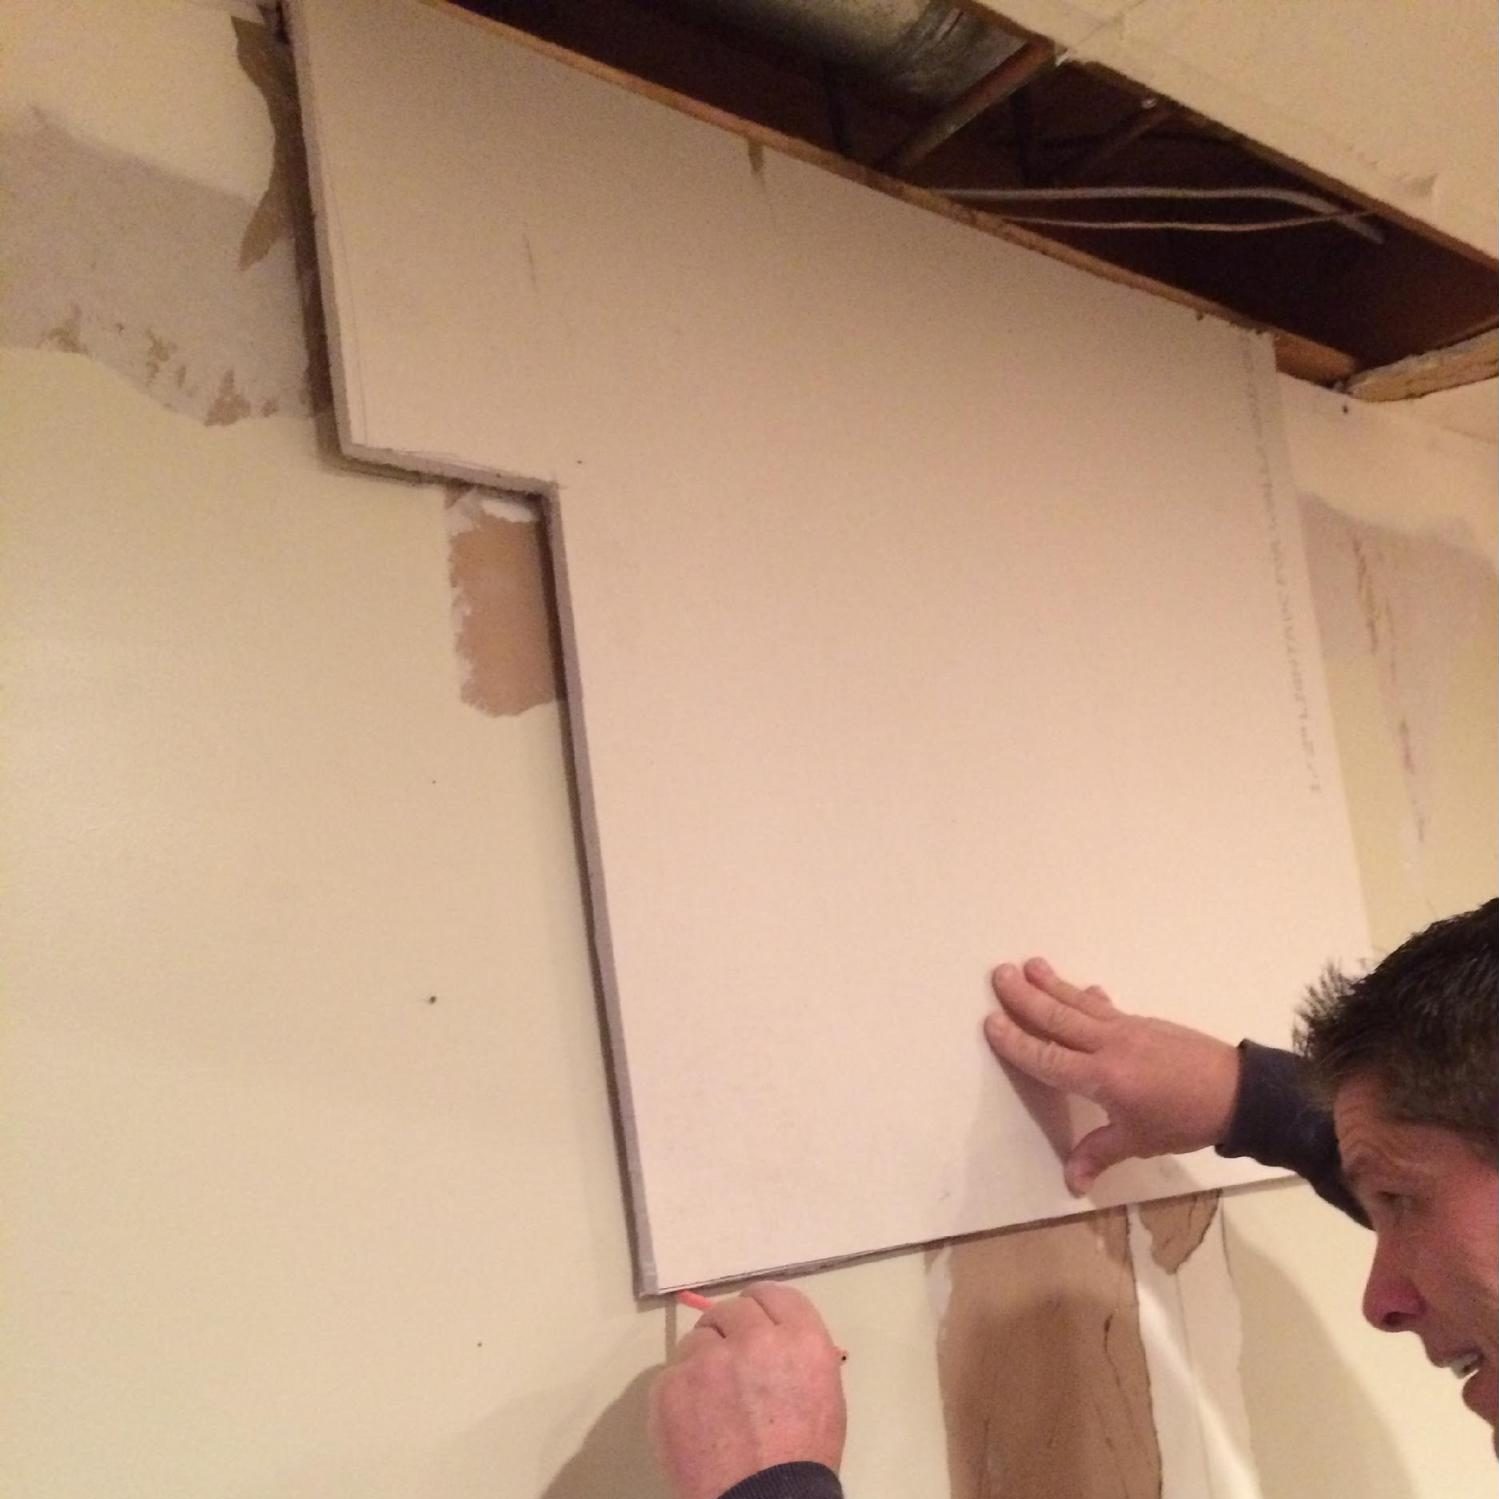
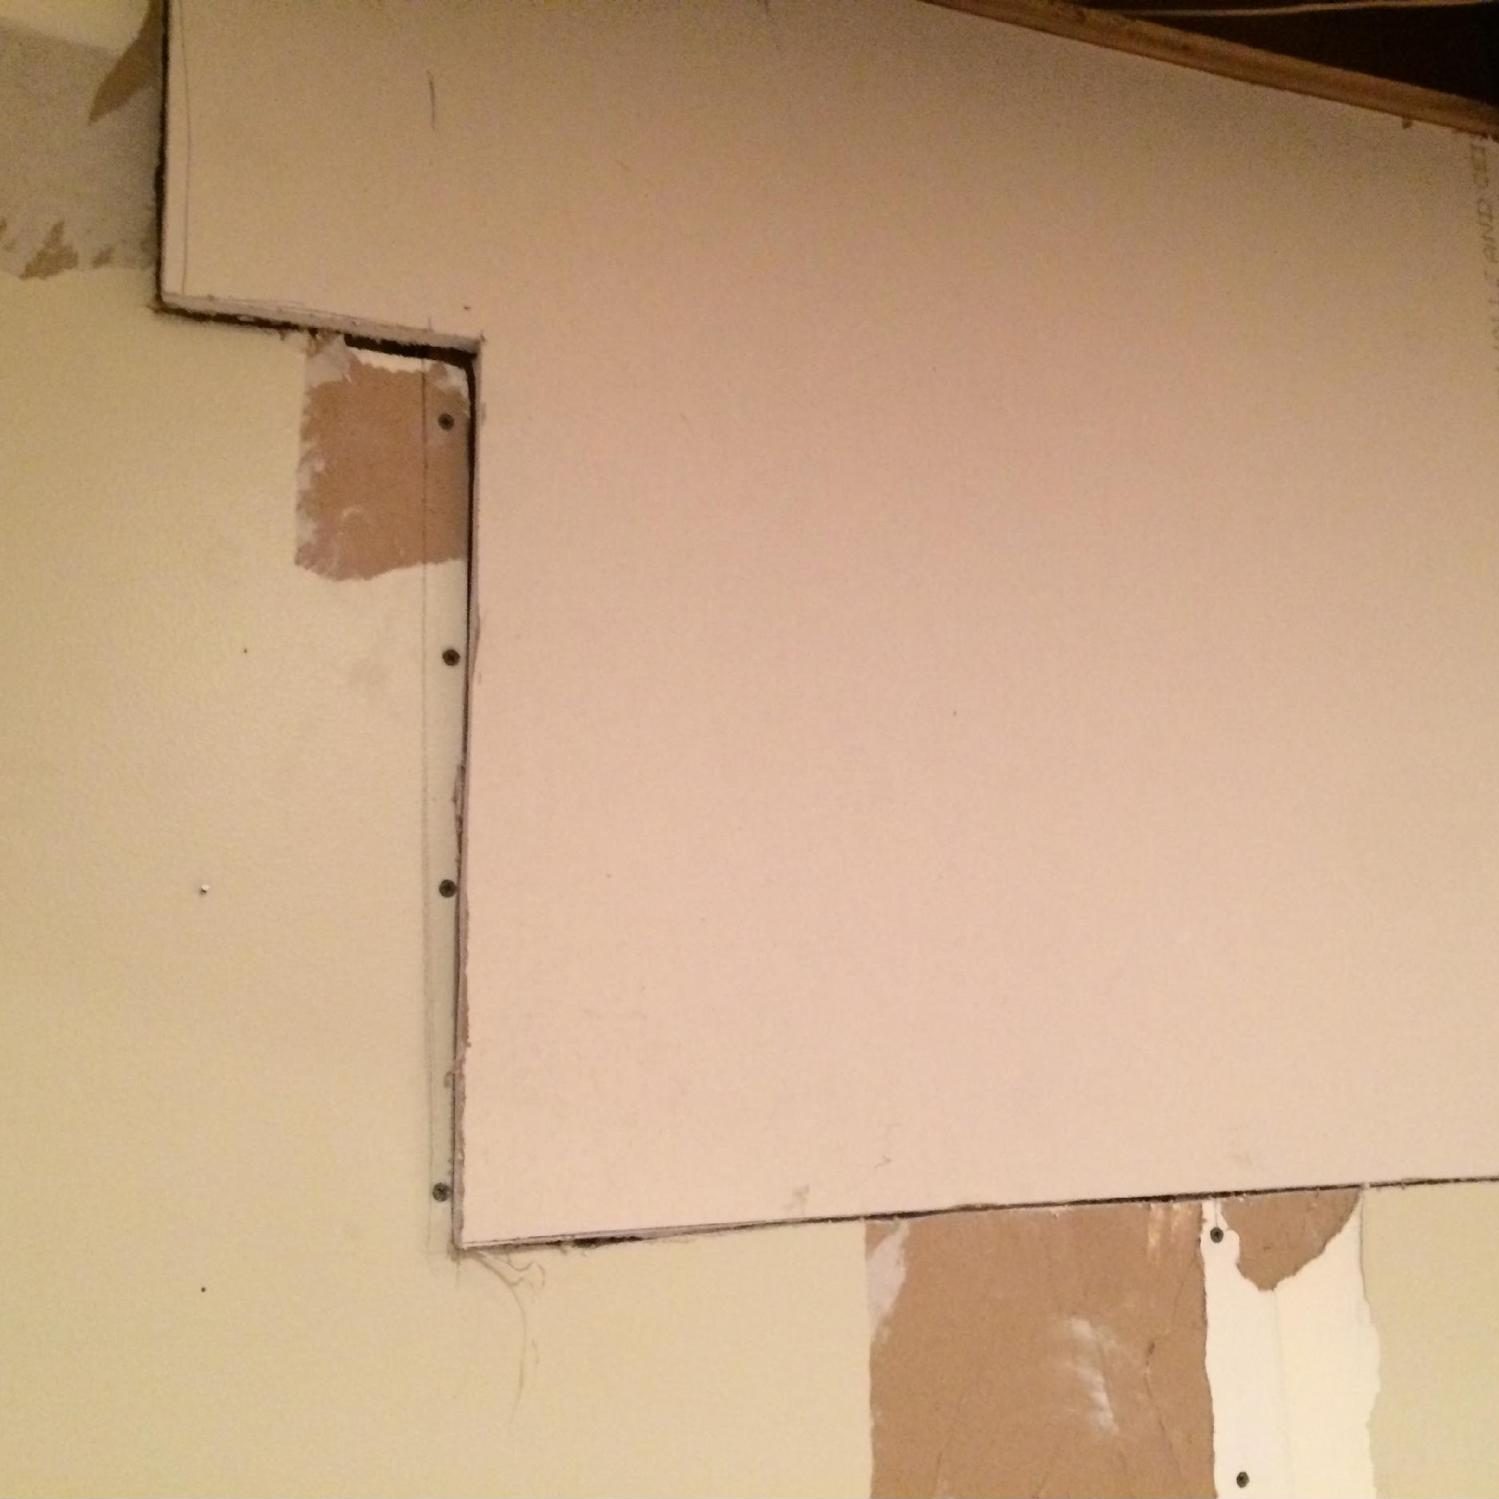
Step 4: Secure and Check your fit
Make sure the Sheetrock on the wall is secure. Check your cut and see how close you got. It is always best to cut too little then to cut too much. Shave off the edges as necessary for a tight fit. You can see on my cut the bottom left needed to be shaved a little.
Note: I should have completed the ceiling first and then the side wall. You always want to support the ceiling drywall with the sidewall drywall.
-
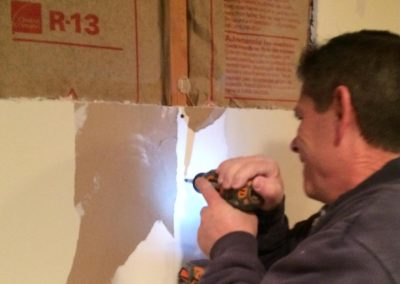
Secure the outer edge of the remaining drywall using screws.
-

Check your fit and make adjustments as needed.
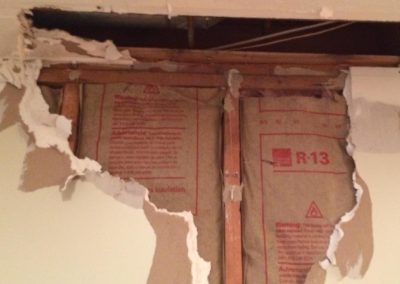
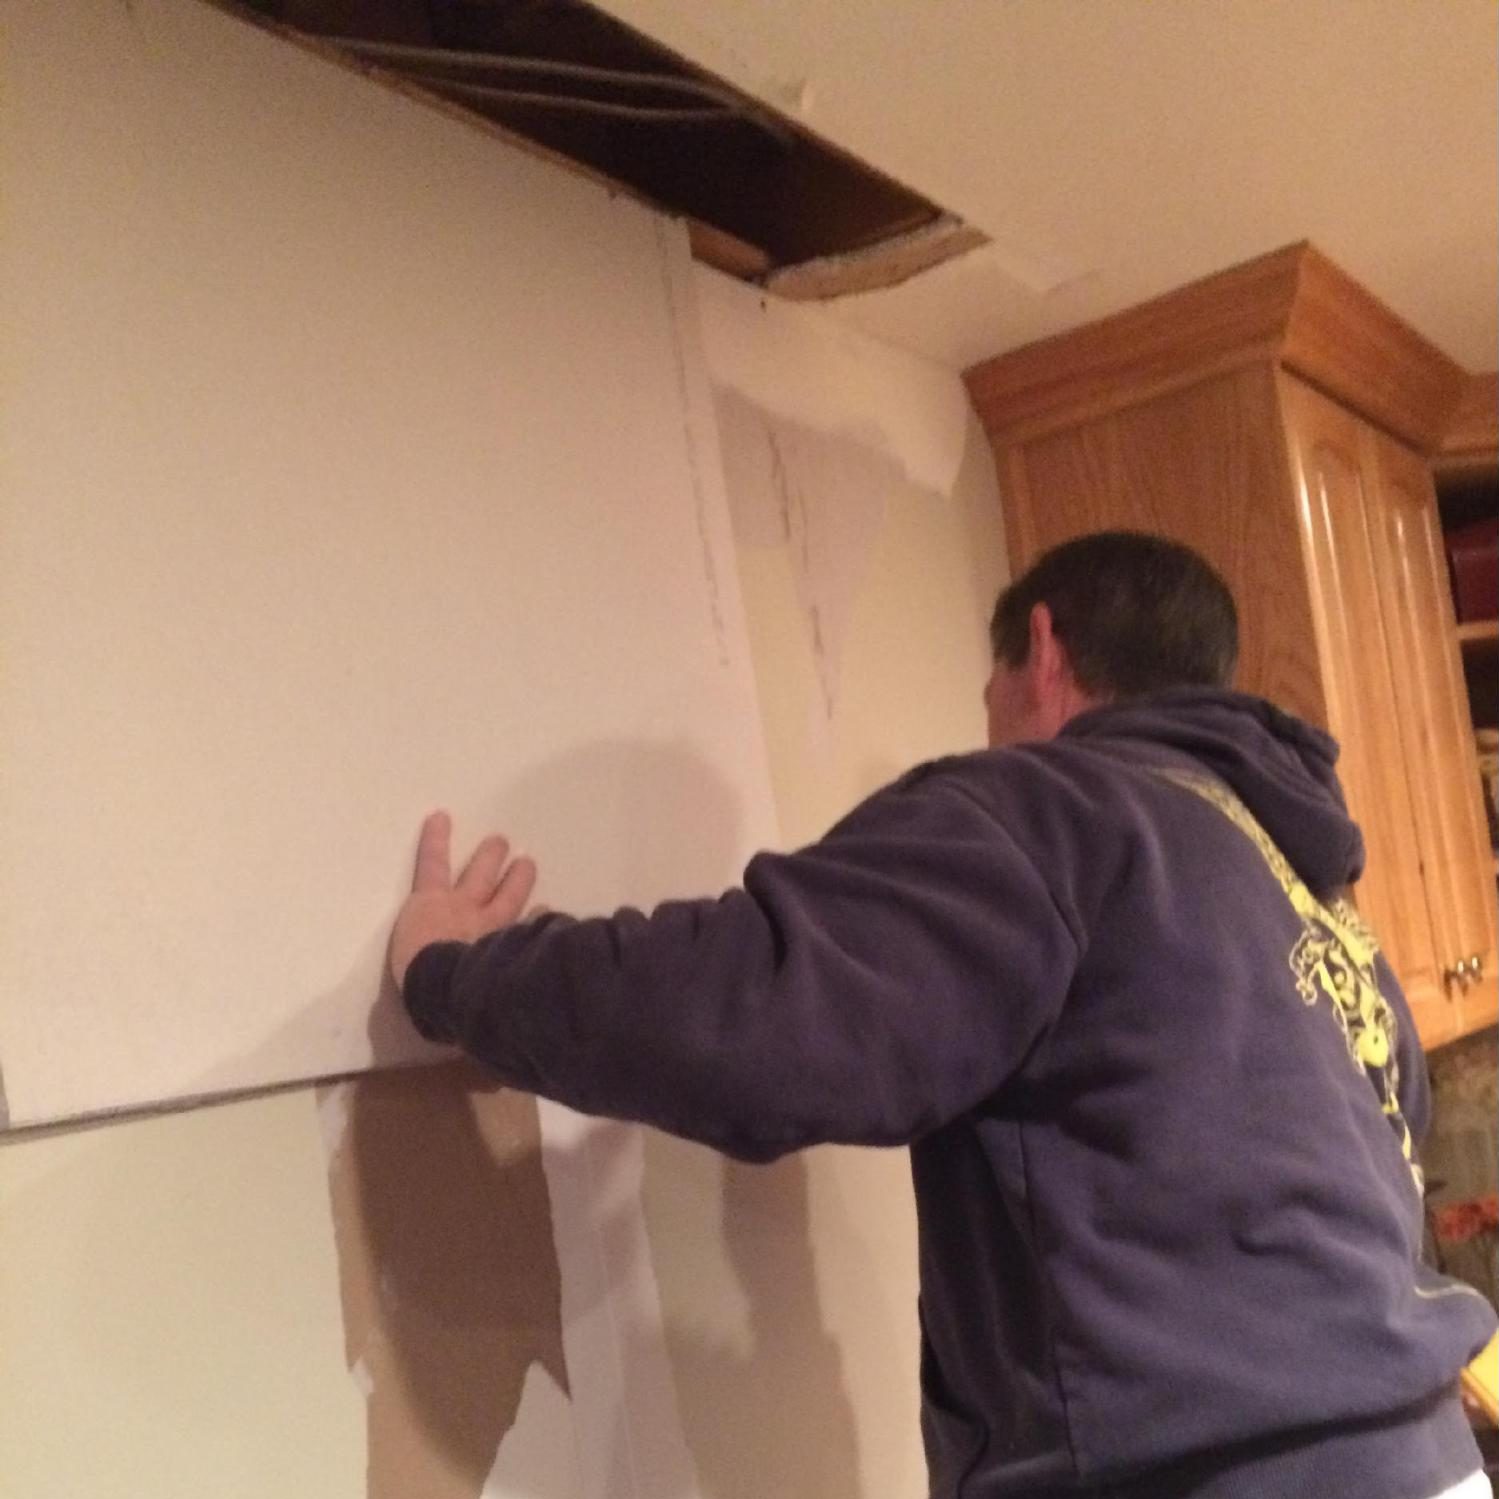
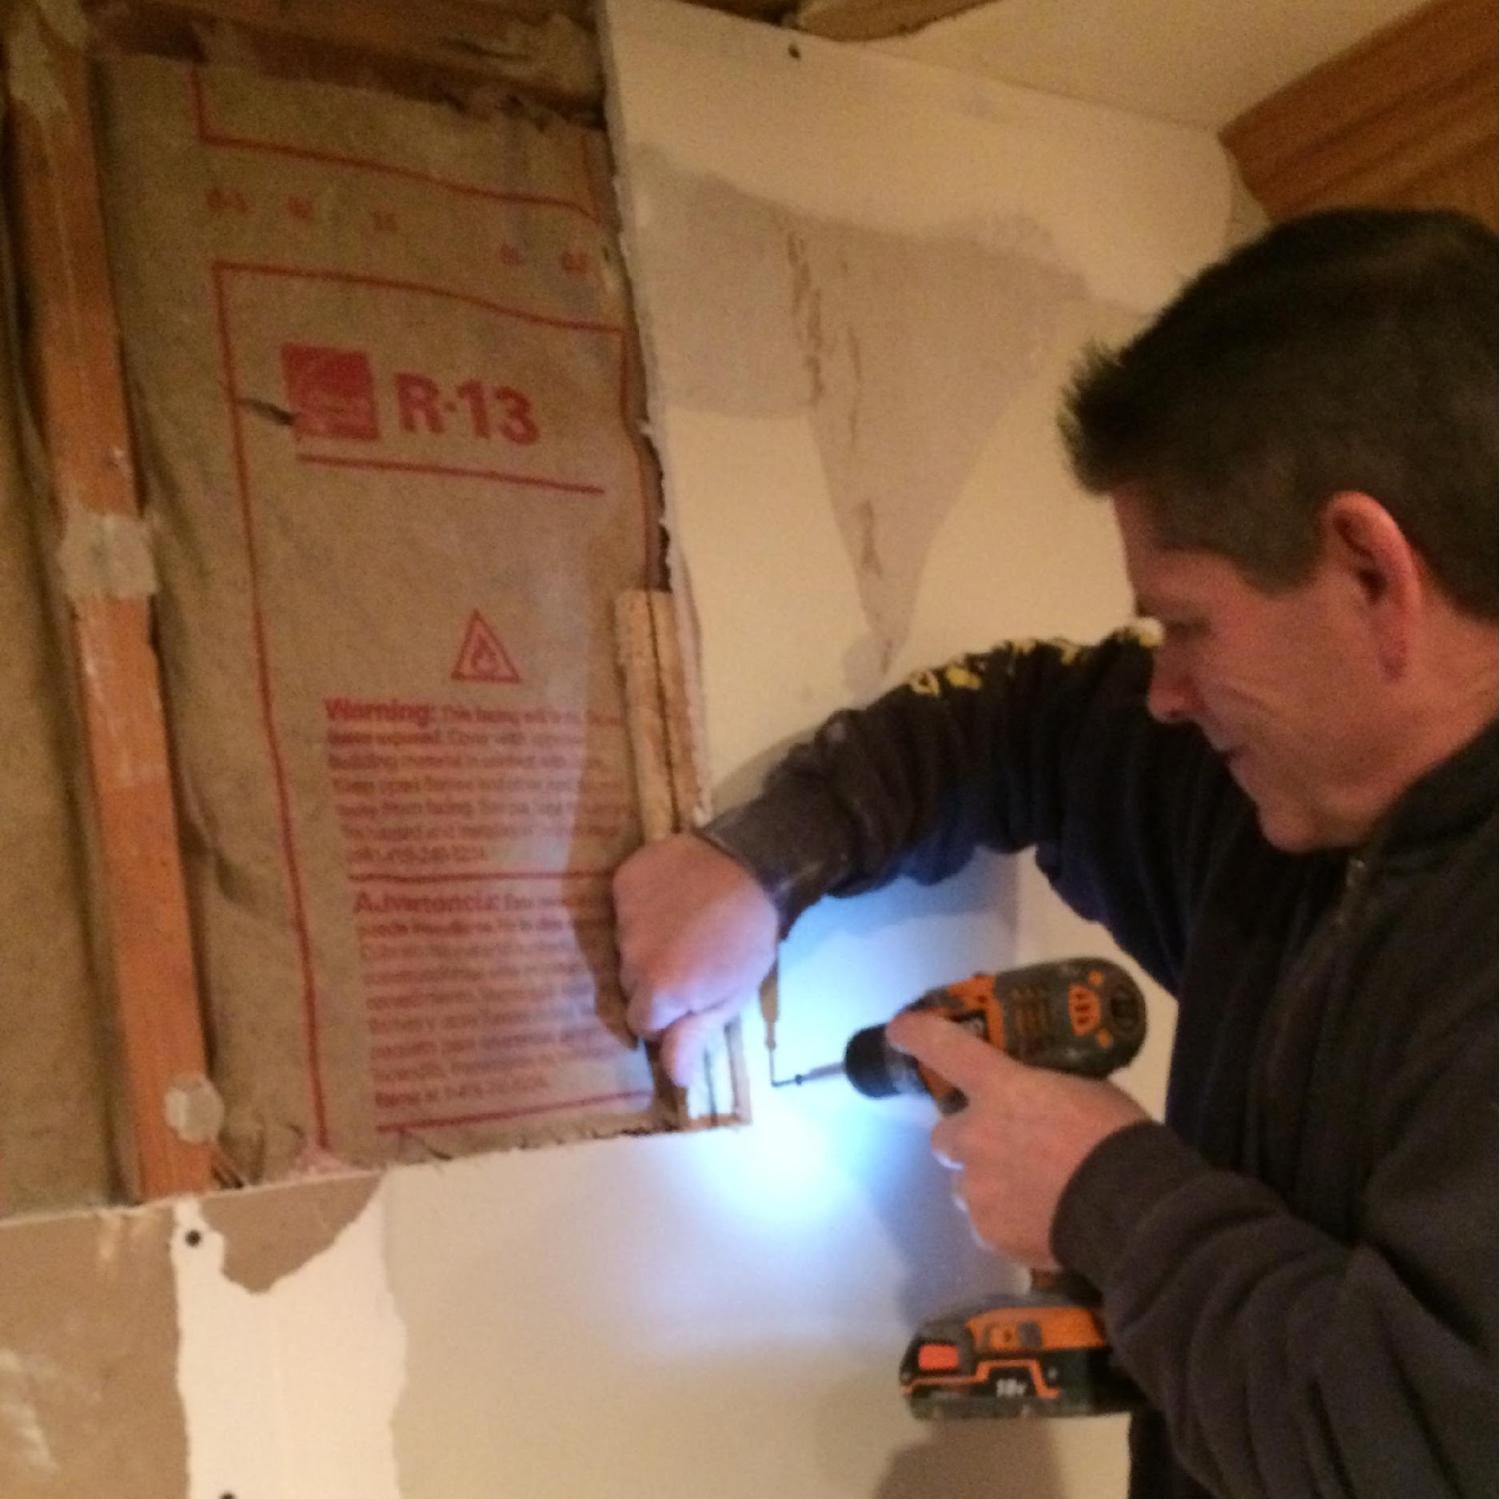
Step 5: Drywall Support and Backing
Where you don’t have support you need to install a backer piece. This could be any wood material that is big enough to screw into the existing Sheetrock and the new piece. I could have cut back to the next stud as well and made the hole a little bigger.
-
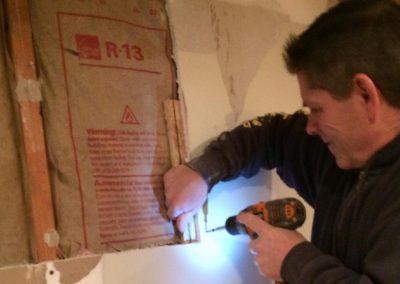
Place the backing and let it overhang while screwing it in to the existing drywall.
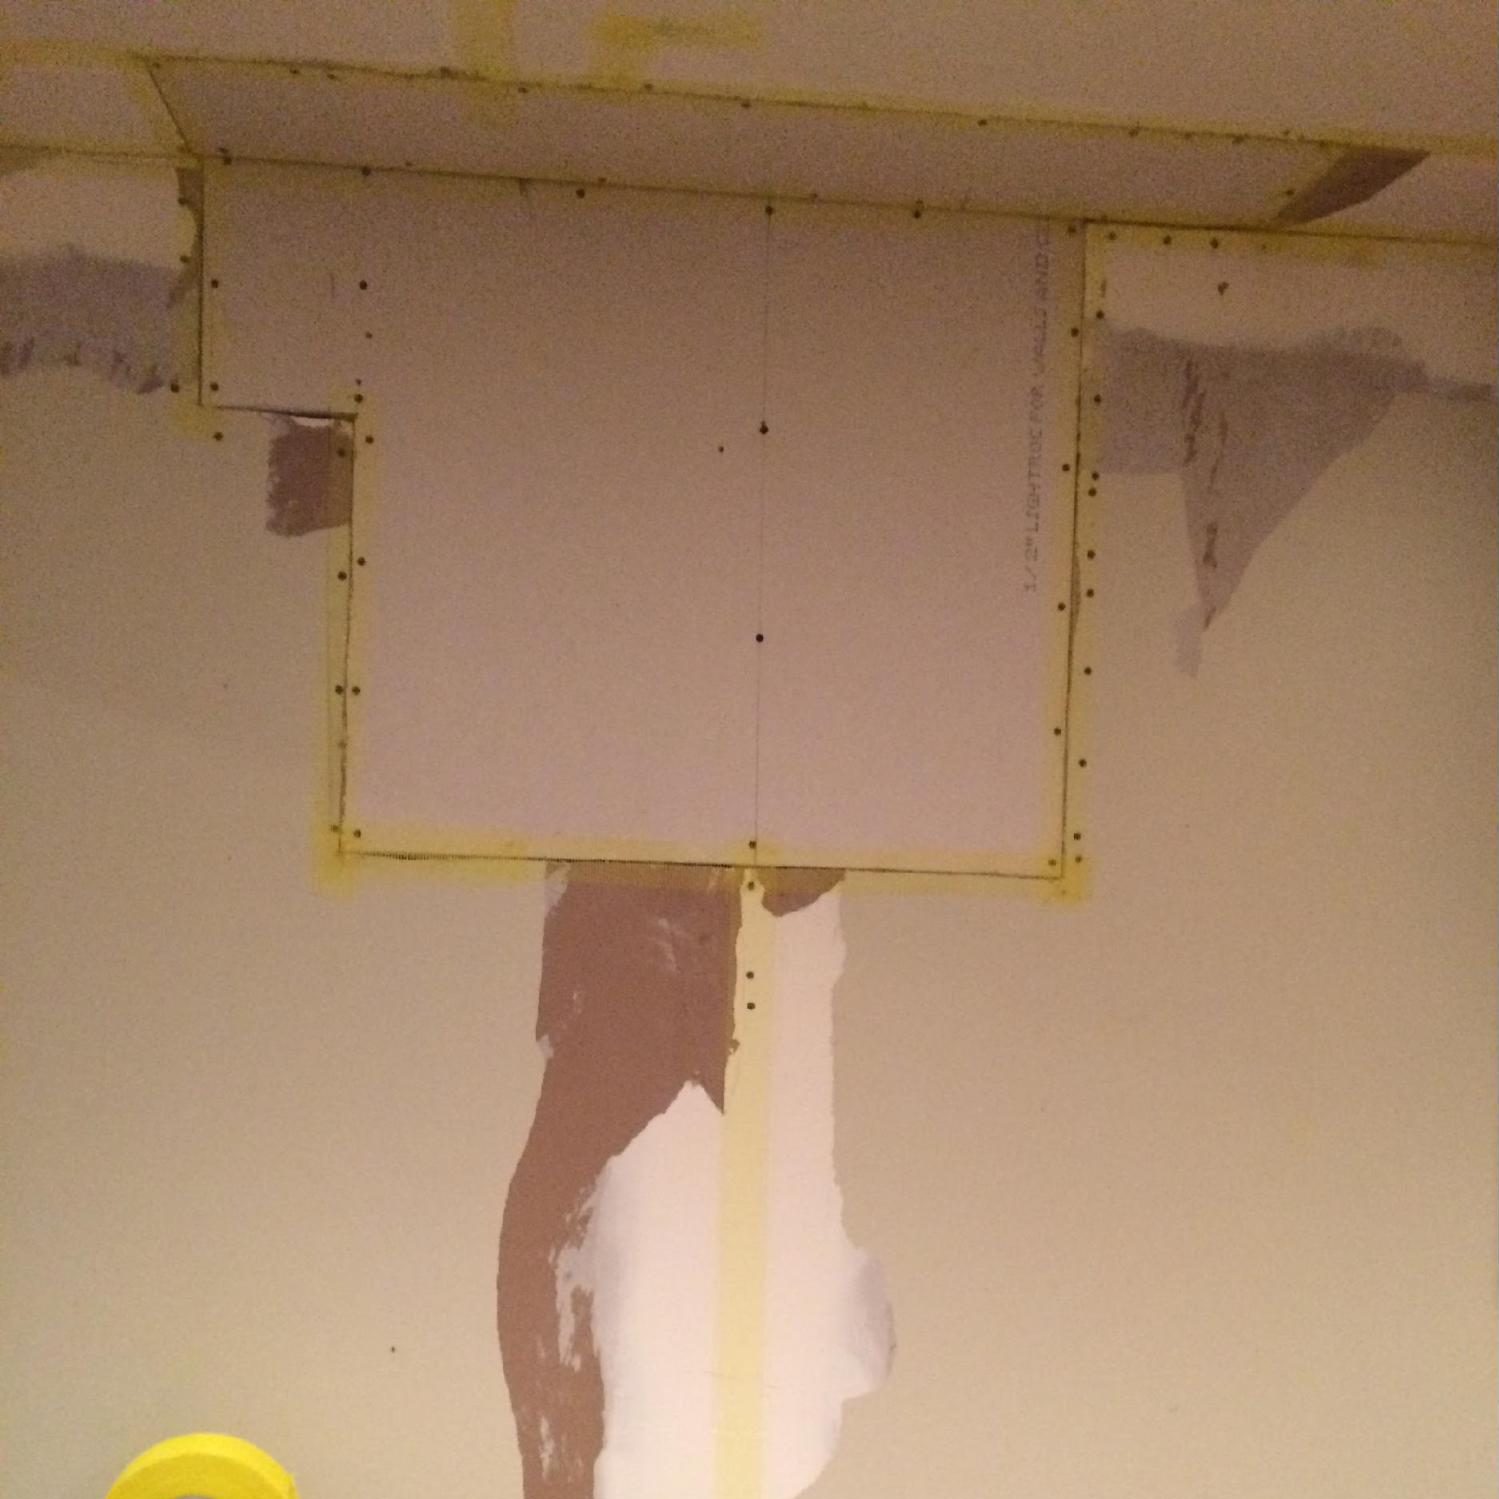
Step 6:Install New Drywall
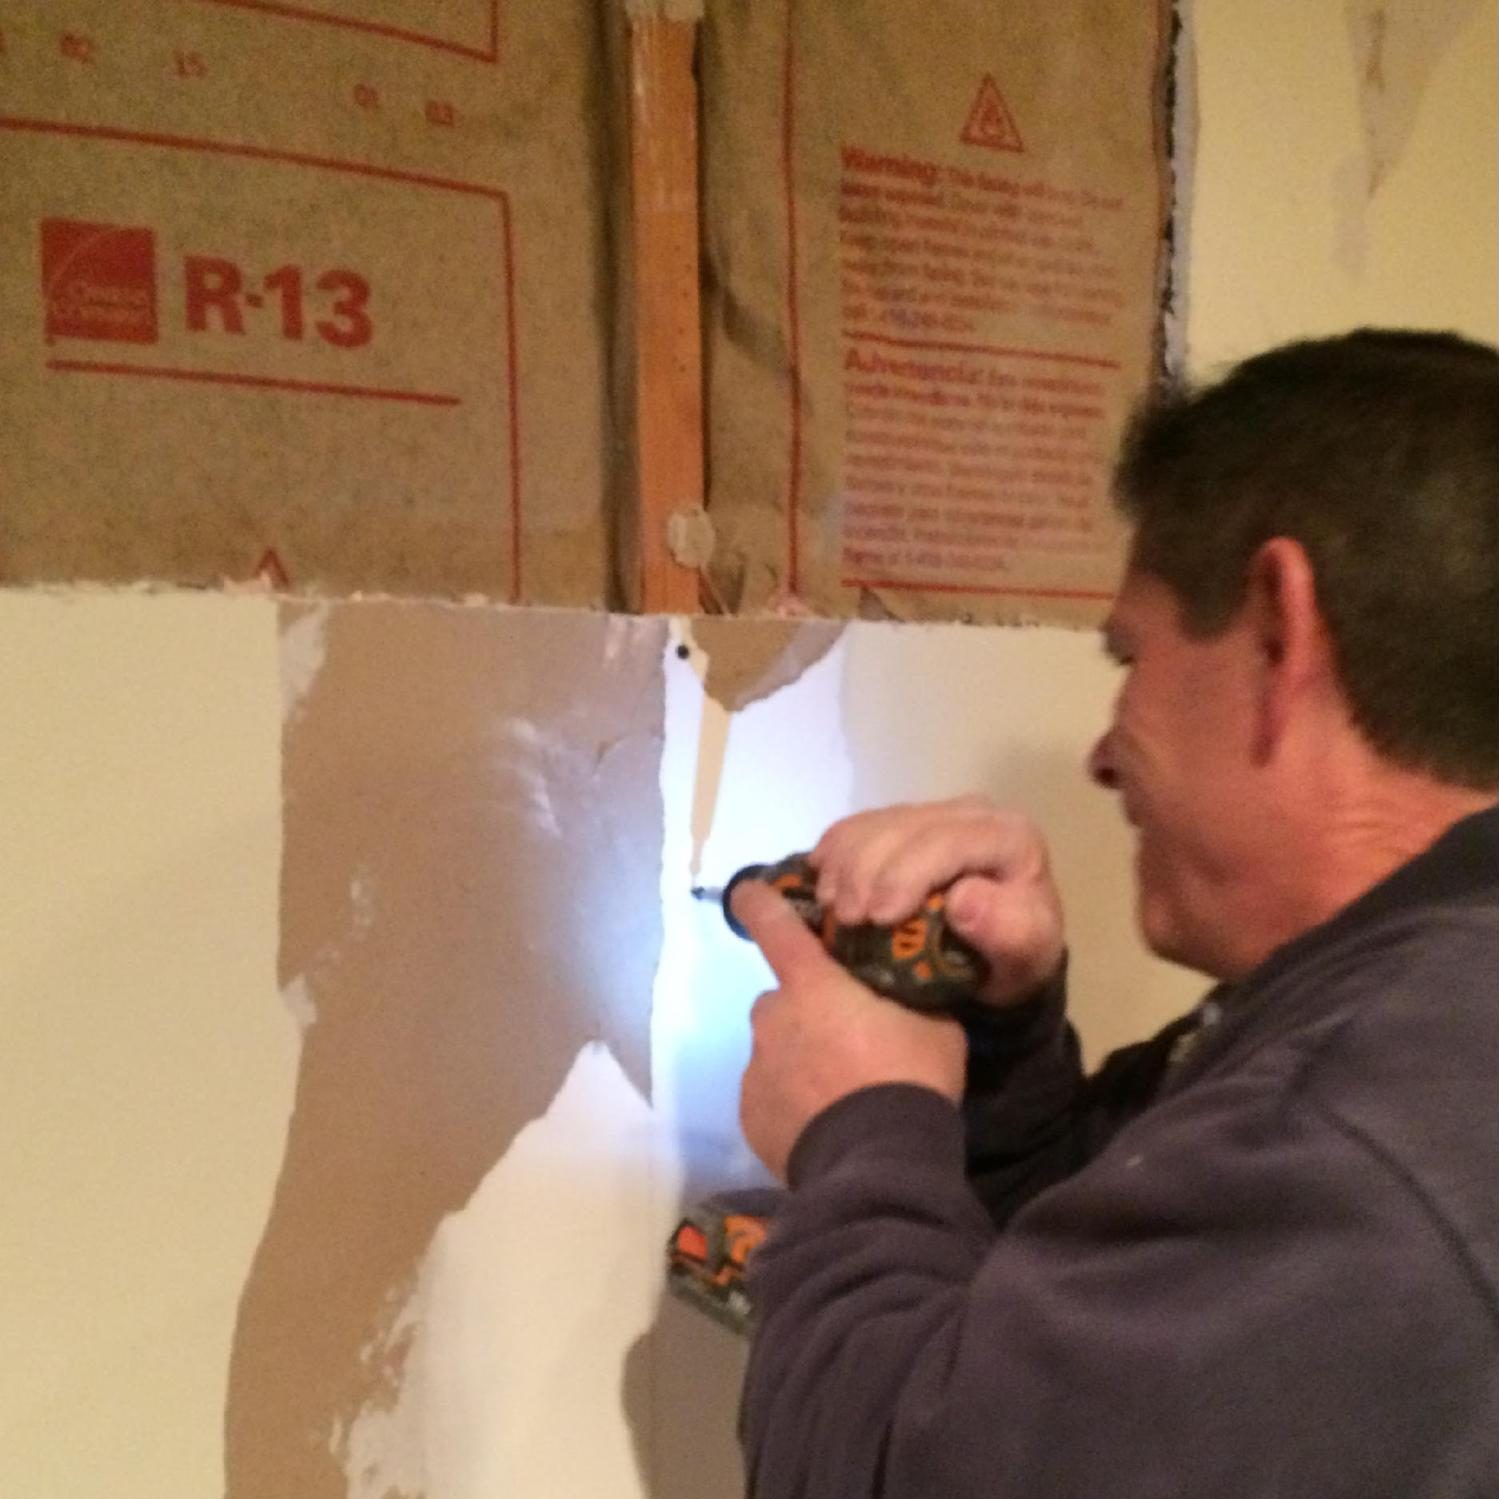
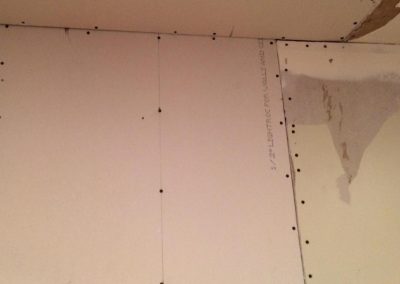
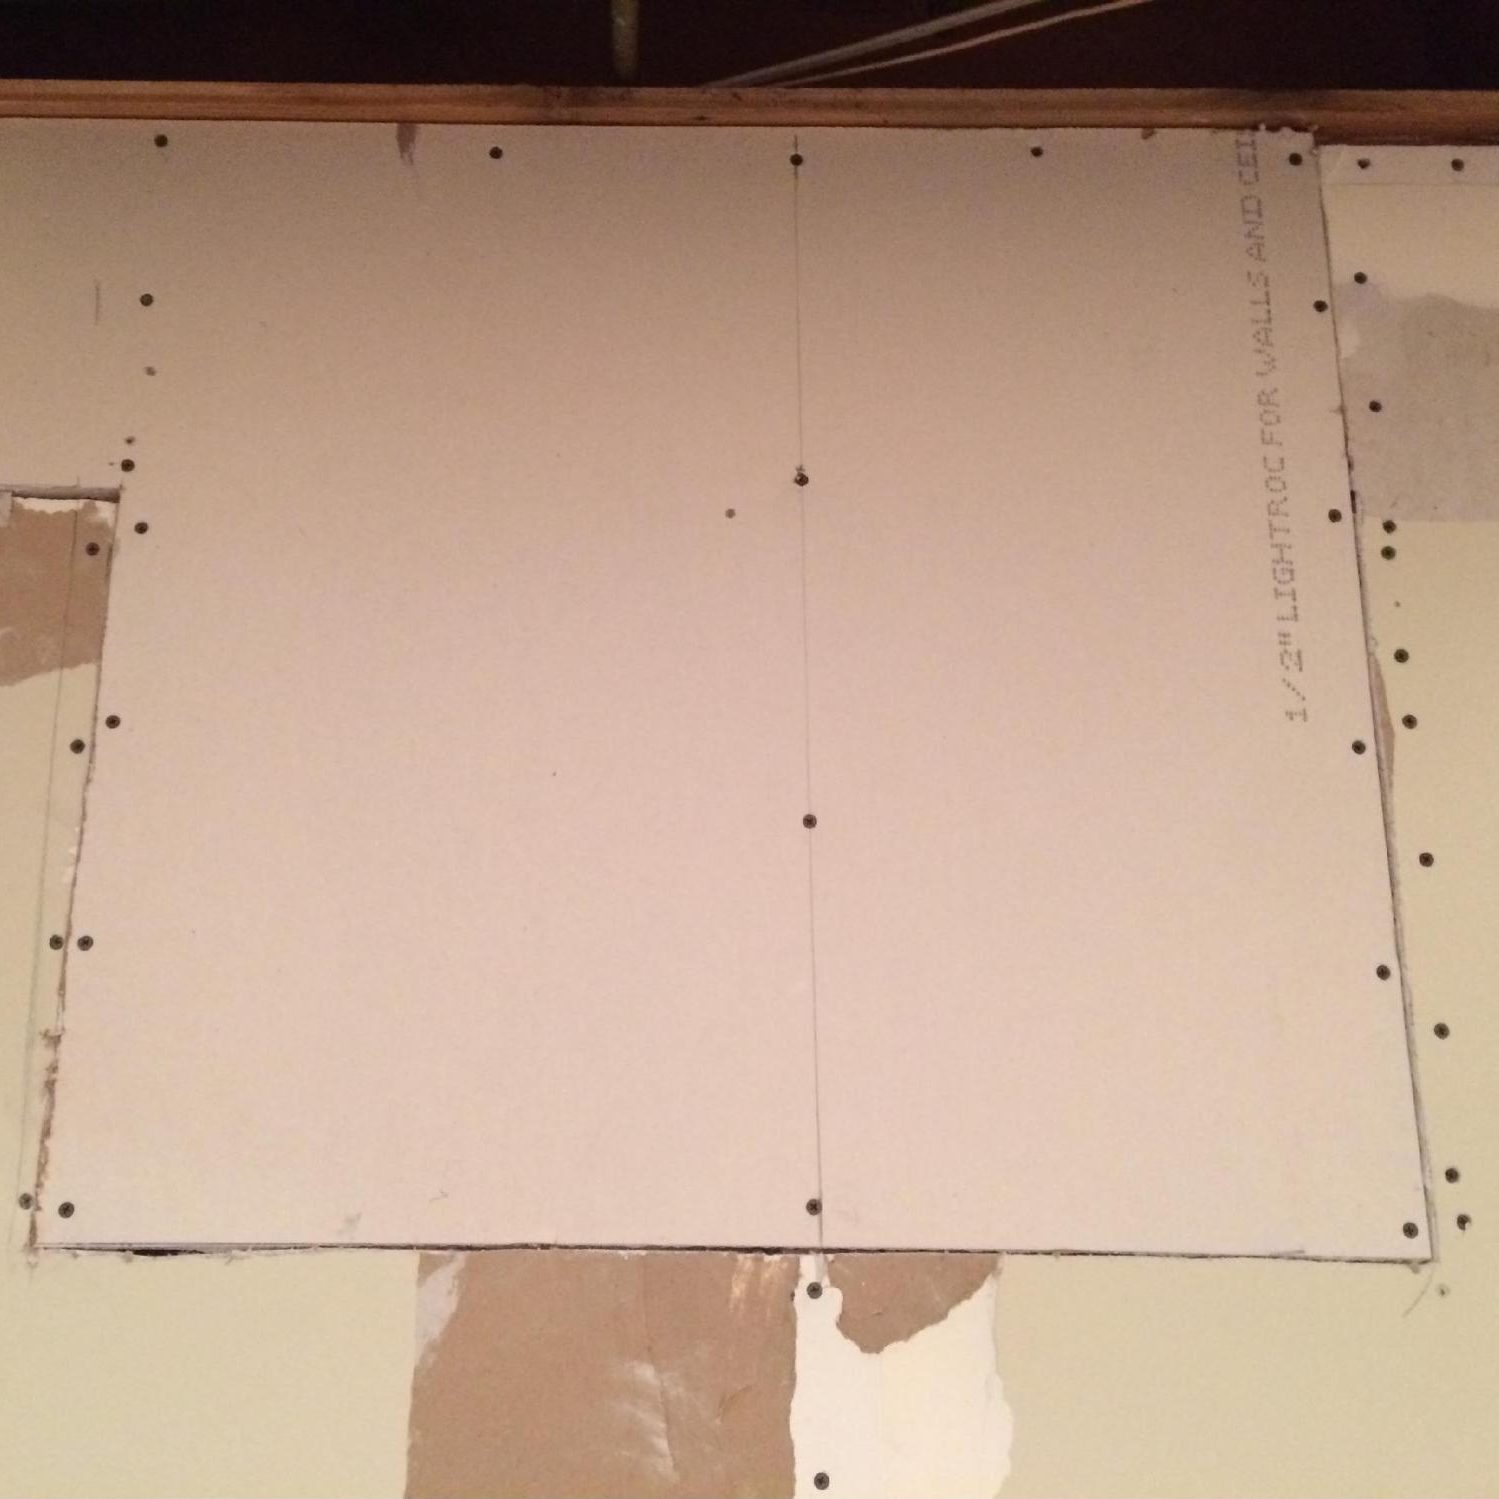
Attach the drywall to the studs and supports. I use screws instead of drywall nails because I will get less nail popping later. You need to be careful with screws not to set the screws to deep. The best is slightly below the surface while not braking the paper face. This will give you the strongest hold.
-
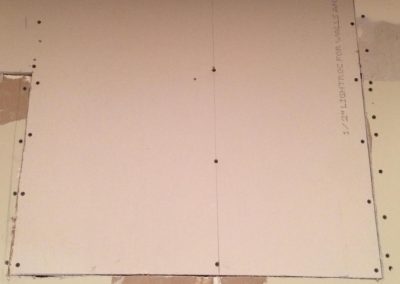
Screw drywall patch into opening
-
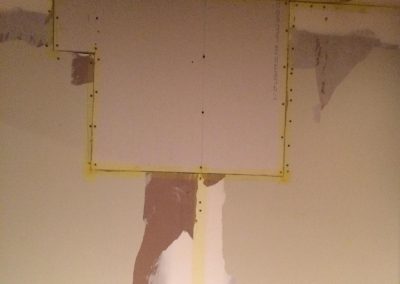
I did the same for the ceiling

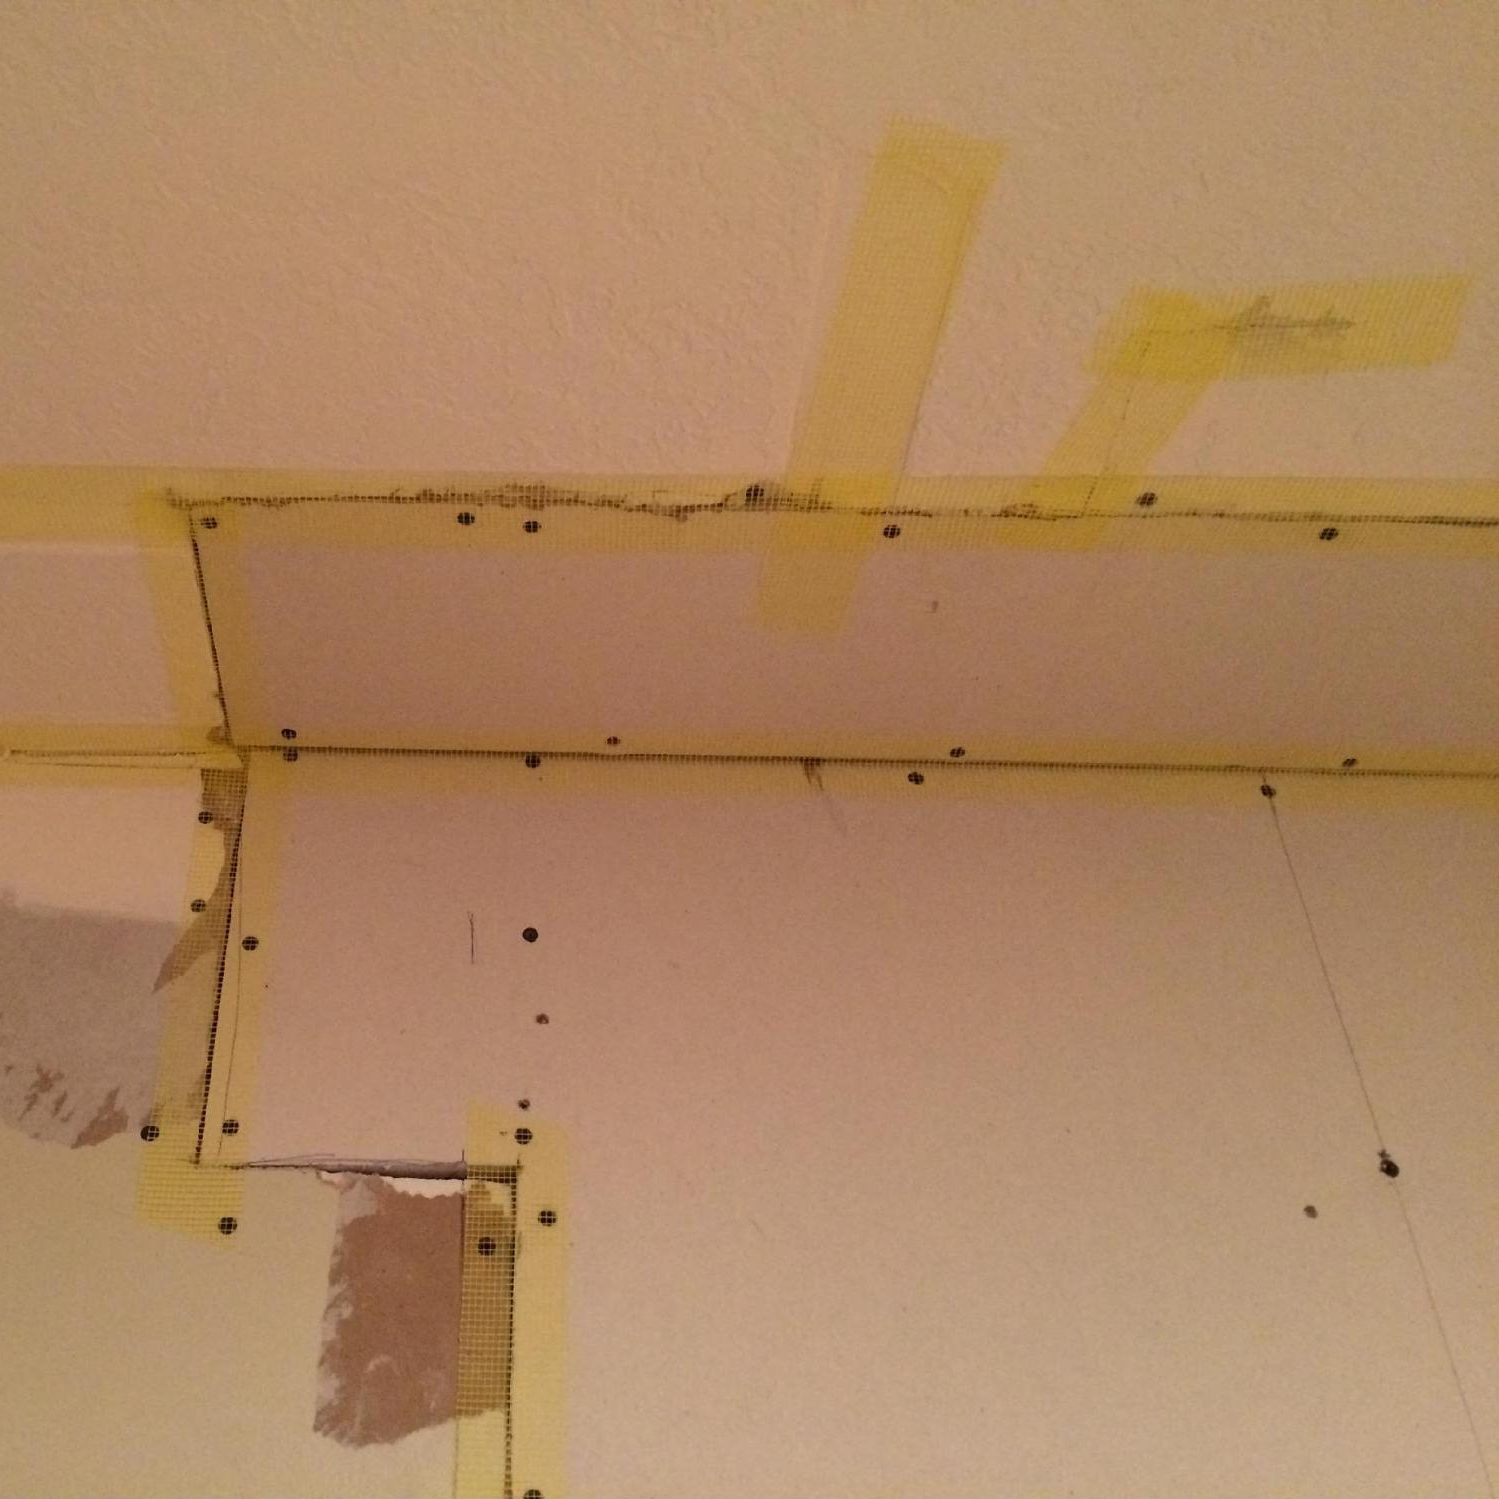
Step 7: Tape and Mud
Use some drywall tape and cover all the seams and any cracking. Then use drywall mud to match texture. Lastly, add primer then paint to finish it up. On this project, I forgot to take pictures of the mudding as I was getting in a hurry.
-
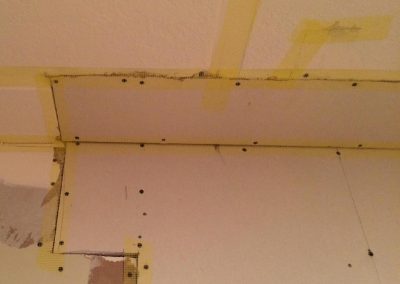
Apply drywall tape centered on the seam. Cut off any extra.
-
Here's the finished tape job.