A while back we had a leak from a frozen line. I repaired it and now needed to repair the drywall. Let’s get to it.
-
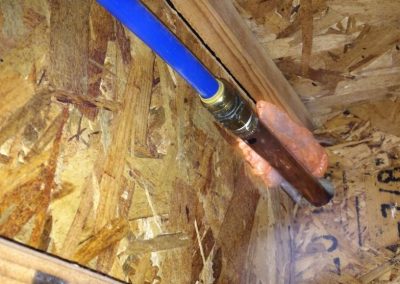
Leaky Plumbing connection created a leak

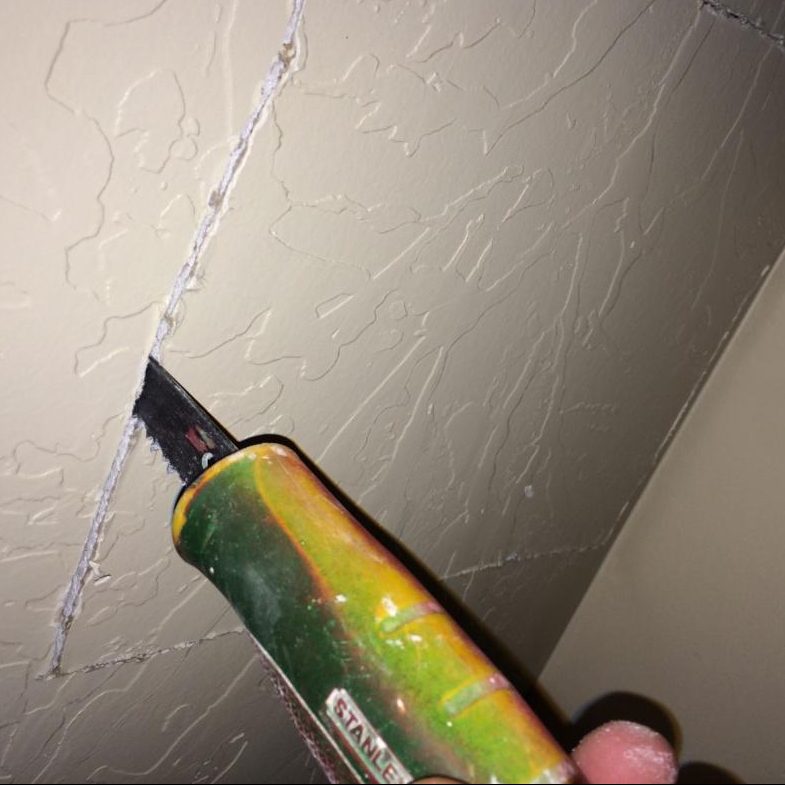
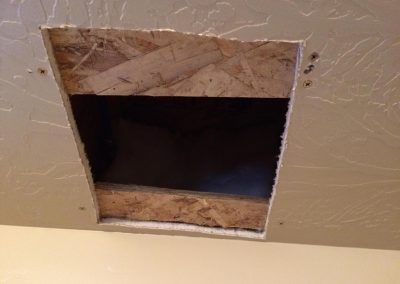
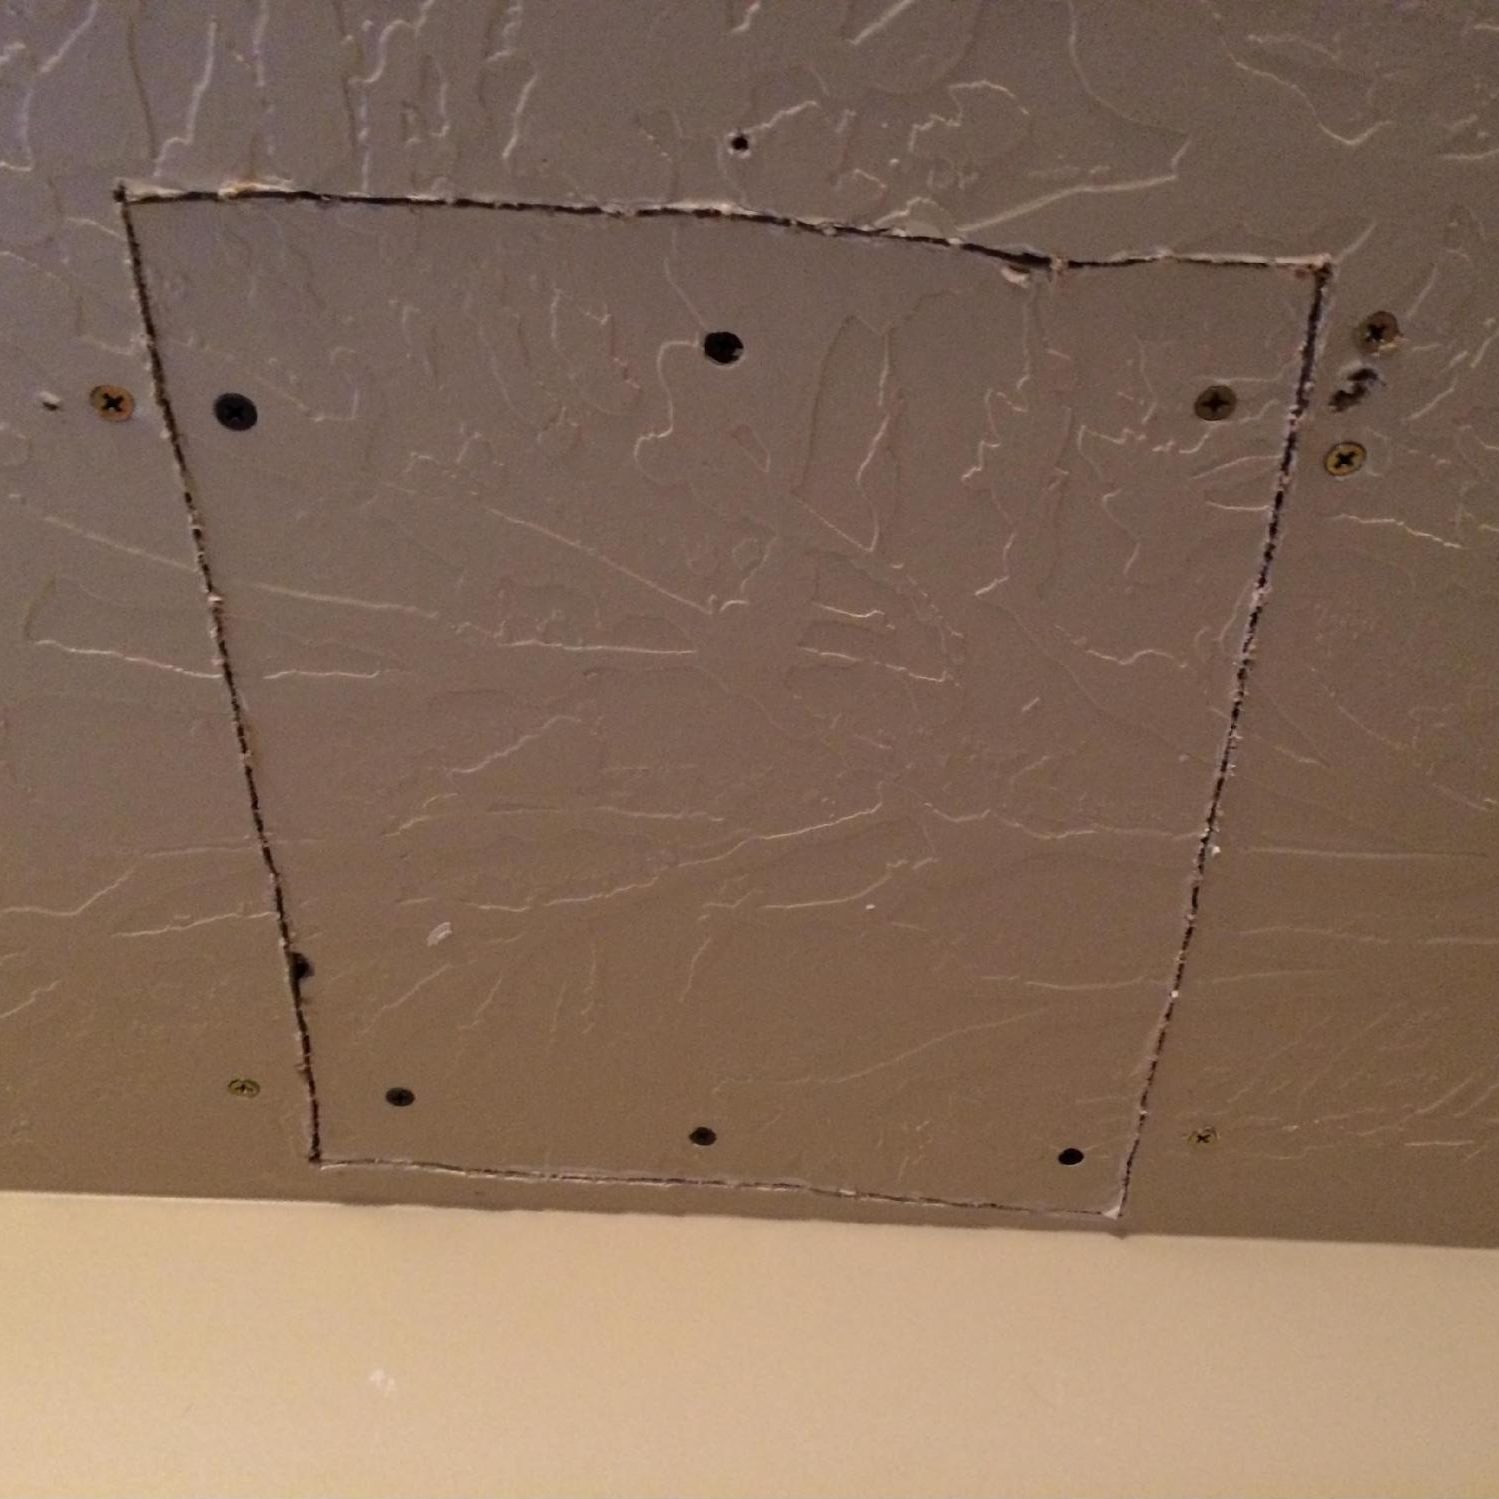
Step 1: Cut out drywall
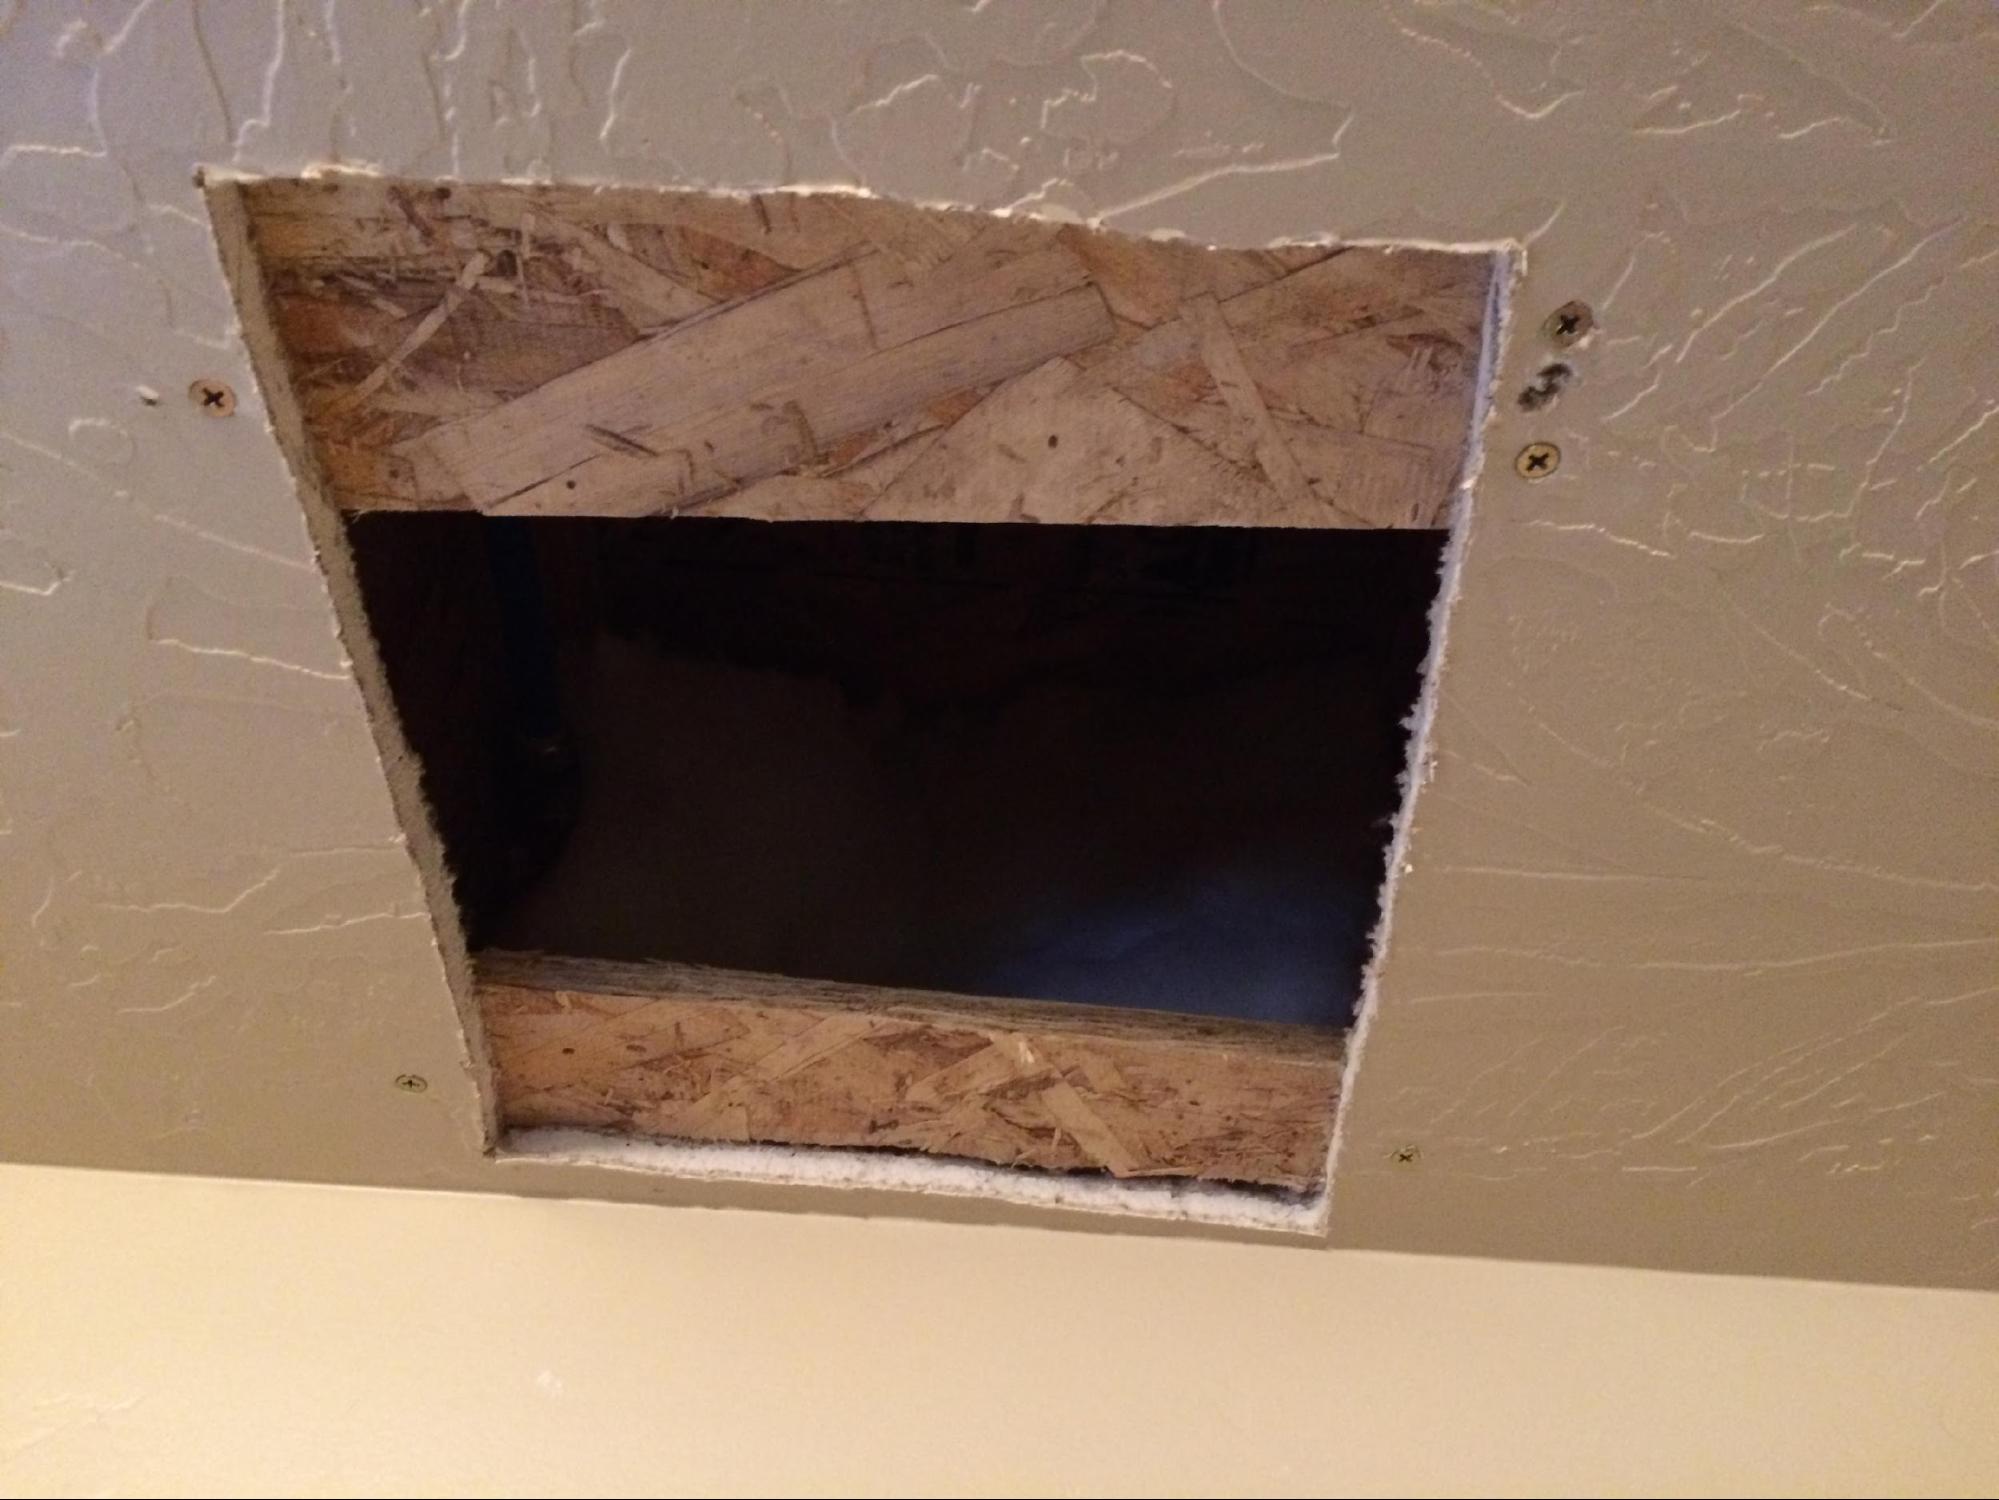
When I first determined the location of the leak I cut out a hole making sure I did not break the drywall. Make the necessary repair.
-
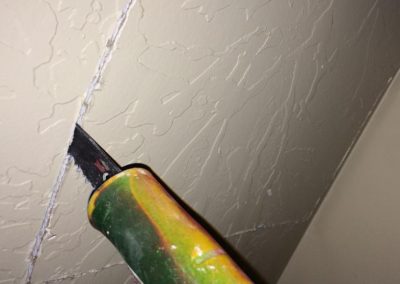
Cut drywall in a square for easy replacement. Use a drywall saw.
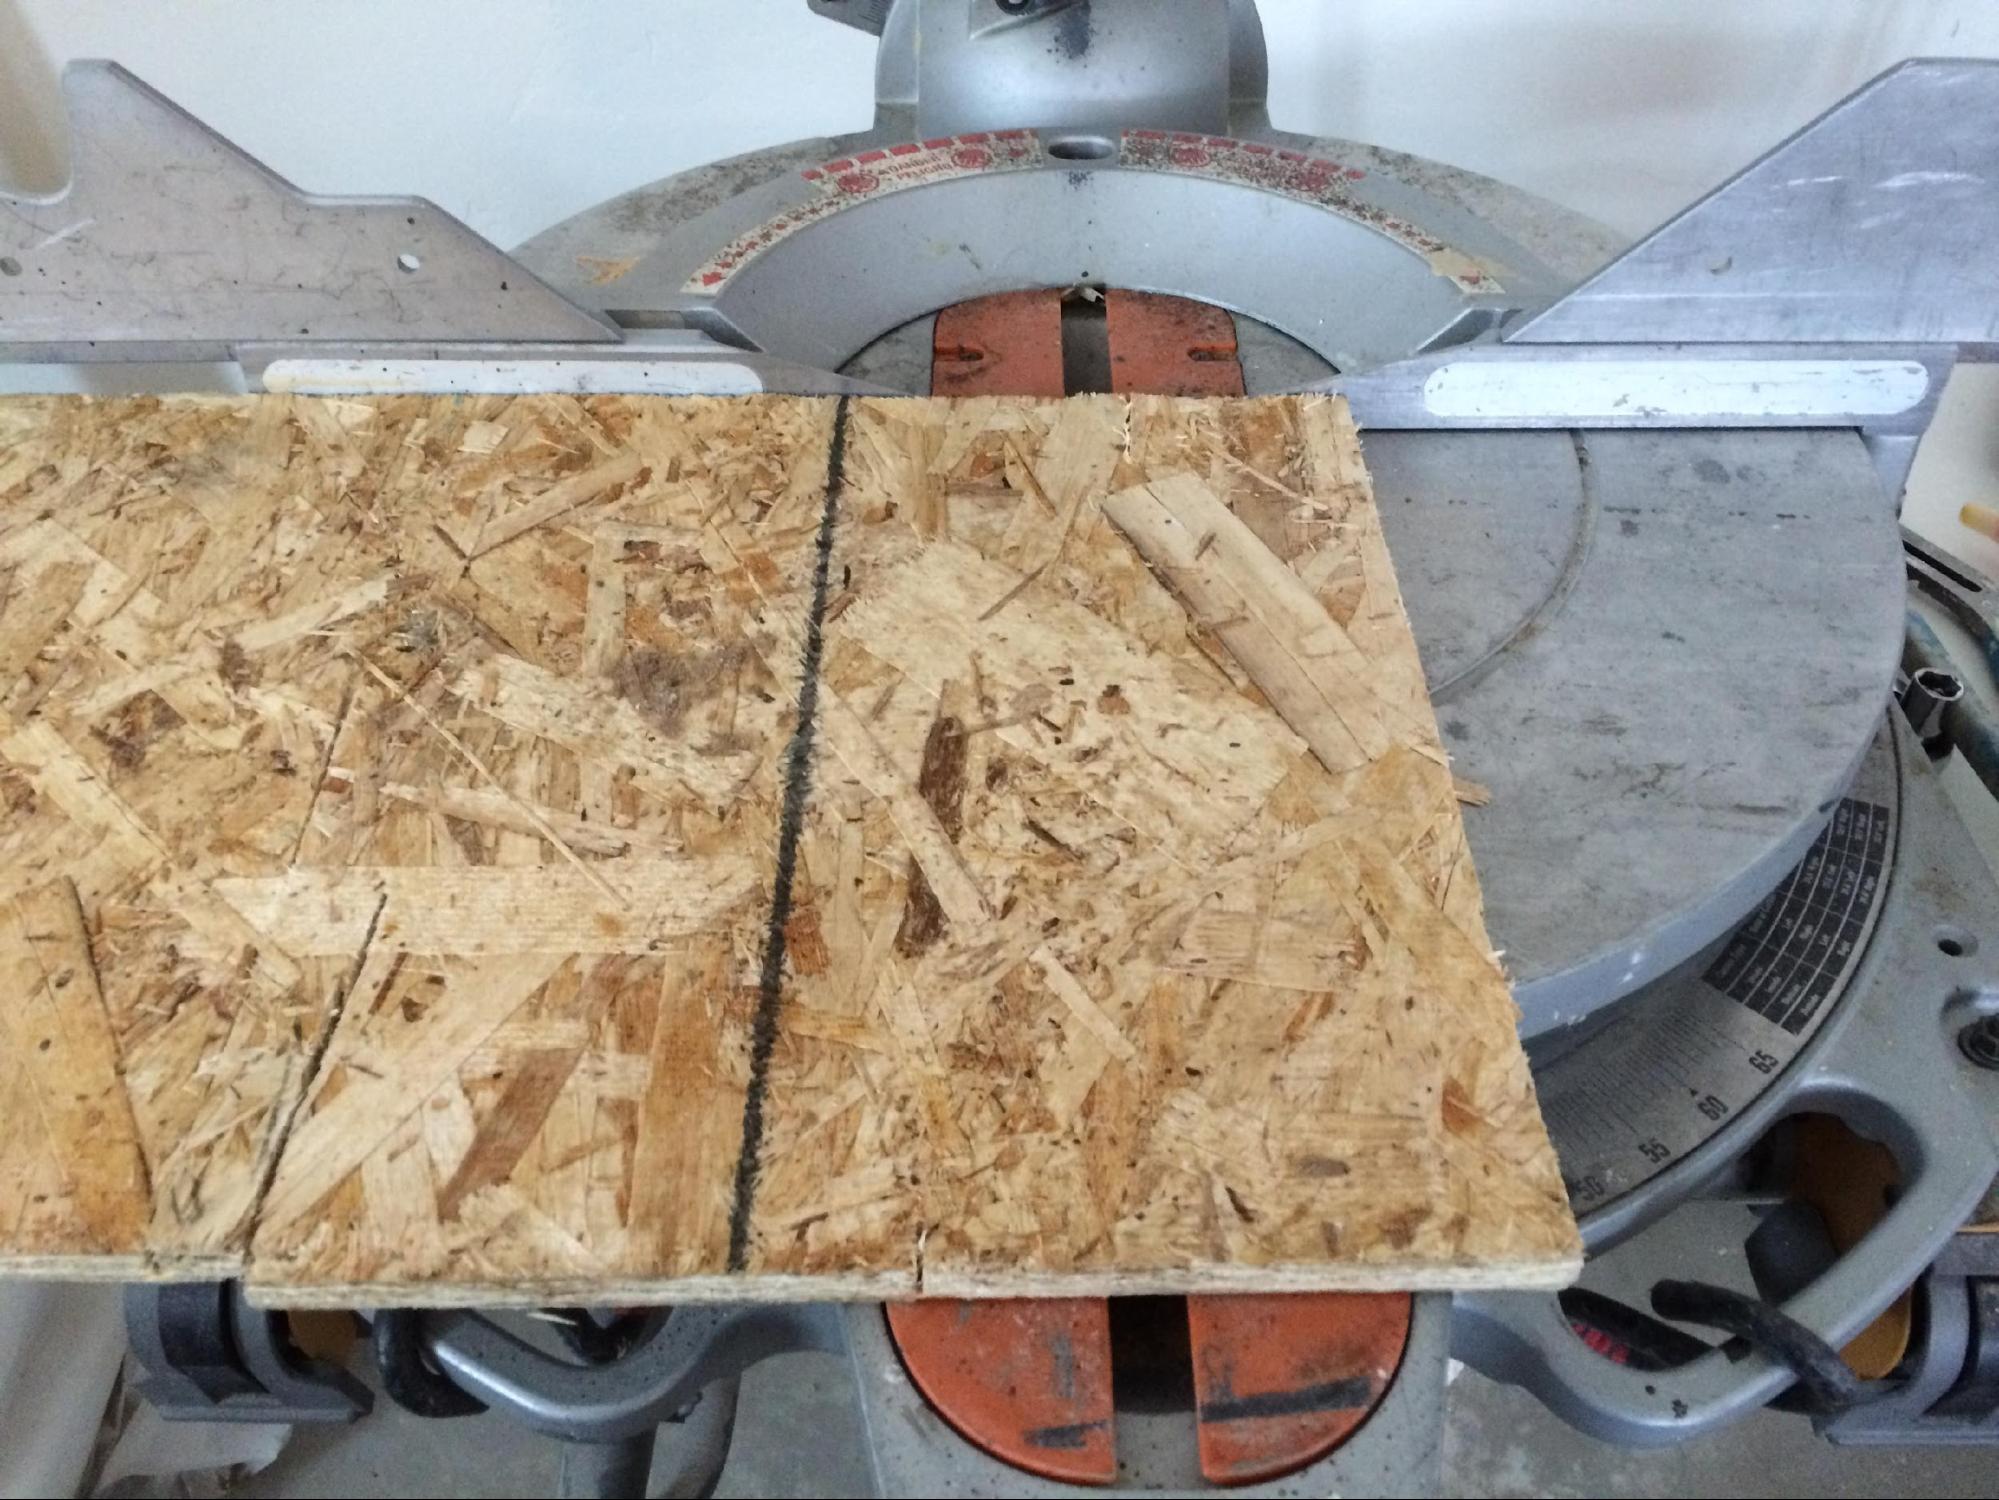
Step 2: Backing for Drywall
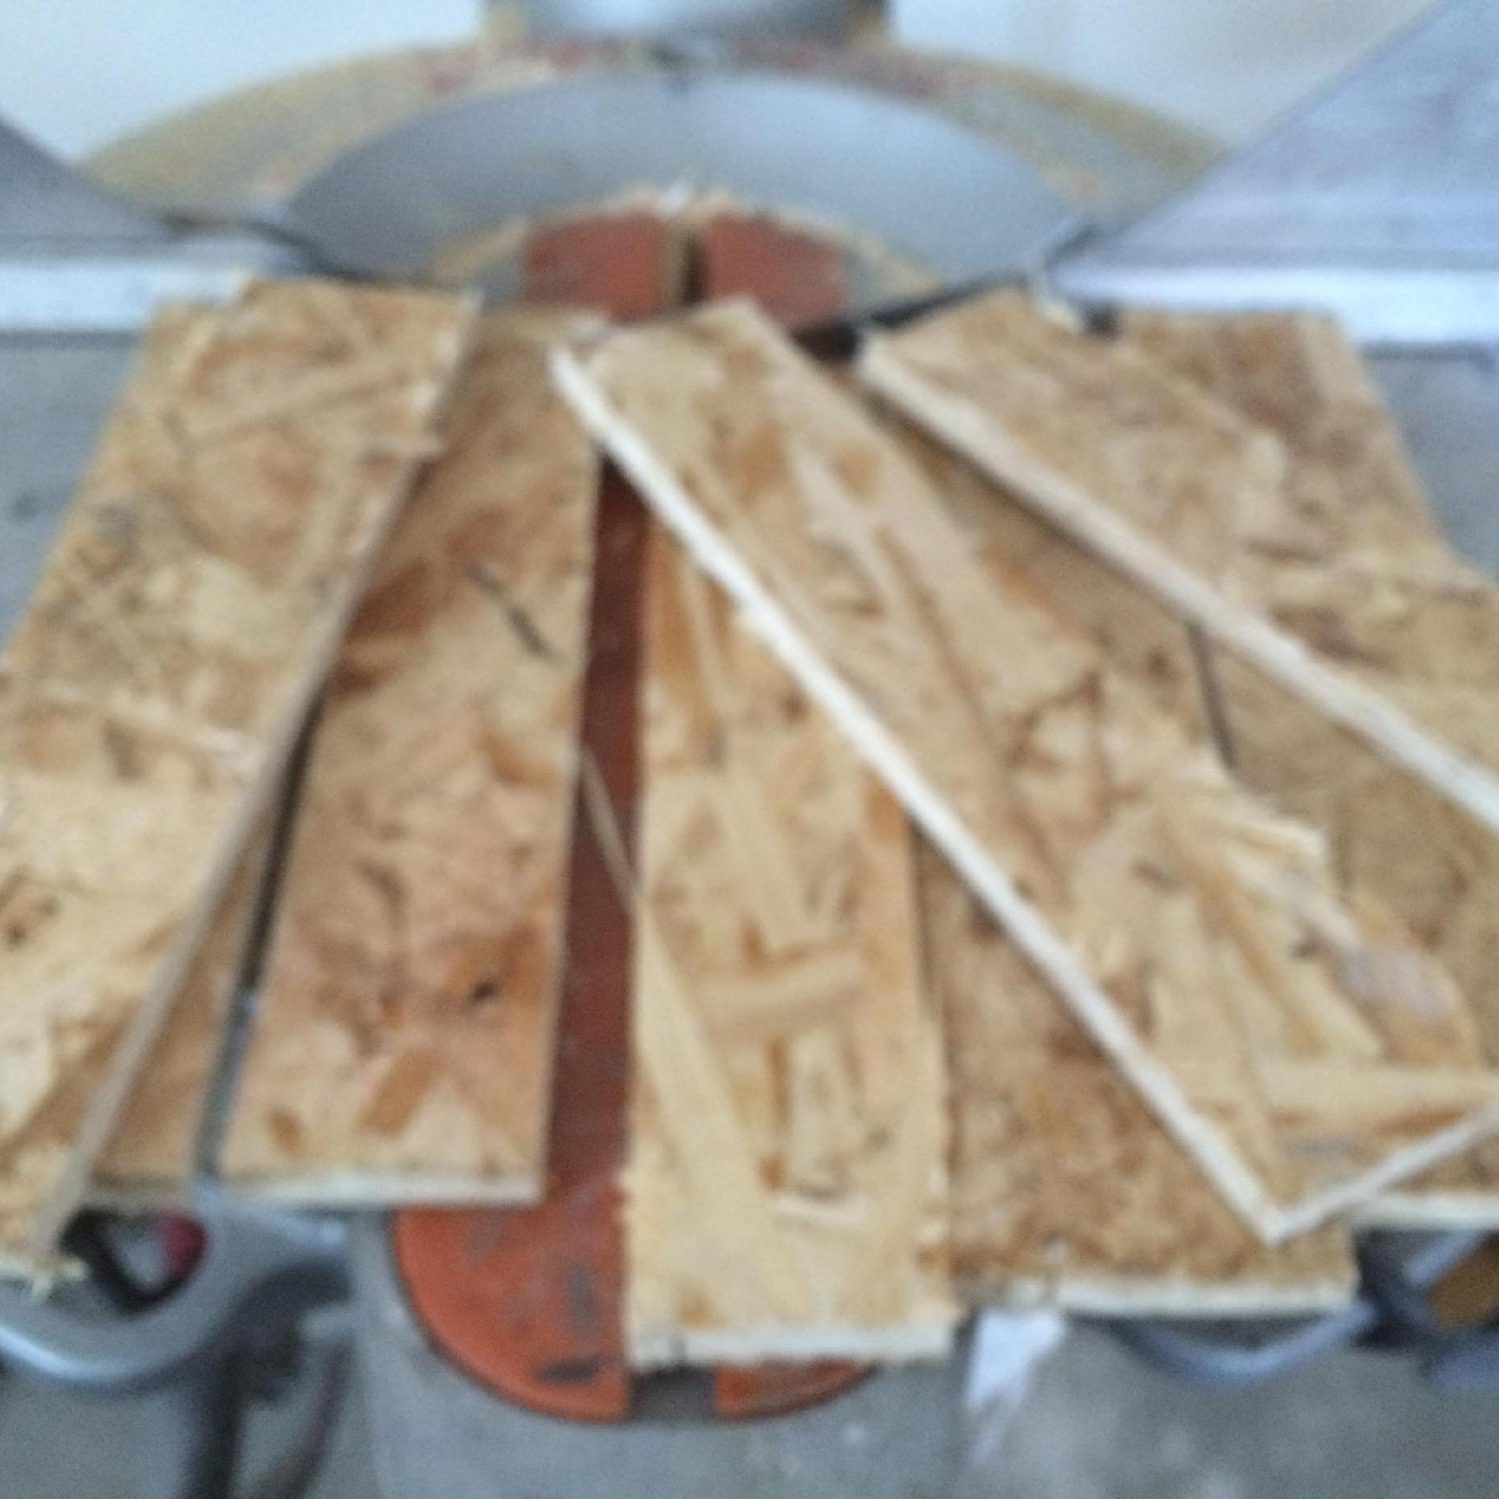
Cut some strips for backing. I idea is to have something to attach the drywall to. Screw it into the existing drywall.
-
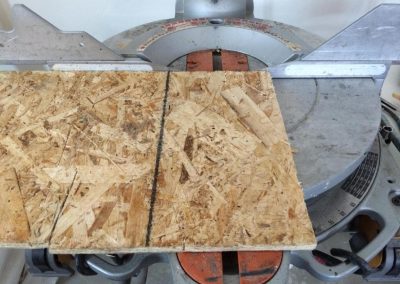
Cut or find some strips of wood for drywall backing
-
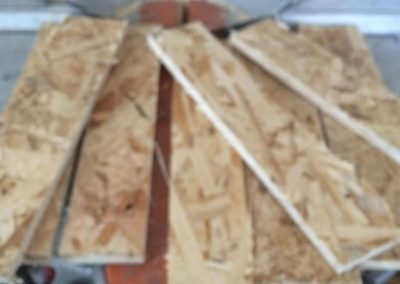
Once the strips are cut, they are ready to be screw into the wall opening
-
These wood strips give me plenty of area to screw my drywall scrap back in.
Step 3: Reattach the drywall
Attach the piece that you cut out. Buy some drywall tape and some mud.
-
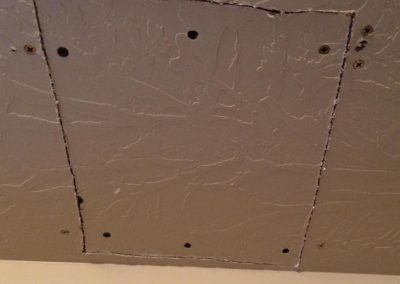
Screw your cut out drywall back in.
-
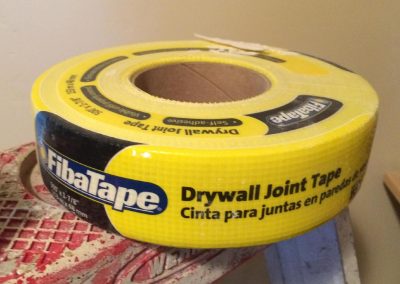
Buy some drywall Joint Tape
-
Buy some joint compound and a putty knife.


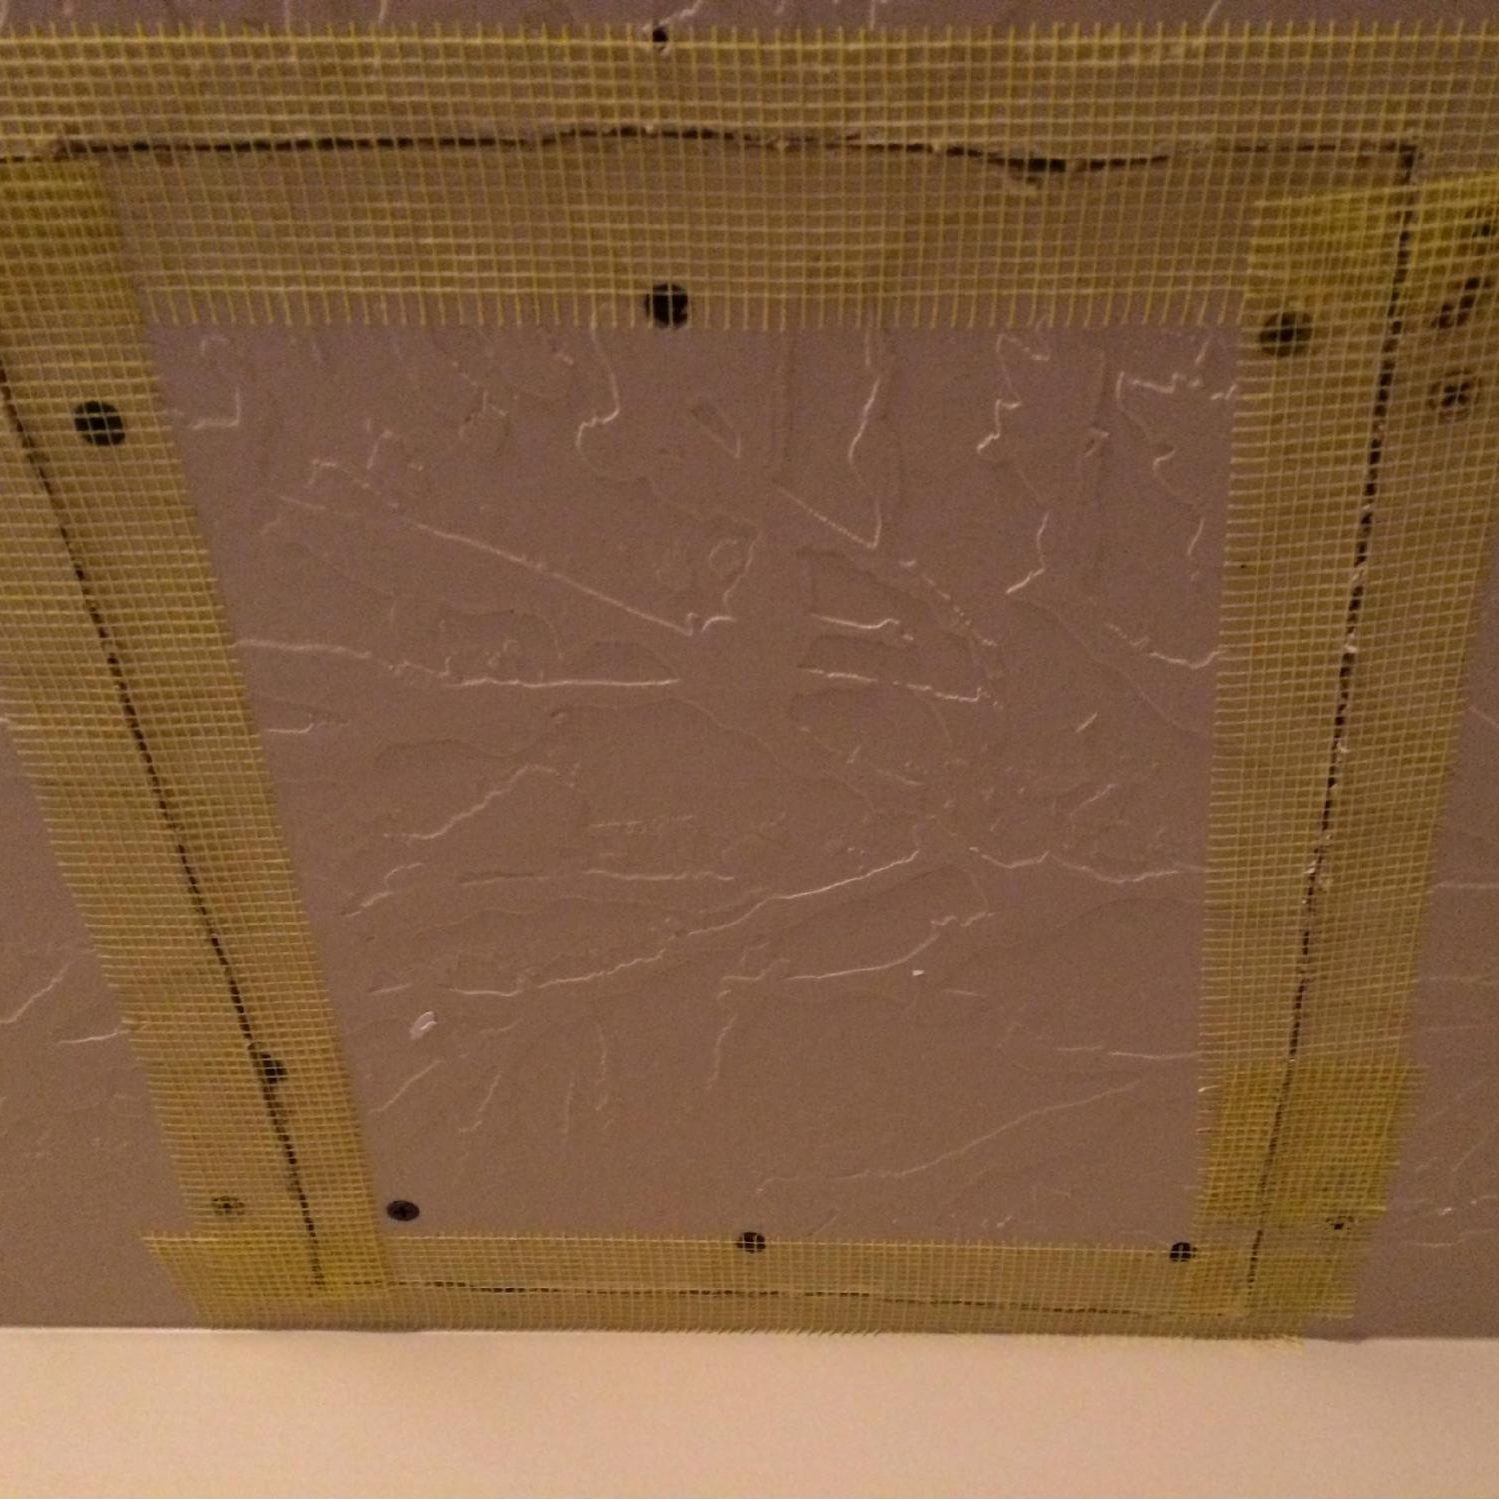
Step 4: Tape the seams
Make sure when applying the drywall mud to get the mud into the cracks. Put a thin coat of mud on the tape, let dry. Apply two or three thin coats as needed, then lightly sand.
-
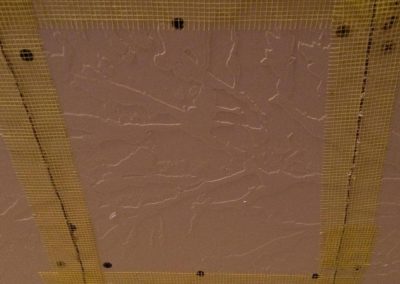
Apply the drywall Joint Tape
-
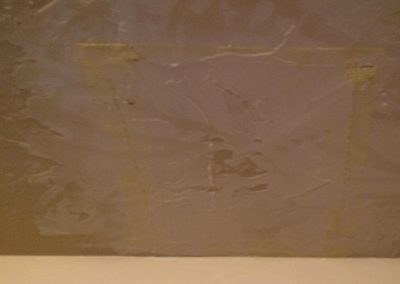
Apply joint compound over the drywall tape
-
Apply multiple coats of joint compound
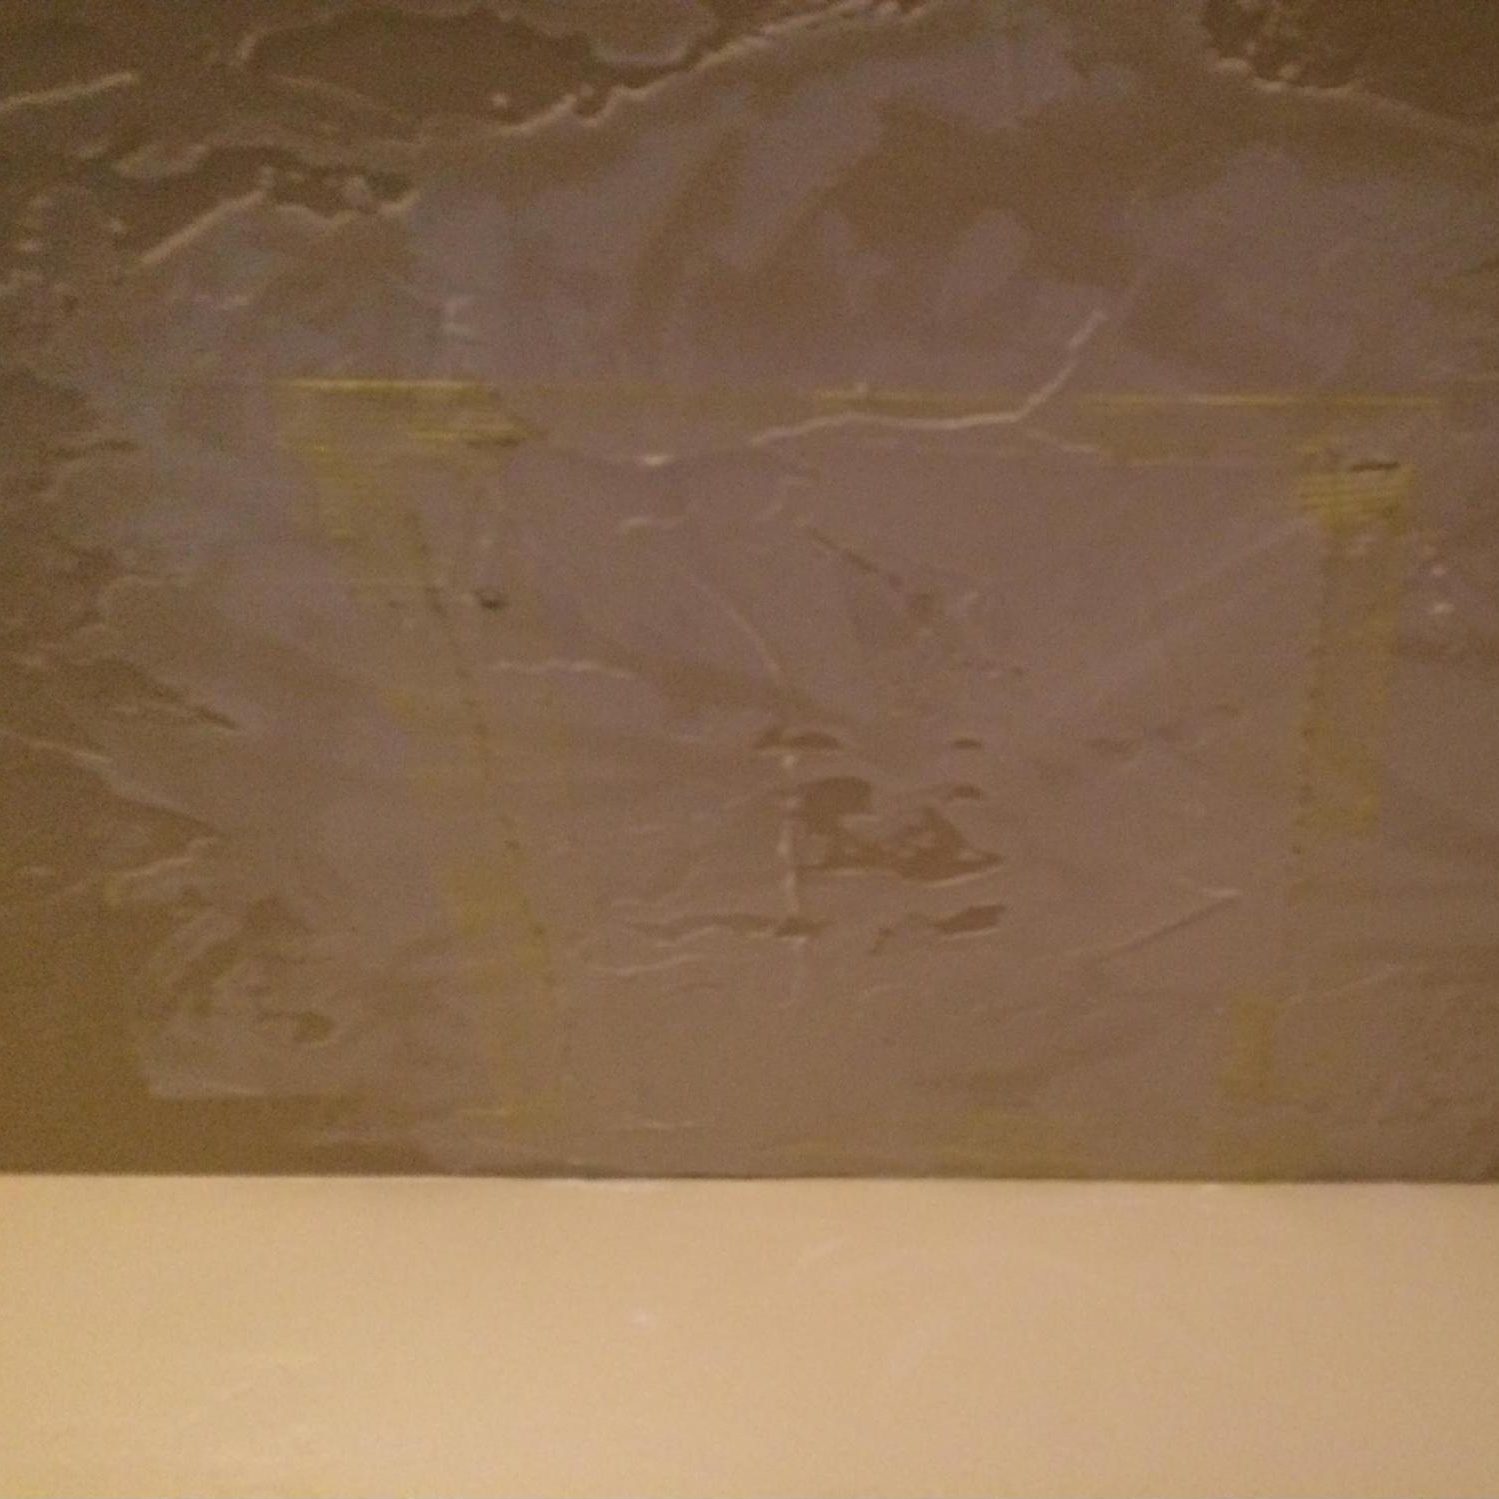

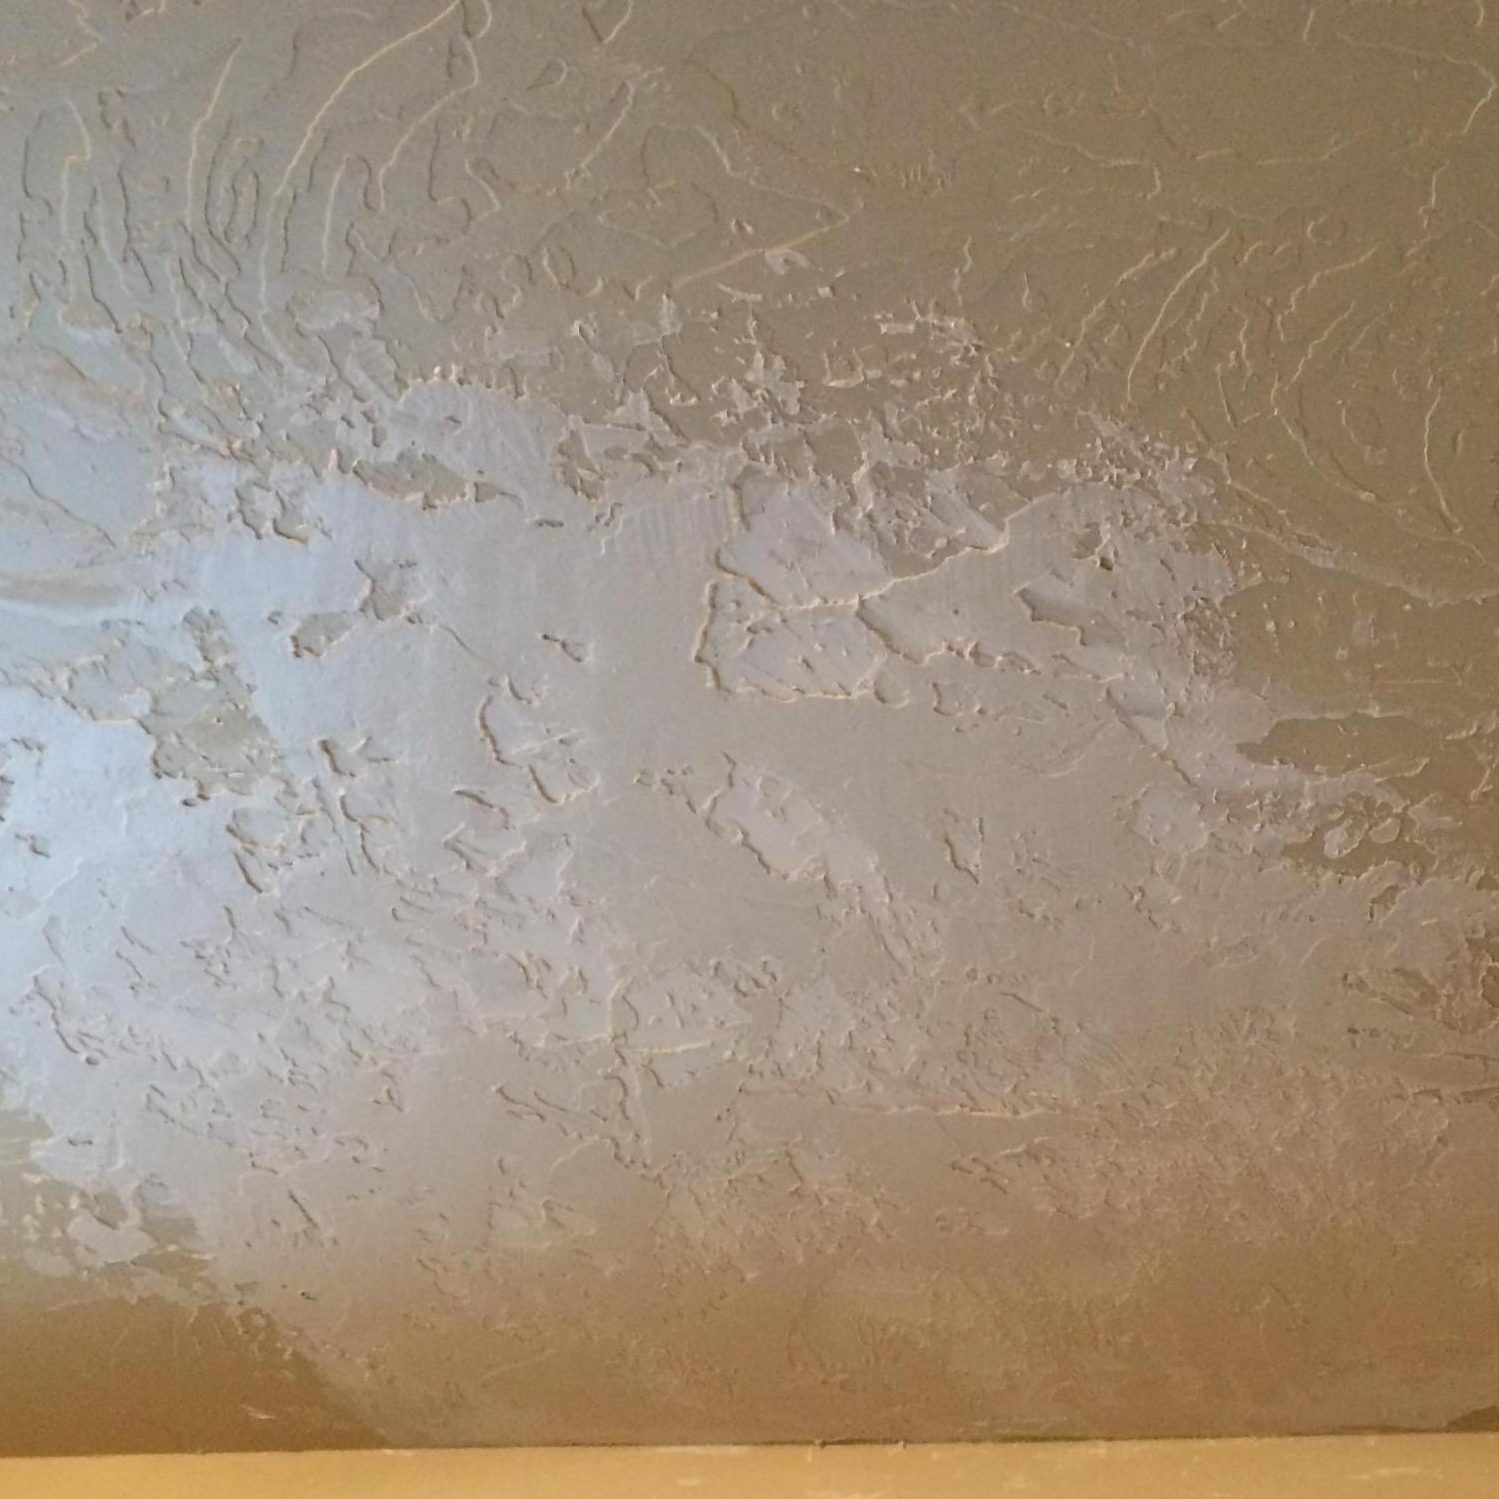
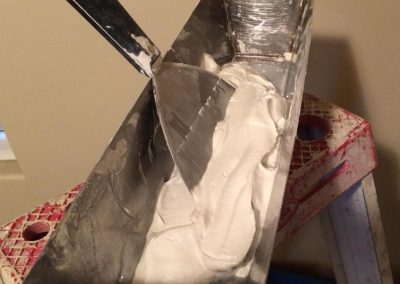
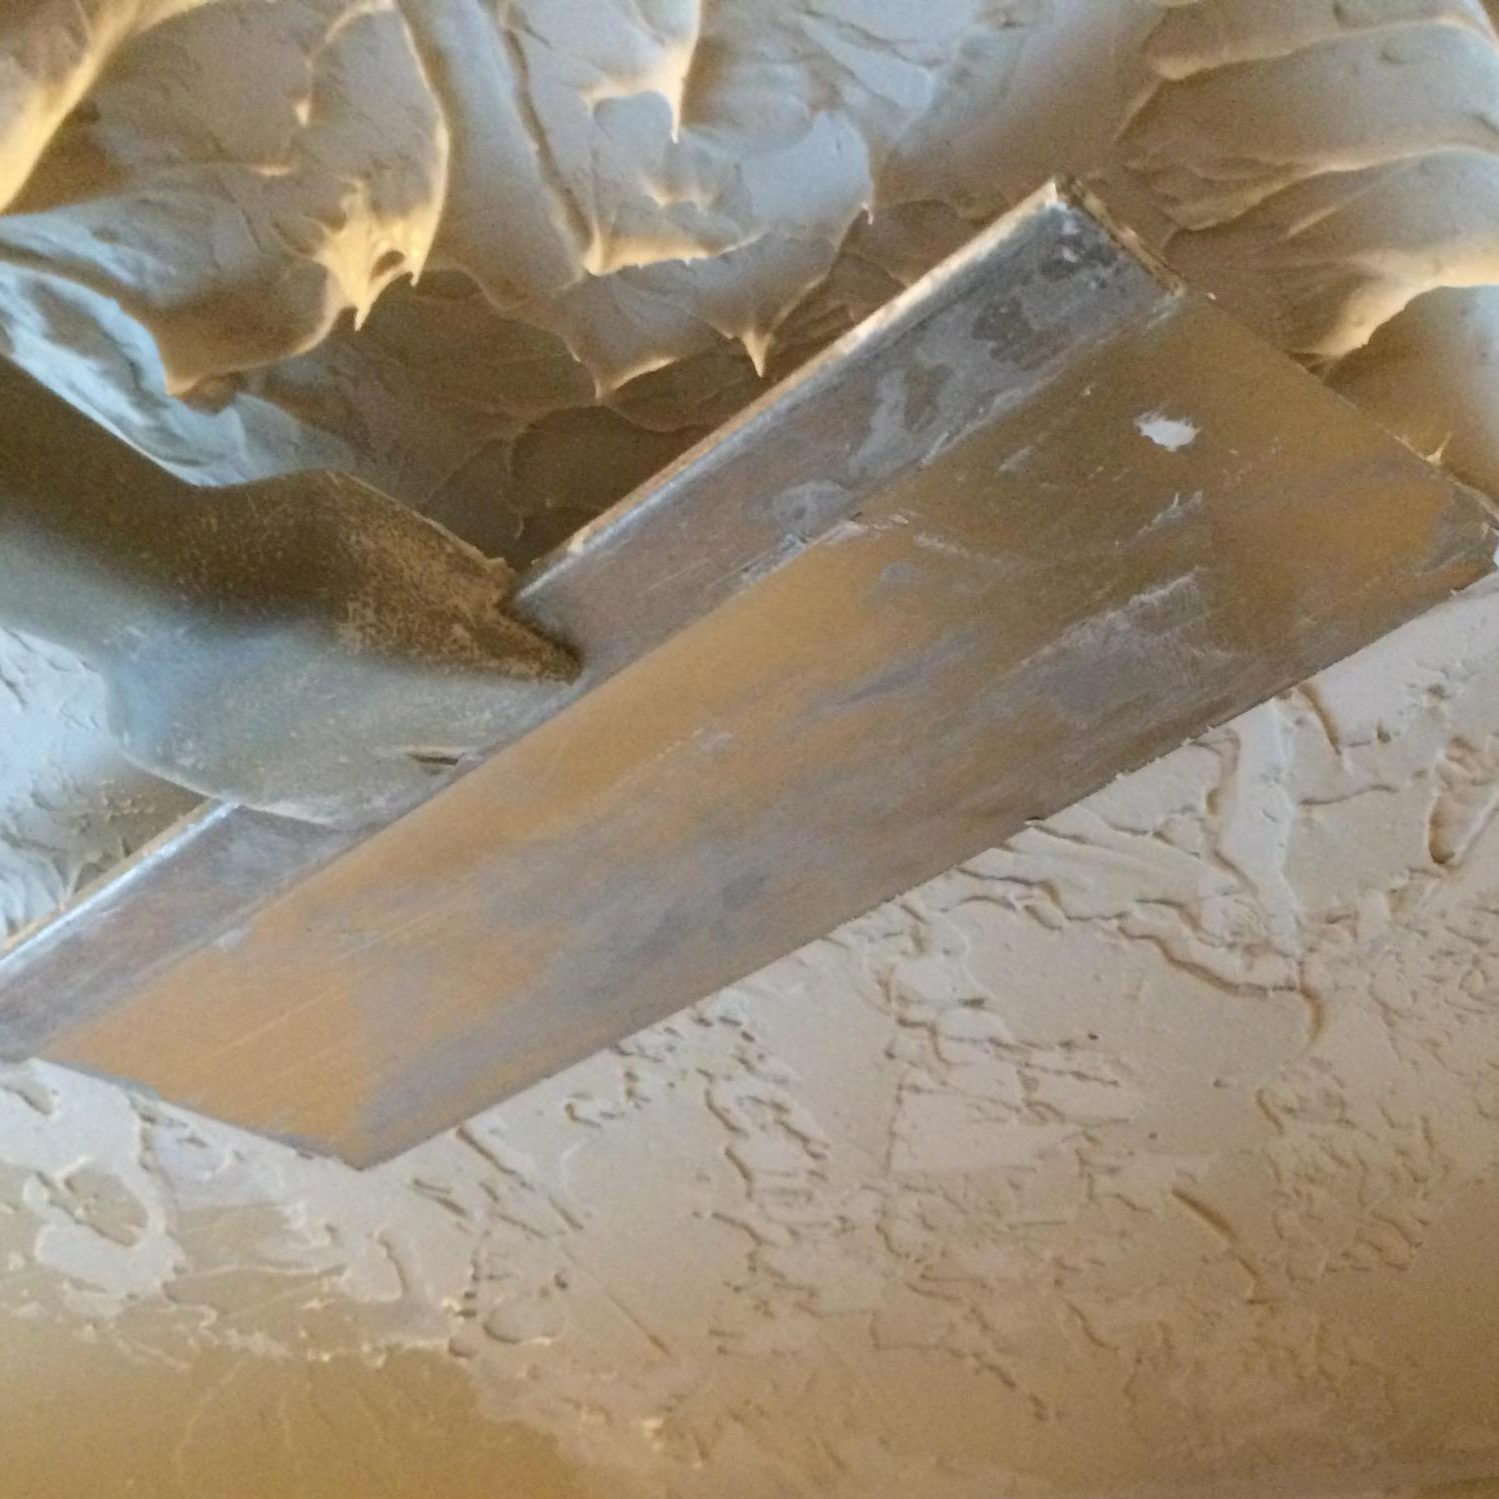
Step 5: Create the Ceiling finish
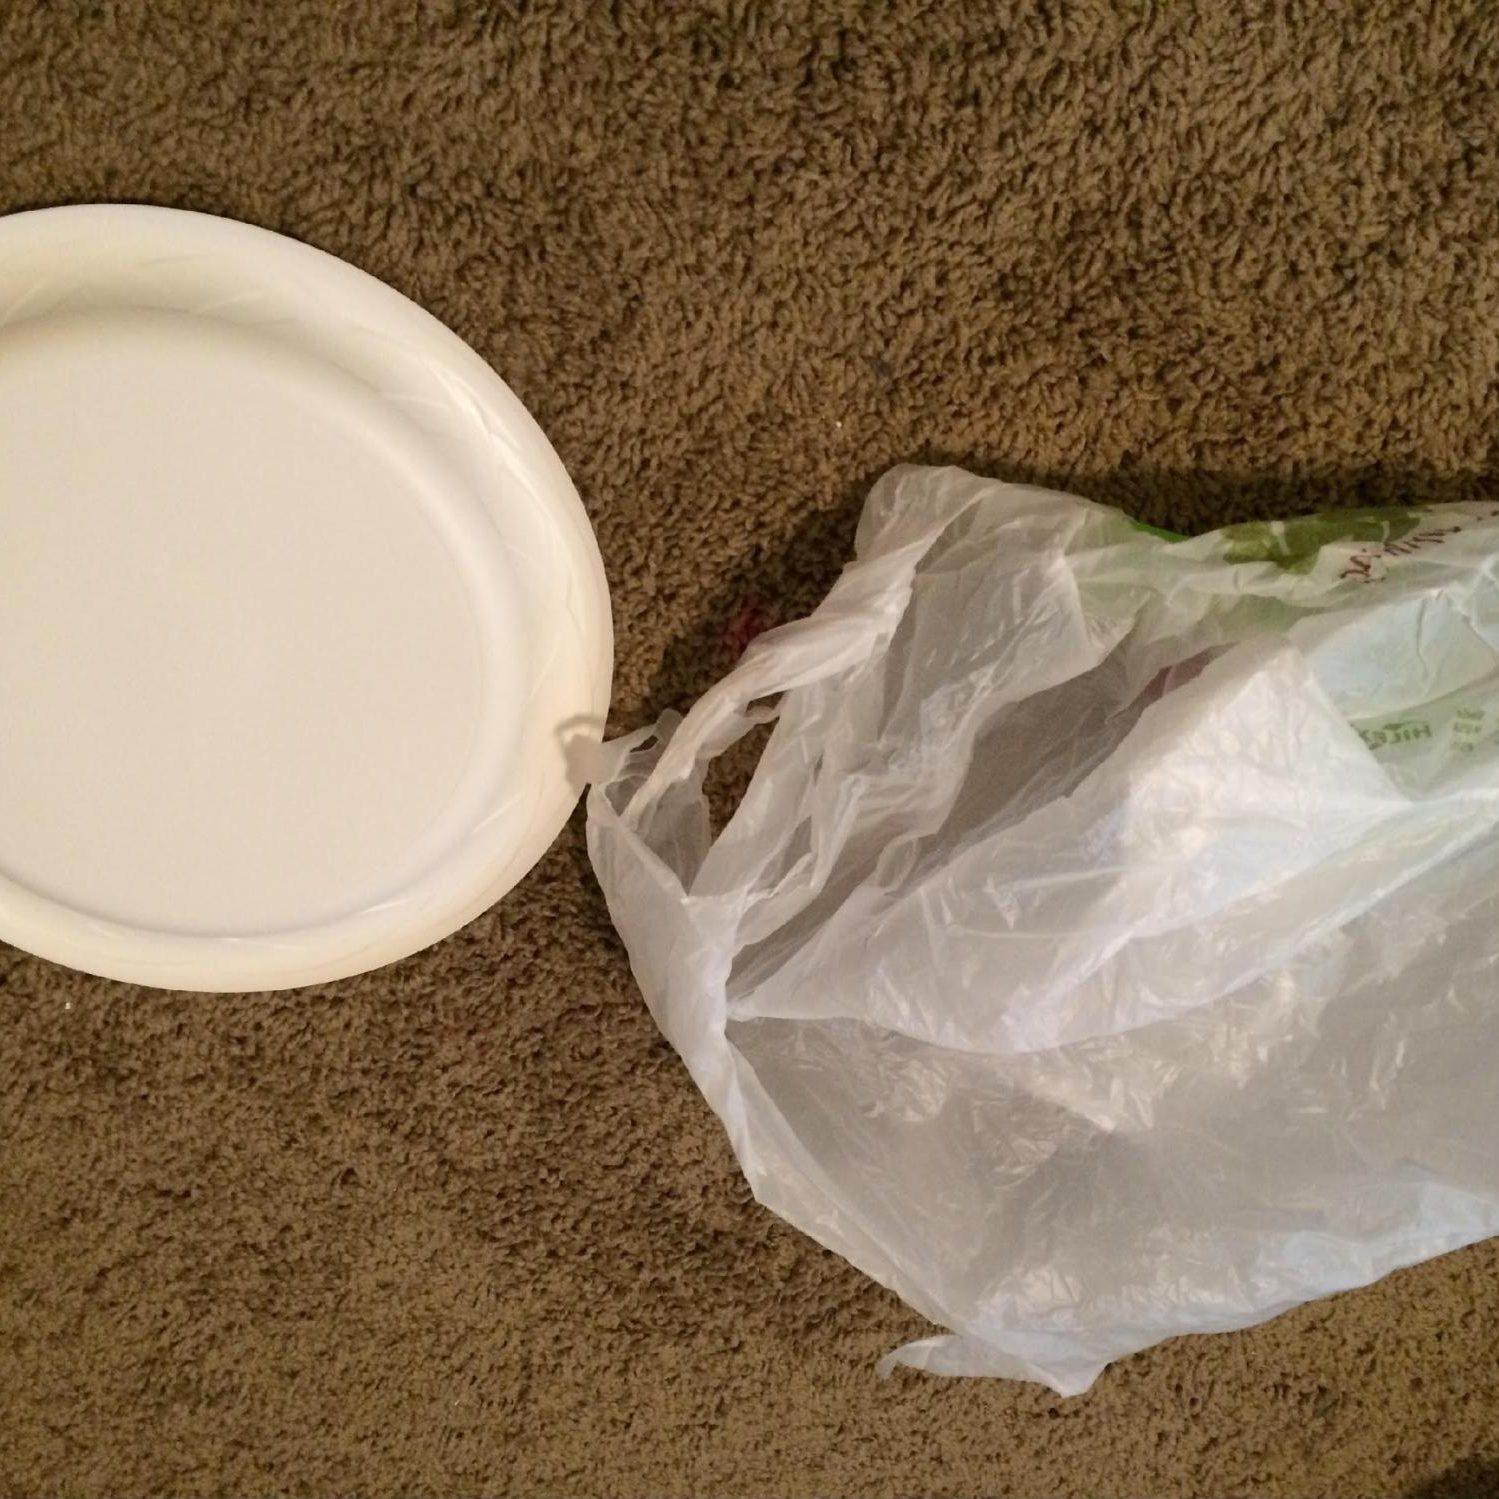
You will need to recreate the finish on the wall. In my case I needed to create a swirl type finish. I did this by using a paper plate and plastic bag.
I put mud on the plate and taped it on the ceiling. I let it dry for a few minutes, then I knocked it down with a drywall knife. This requires a light touch. Once it dries lightly sand to match the existing finish.
-
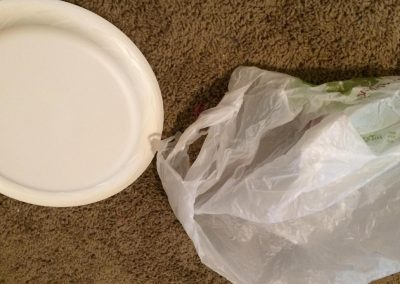
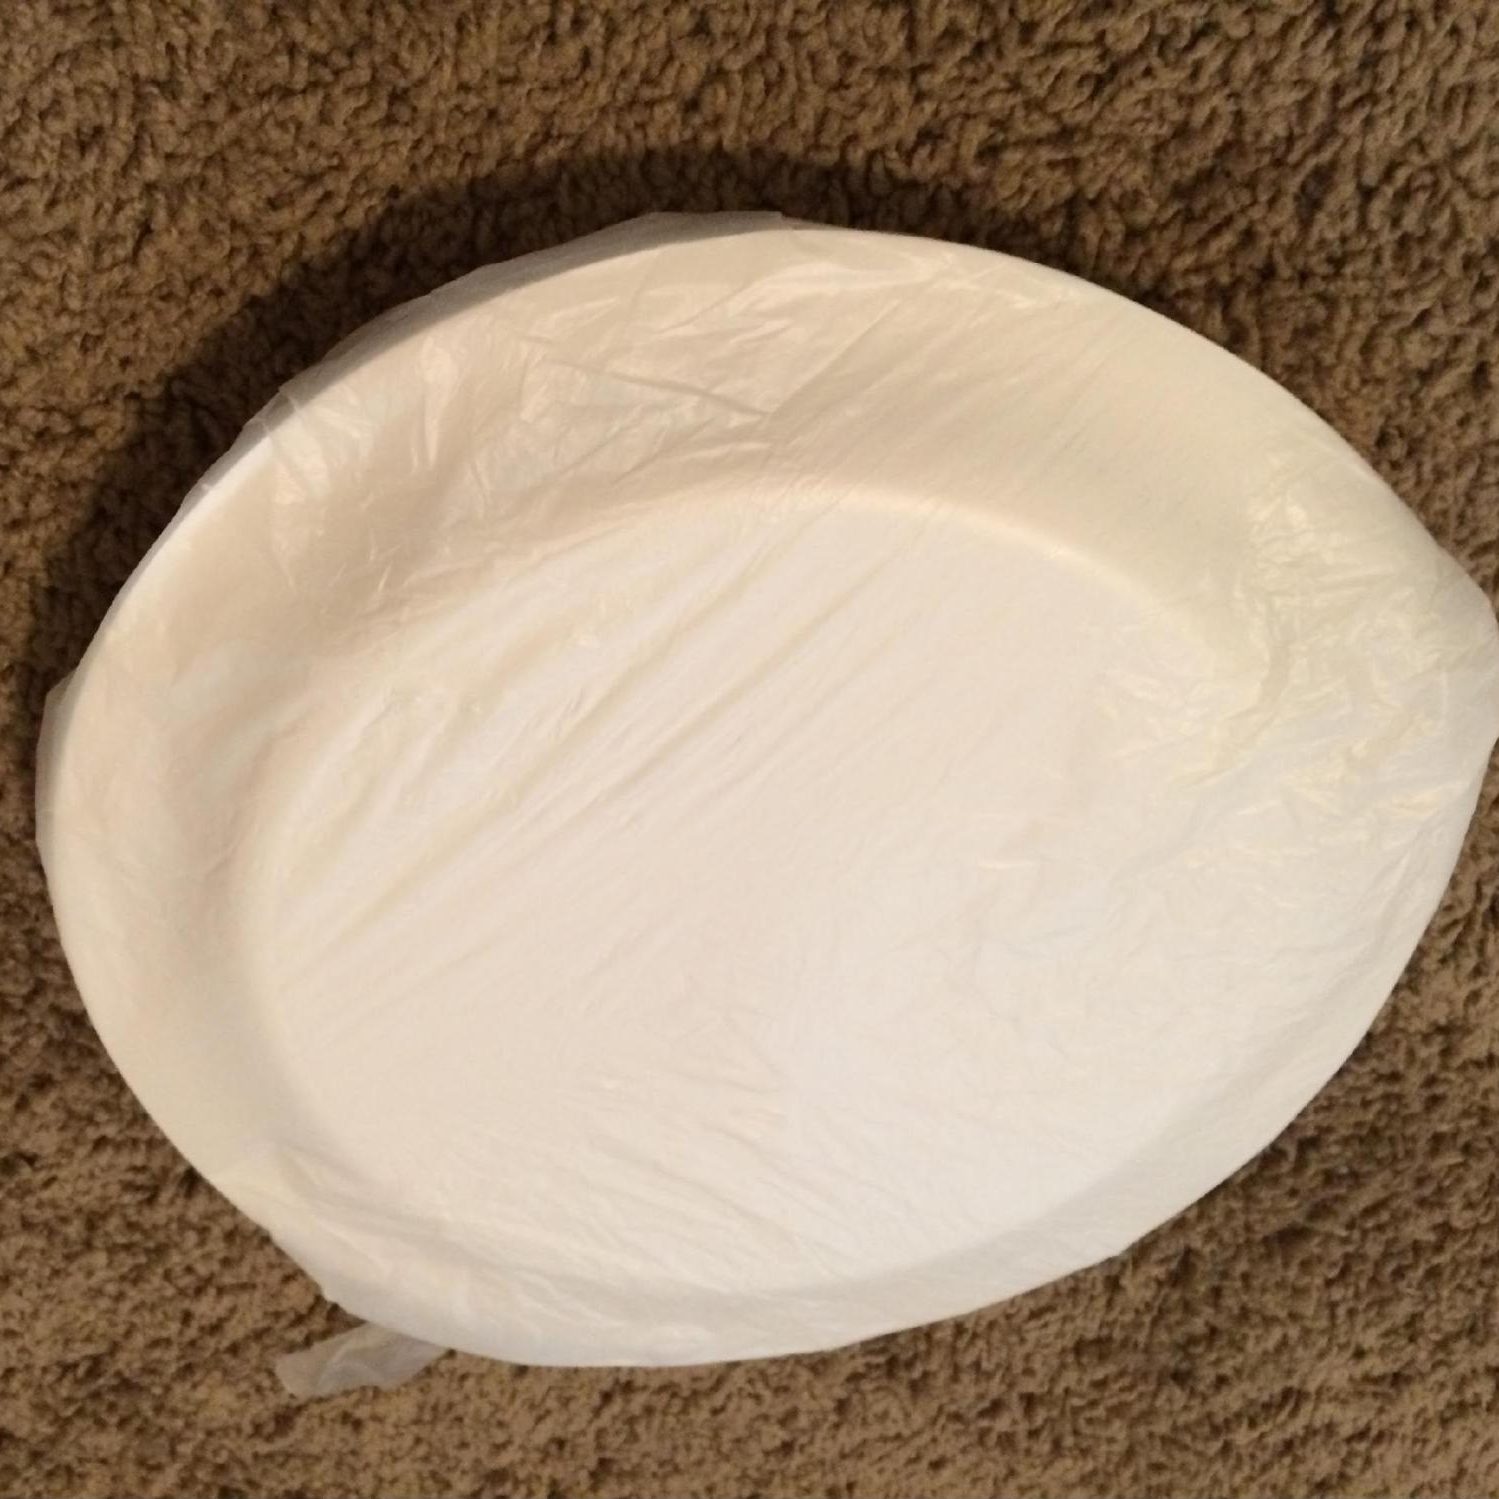
Start with a paper plate and a grocery sack.
-
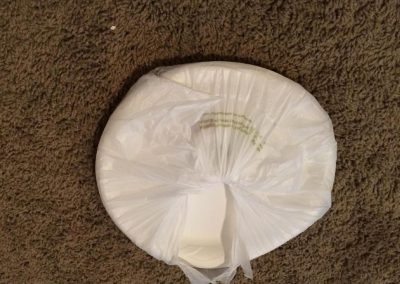
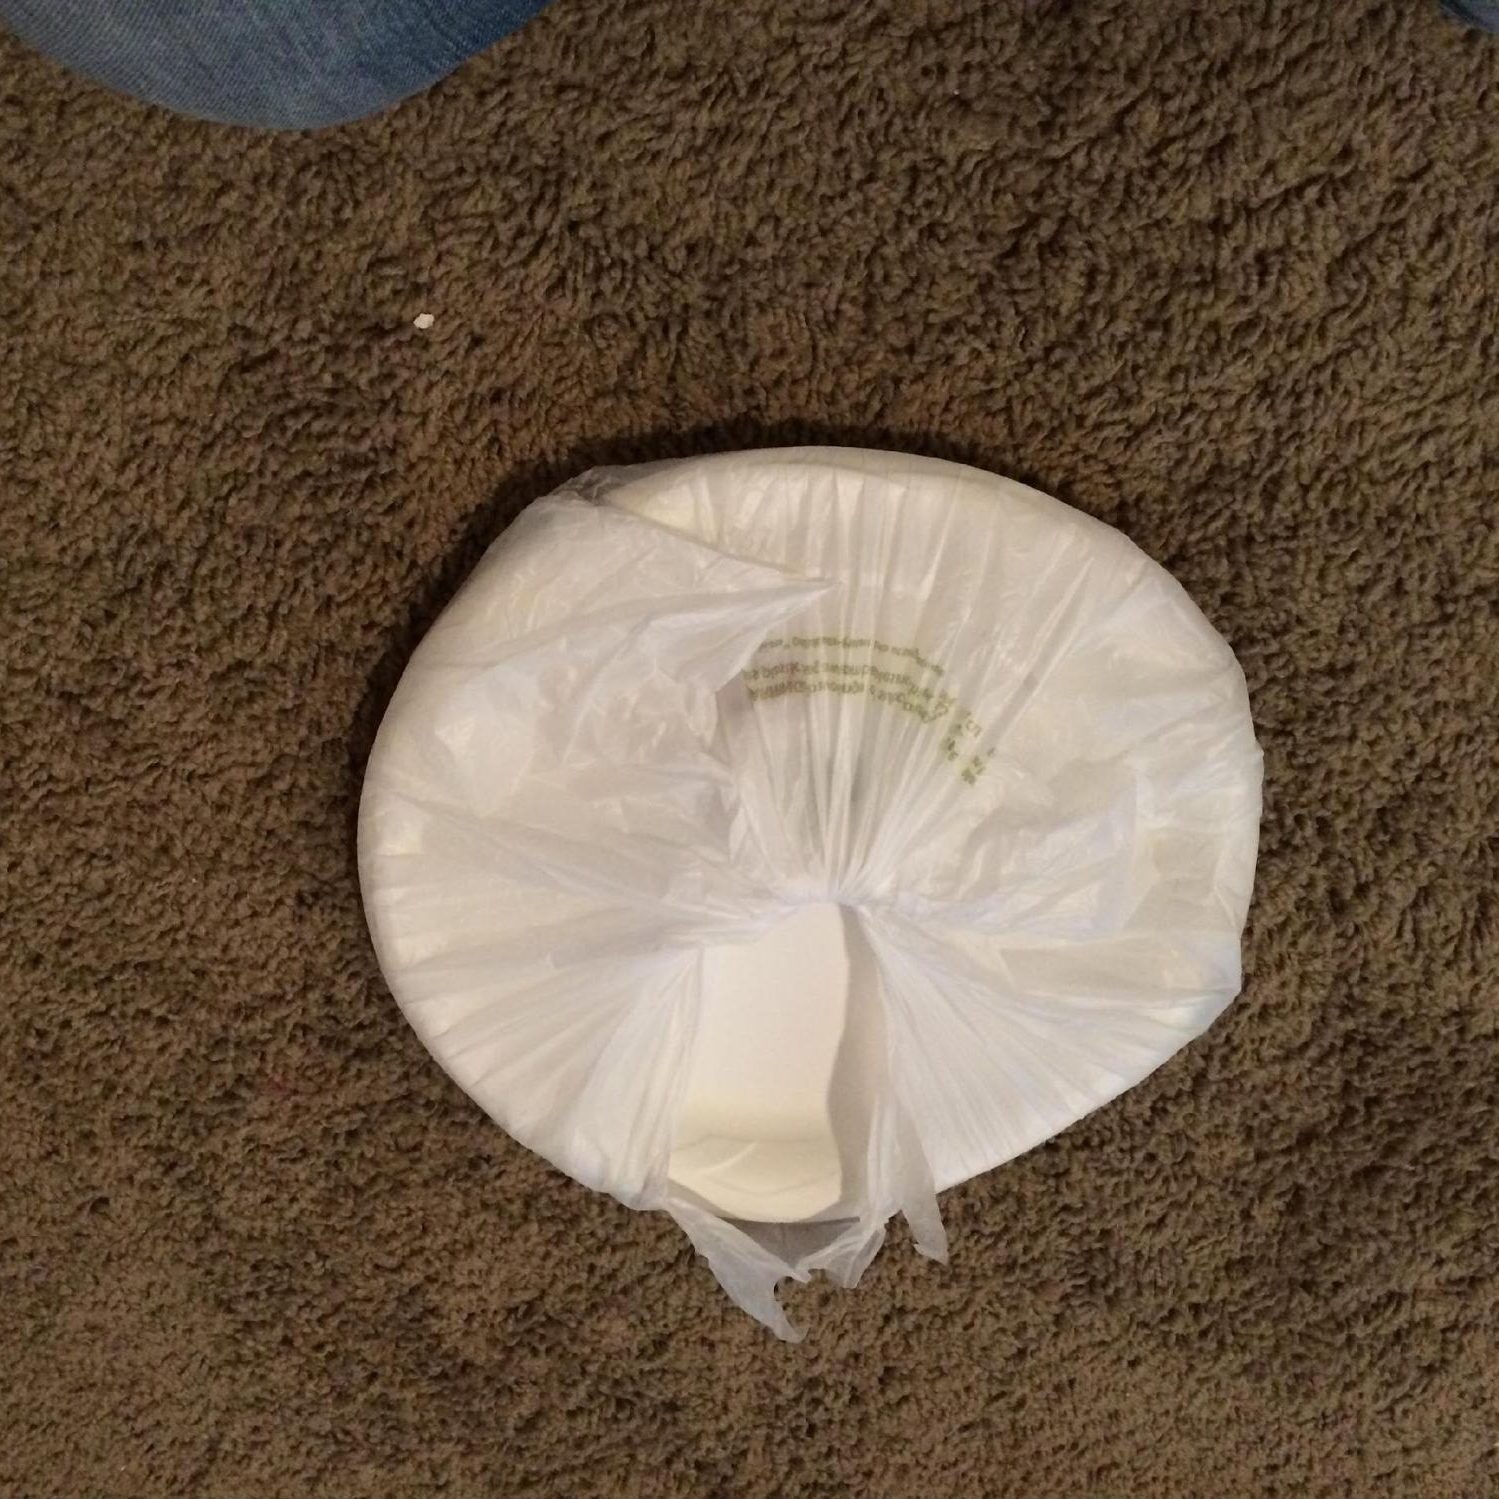
Put the plate in the sack and tie a knot around it.
-
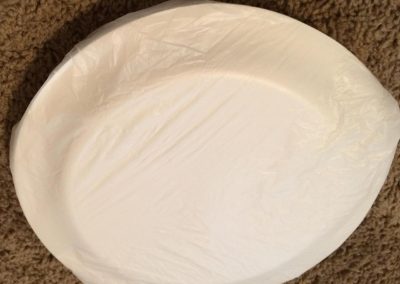
Its ready to use!
-
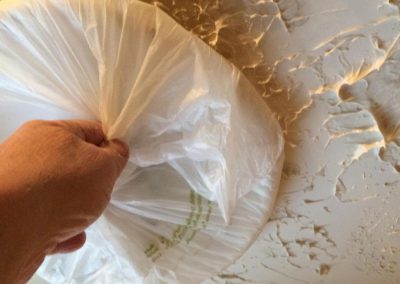
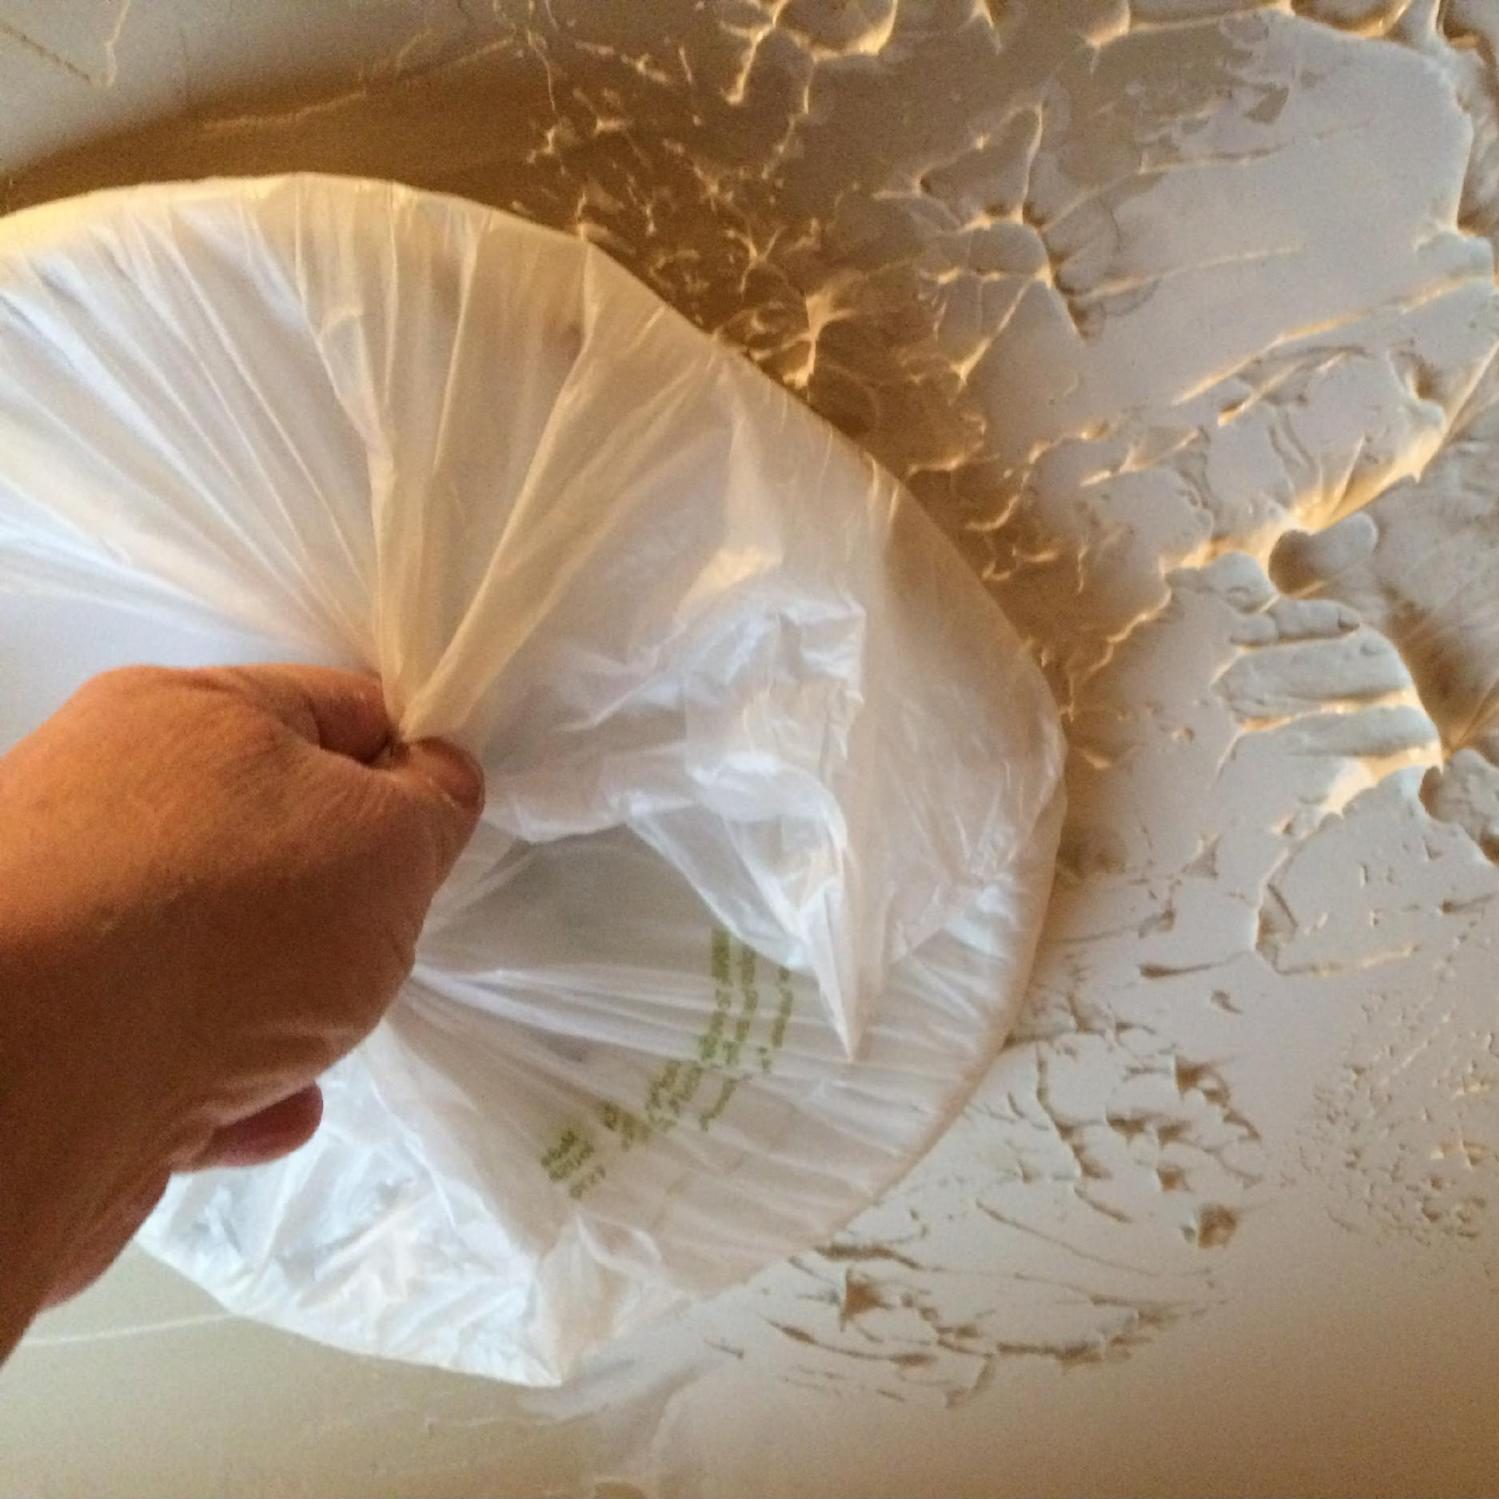
Put some mud on the paper plate and start smooshing it around!
-
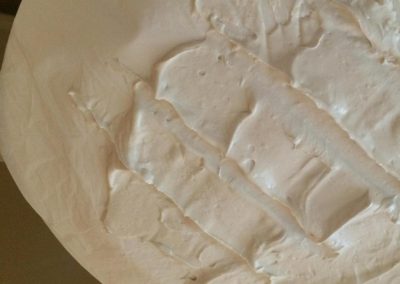
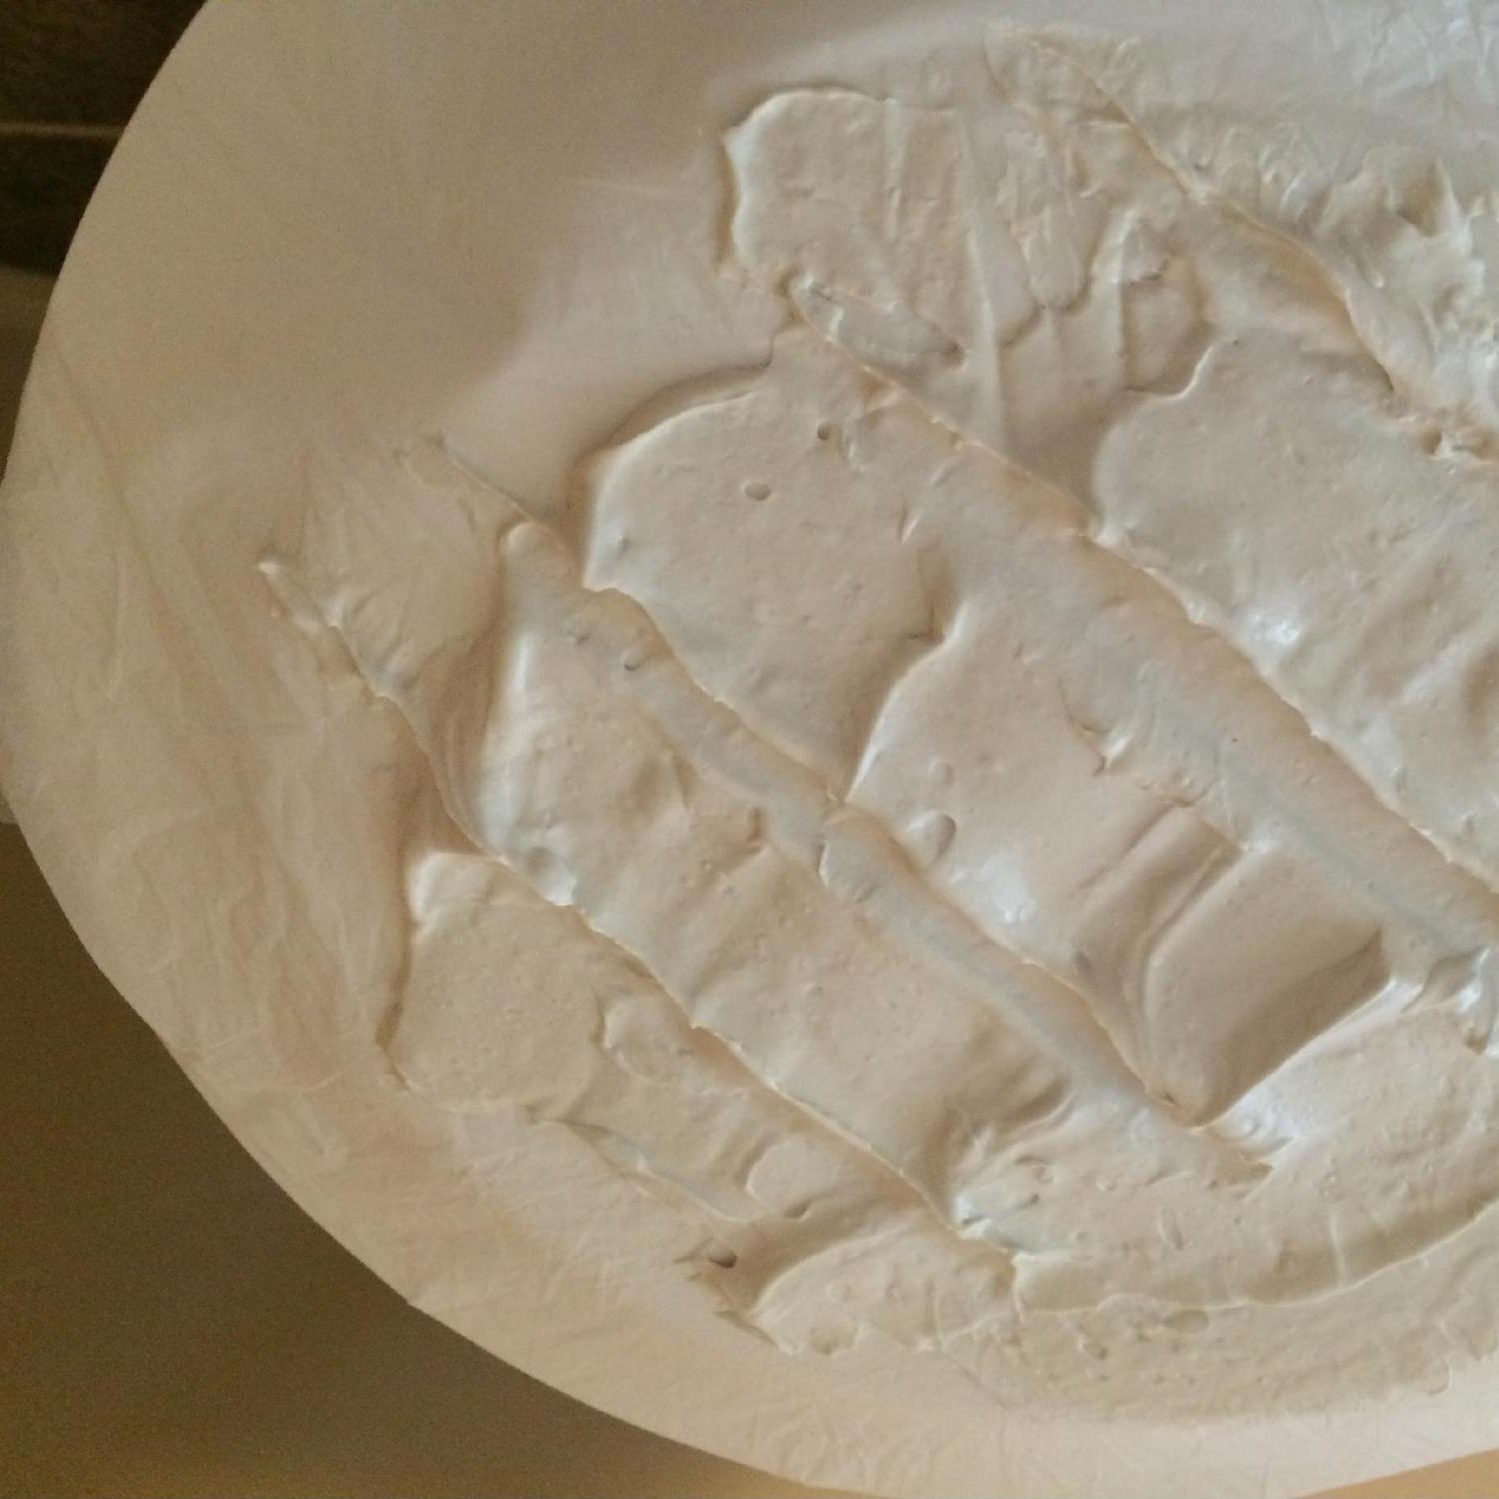
Heres the plate with the desired texture.
-
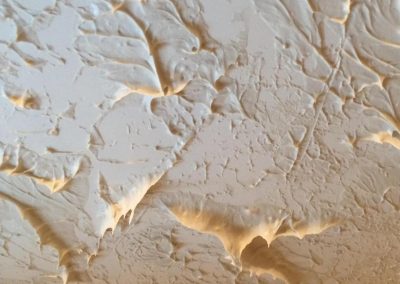
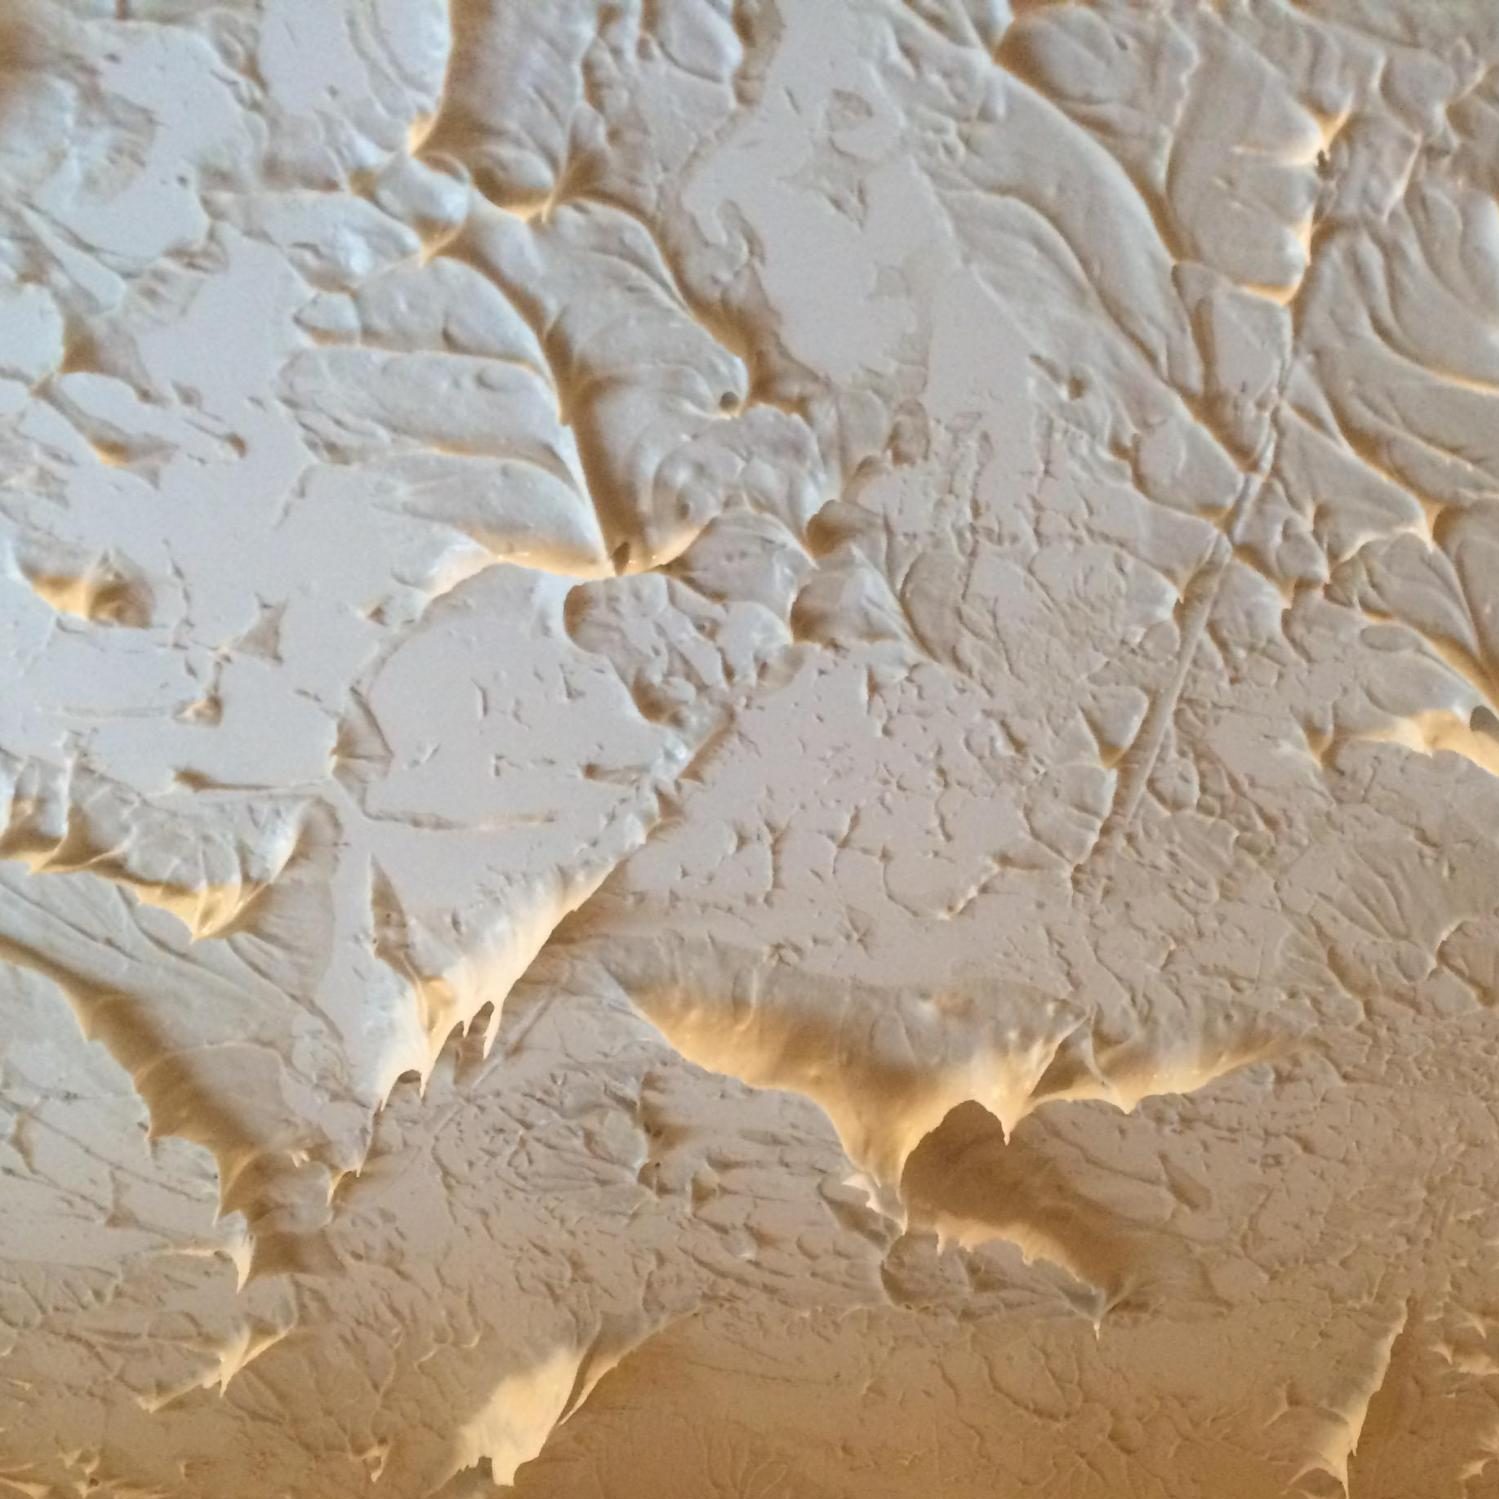
More of the same.
-
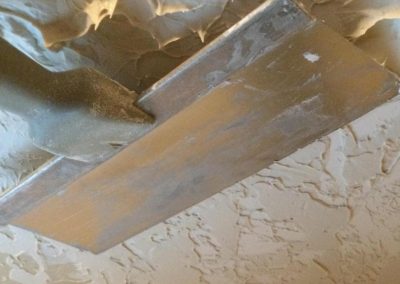
Knock it down using a mud knife after its dried for a few minutes.
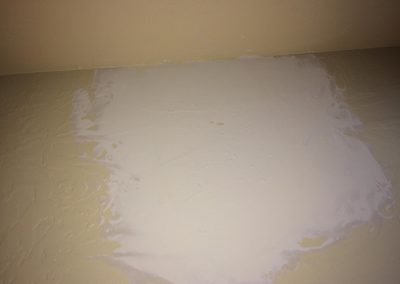
Finished!
-
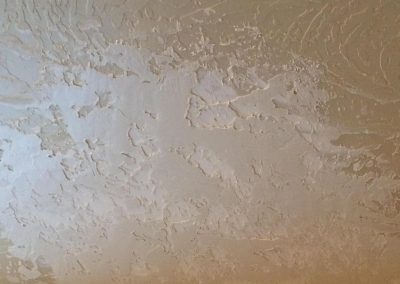
Here is the completed textured ceiling. Ready for primer and paint!