So you need to paint your new (or old) shed? No problem! You’ve come to the right place. Painting a shed is very simple if you follow these four simple steps…
-
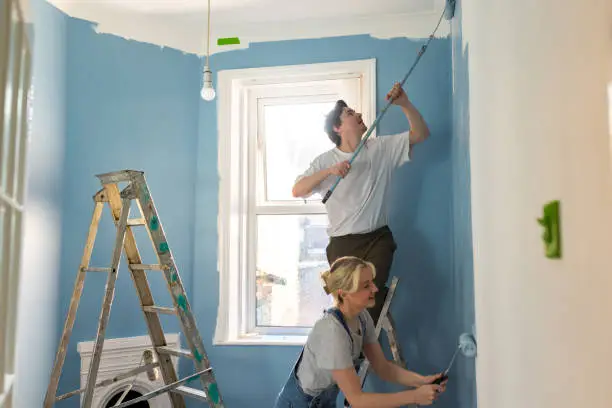
GET THE RIGHT TOOLS
Very paint job requires a few basic tools. You’ll need a roller, an exention pole for the roller, a couple roller sleeves, the paint, a paint bucket screen, paint brush, latex or vinyl gloves, and clothes you can get paint on! If you have a paint sprayer great, but those can be hard to use, clean, and they seems to break at the least opportune time.
-
PREPARE THE SHED
Prepare the shed by removing an debris, dirt, flakes or an other foreign matter. This will ensure your paint will adhere adequately to the shed. If there was a previous coat of old paint, make sure to lightly sand it so as to create a surface the paint will grab onto. Tape off or cover any areas that you don’t want to get paint on. This will save you cleaning time later. Once these things are done, you are ready to prime and paint.
-
PRIME
Priming the shed is important if you want the shed to last a long time. Some paints now include a primer but personally I would put at least one coat of oil or water based primer. Try to find an exterior grade and remember, if you use oil based primer or paint, you will need to use mineral spirits to get things cleaned off you or your tools.
-
PAINT
Paint your shed with at least 2 coats of exterior grade paint. There are many brands out there so ask a local professional what they suggest. Use a paint brush to get into the nooks and crannies you can’t with a roller. You want to keep a wet edge with your roller but you don’t want a big sloppy mess. And don’t put overly thick coats of paint to minimize drips. Follow the directions on the paint can when it comes to drying times and recoating.