Building a Cheap Storage Shed
After the shed is framed, the first step to finishing it as a she shed, office, shop, or bedroom is to install the necessary electrical components. Here are the steps to finish a storage shed:
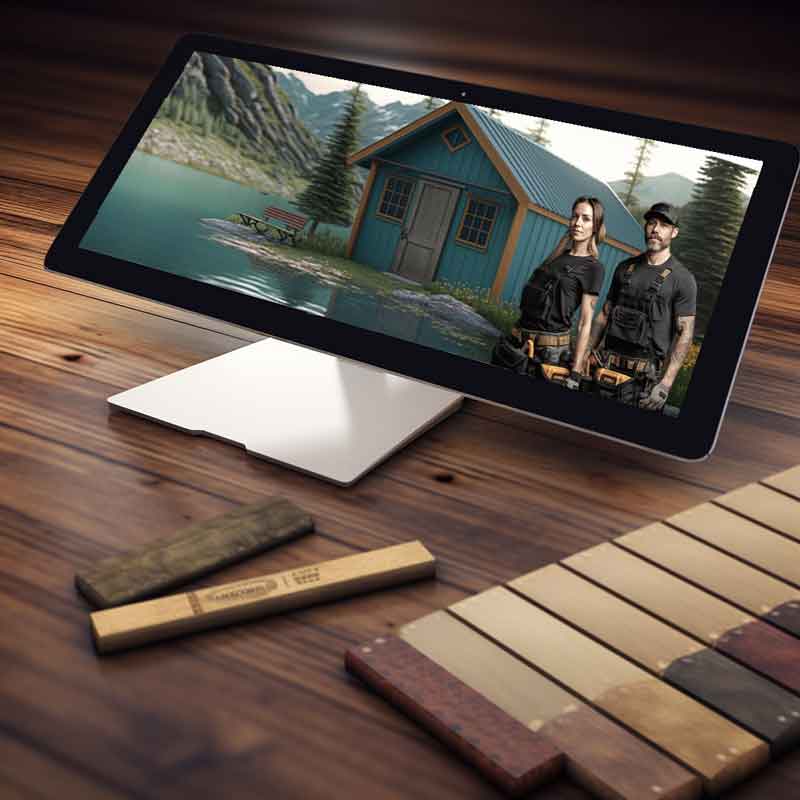
Why Choose DIY-Plans.com?
Hey there, fellow DIYers! If you’re looking to build a cheap storage shed without having to hire a contractor, then you gotta check out DIY-Plans.com. I have been building different project for a very long time, I can tell you that this website has a wide variety of affordable shed plans that are perfect for anyone on a budget.
One of the biggest reasons to choose DIY-Plans.com is the variety of plans they offer. They’ve got plans for small storage sheds, medium-sized workshops, so you can choose the one that fits your needs best. They’ve also got plans for different styles of sheds, from basic to more elaborate designs.
Another reason to choose DIY-Plans.com is the affordability of their plans. Hiring a contractor to build a shed for you can cost a thousands, but DIY-Plans.com offers their plans at a fraction of the cost. Plus, their plans come with detailed instructions and a list of materials you’ll need, so you won’t have to worry about overspending on materials.
Using DIY-Plans.com can also save you time and stress. Their plans are designed to be easy to follow, even for beginners. They come with step-by-step instructions and diagrams, so you can be confident that you’re building your shed correctly.
Overall, if you’re looking to build a cheap storage shed, then DIY-Plans.com is the way to go. They’ve got a ton of options to choose from, their plans are affordable and easy to use, and you’ll save money by doing it yourself.
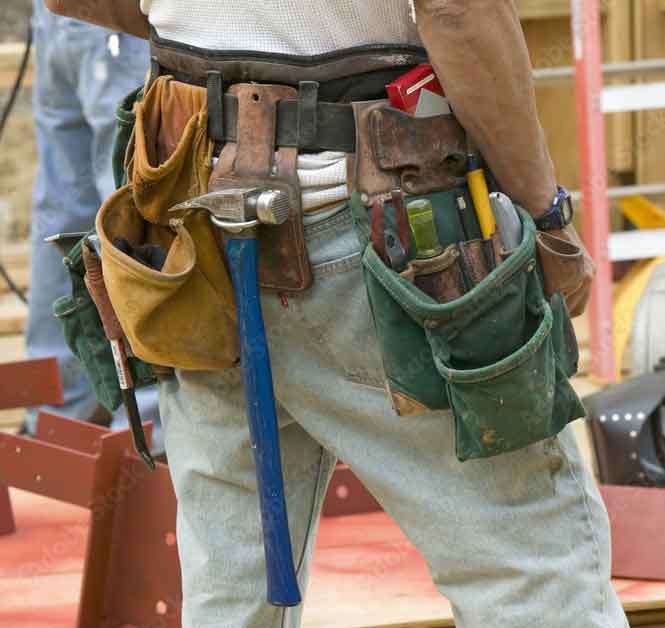
Materials and Tools Needed
Now that you’ve decided to use DIY-Plans.com to build your storage shed, let’s talk about the materials and tools you’ll need. I know that choosing the right materials and tools is crucial to building a high-quality shed that will last.
Materials:
The list of material is listed on the estimating worksheet provided with your plans. First, you’ll need lumber for framing the walls, roof, and floor, as well as siding and trim boards for the exterior. You’ll also need roofing materials, such as shingles or metal roofing, as well as underlayment and flashing. Hardware, including nails, screws, and other fasteners, as well as hinges and locks for doors and windows, will also be necessary. Finally, you’ll need foundation materials, such as concrete blocks, gravel, or other materials to create a level foundation.
To save money on materials, consider buying in bulk or using recycled or salvaged materials. For example, you could use reclaimed wood or roofing materials from a previous project.
Tools:
To build your shed, you’ll need a circular saw to cut lumber to the proper size and shape, a drill to drill holes for screws and nails, a framing nailer to quickly and easily nail together the framing for the walls and roof, a hammer to drive nails and install hardware, a level to ensure that the foundation, walls, and roof are level, and a tape measure to measure lumber and ensure that the shed is built to the correct dimensions. Finally, safety gear such as gloves, safety glasses, and ear protection is crucial to protect against injuries.
While some of these tools can be expensive, consider borrowing or renting them if you don’t already own them. Additionally, you can often find used tools for sale at a lower cost than buying new.
Overall, choosing the right materials and tools is crucial to building a cheap storage shed that will last. By choosing affordable materials and finding ways to save money on tools, you can build a shed that is both functional and budget-friendly.
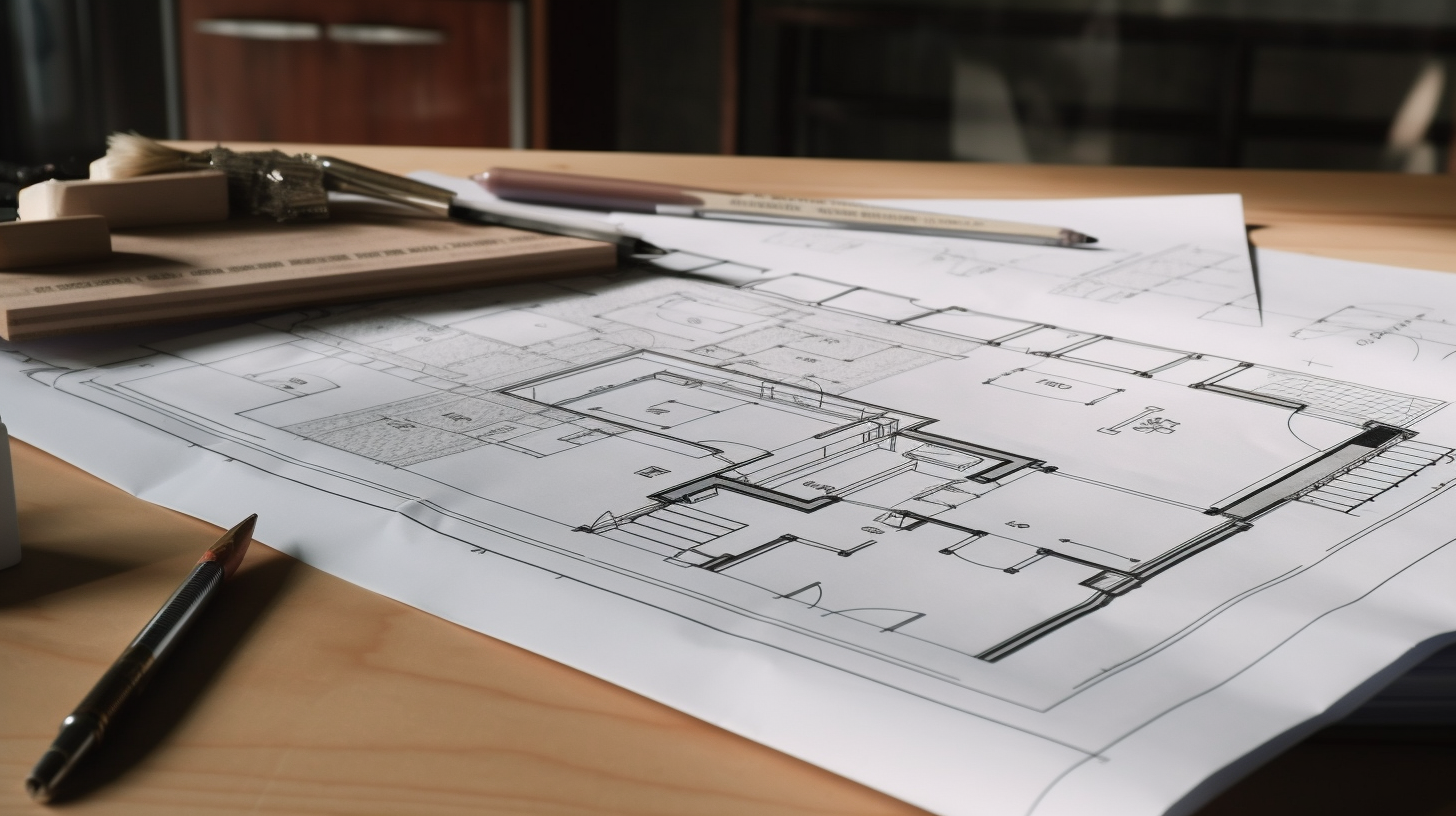
Planning and Preparation
Now that you have your shed plan from DIY-Plans.com and you’ve gathered your materials and tools, it’s time to do some planning and preparation before you start building. Have done this several times, I know that taking the time to plan and prepare can save you time, money, and frustration in the long run.
Location:
The first step in planning your shed build is to choose the right location. Consider factors such as the slope of the land, proximity to trees or other structures, and accessibility. You’ll want to choose a location that is level, has good drainage, and is easily accessible.
Permits:
Before you start building, make sure to check with your local building department to see if you need any permits or approvals for your shed. Depending on where you live, you may need a building permit or a zoning variance. Don’t skip this step, as failing to obtain necessary permits can result in fines or even having to tear down your shed.
Foundation:
The DIY-Plans show you how to build with skids as a foundation. This give you the ability to move the shed if needed or you can put a more permanent foundation in later. Once you’ve chosen your location and obtained any necessary permits, it’s time to lay the foundation for your shed. There are different types of foundations you can use, including concrete slabs, pier and beam foundations, and gravel. Choose the type of foundation that fits your budget and your specific needs. Make sure that your foundation is level and properly supports the weight of your shed.
Materials:
Before you start building, make sure that you have all the materials you’ll need on hand. Refer to the materials list provided with your shed plan and make sure that you’ve purchased all the necessary materials. This will help you avoid delays and frustration during the building process.
Tools:
Make sure that all of your tools are in good working order and that you have all the necessary tools on hand. Check to see if any of your tools need new batteries, blades, or other maintenance before you start building. This will help you avoid delays and frustration during the building process.
Safety:
Finally, make sure to take all necessary safety precautions when building your shed. Wear protective gear like gloves and safety glasses, and use caution when operating power tools. Always read the instructions for your tools and follow them carefully to avoid injury.
By taking the time to plan and prepare for your shed build, you can avoid common mistakes and ensure that your shed is built to your specifications and within your budget.
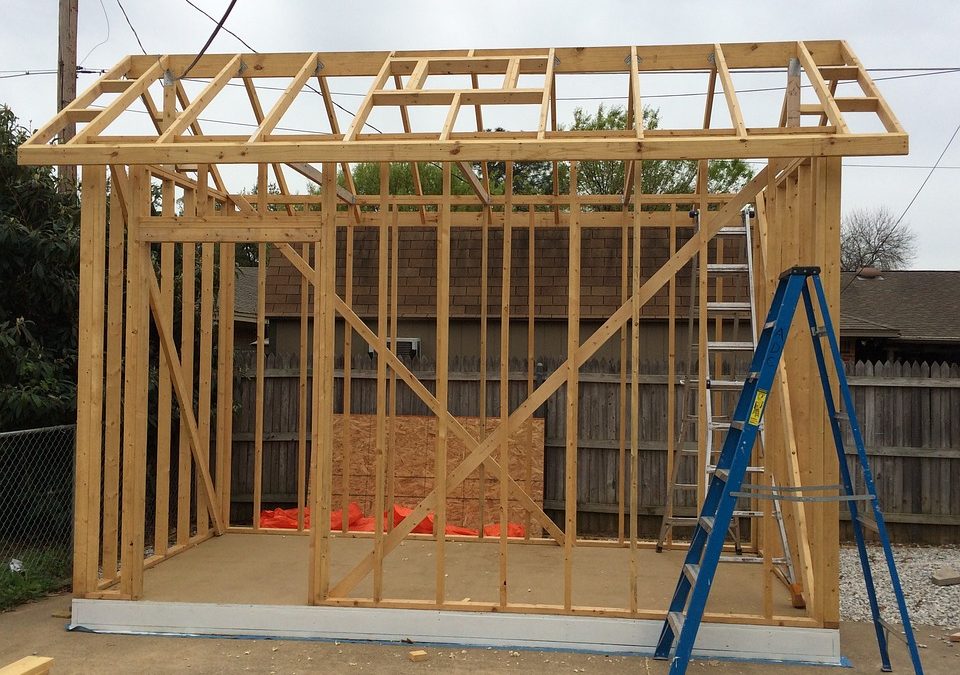
Building the Shed
Now that you’ve completed the planning and preparation for your shed build, it’s time to start building! I’ll walk you through the process of building your DIY storage shed step-by-step.
Framing the walls:
The first step in building your shed is to frame the walls. Follow the instructions provided with your shed plan to measure and cut the lumber to the correct length and shape, then use a framing nailer to nail the pieces together. Make sure that the walls are square and level.
Installing the roof:
Next, you’ll need to install the roof. Follow the instructions provided with your shed plan to measure and cut the roof rafters and install them onto the walls. Then, add the roof decking and install the roofing material of your choice.
Adding doors and windows:
Once the roof is installed, it’s time to add doors and windows. Follow the instructions provided with your shed plan to install the doors and windows securely, making sure that they open and close smoothly.
Siding and trim boards:
After the doors and windows are installed, it’s time to add siding and trim boards to the exterior of the shed. Follow the instructions provided with your shed plan to measure and cut the siding and trim boards, then nail them into place.
Floor:
Finally, it’s time to add the floor to your shed. Follow the instructions provided with your shed plan to measure and cut the floor joists and decking, then install them onto the foundation. Make sure that the floor is level and secure.
Remember to take your time when building your shed and follow the instructions provided with your shed plan carefully. Don’t rush the process, as mistakes can be costly and time-consuming to fix. By following the instructions and taking care to ensure that everything is level and square, you can build a high-quality shed that will last for years to come.
Finishing Touches
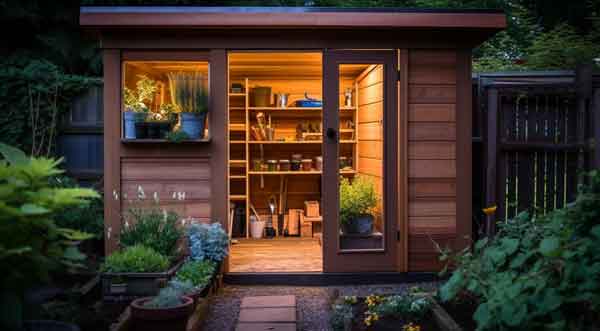
Now that you’ve built your cheap storage shed using DIY-Plans.com and your construction expertise, it’s time to add some finishing touches to make it functional and attractive. Here are some ideas for finishing touches that can make your shed stand out:
Shelves and hooks:
Adding shelves and hooks to your shed can help you organize your tools and equipment, making it easier to find what you need when you need it. You can buy pre-made shelves and hooks or make your own using scrap lumber and hardware.
Lighting:
Adding lighting to your shed can make it easier to work in at night and give it a more welcoming feel. You can use battery-operated or solar-powered lights to save on electricity costs.
Paint or stain:
Adding a coat of paint or stain to the exterior of your shed can protect it from the elements and give it a more polished look. Choose a color that complements your home or property and make sure to use a high-quality paint or stain that will last.
Landscaping:
Finally, consider adding landscaping around your shed to make it blend in with your property. You can plant shrubs, flowers, or other plants around the perimeter of the shed or create a small garden nearby.
Remember, the finishing touches you add to your shed are up to you and should reflect your personal style and needs. By adding these touches, you can make your shed more functional and attractive, while also increasing its value.
Conclusion:
Building a storage shed with the least amount of money possible using DIY-Plans.com can give you great satisfaction. Using your construction expertise is a great way to add extra storage space to your property without breaking the bank. By choosing affordable materials, borrowing or renting tools, and following the instructions provided with your shed plan, you can build a high-quality shed that will last for years to come. And by adding finishing touches like shelves, lighting, and landscaping, you can make your shed even more functional and attractive. So what are you waiting for? Get building and enjoy your new storage space!
Design Options
Determine what type of shed works best for you

Next Step
Finish your shed for a She Shed, Office, Shop or Backyard Bedroom


