Shed Building Basics
Getting StartedPreparing Before Ordering Materials
Embarking on a DIY shed building project is an exciting endeavor. However, before you dive headfirst into ordering materials, there are essential steps to take to ensure a smooth and successful build. This article serves as the first in a series of nine, guiding you through the shed building process from start to finish.
The Importance of a Solid Plan
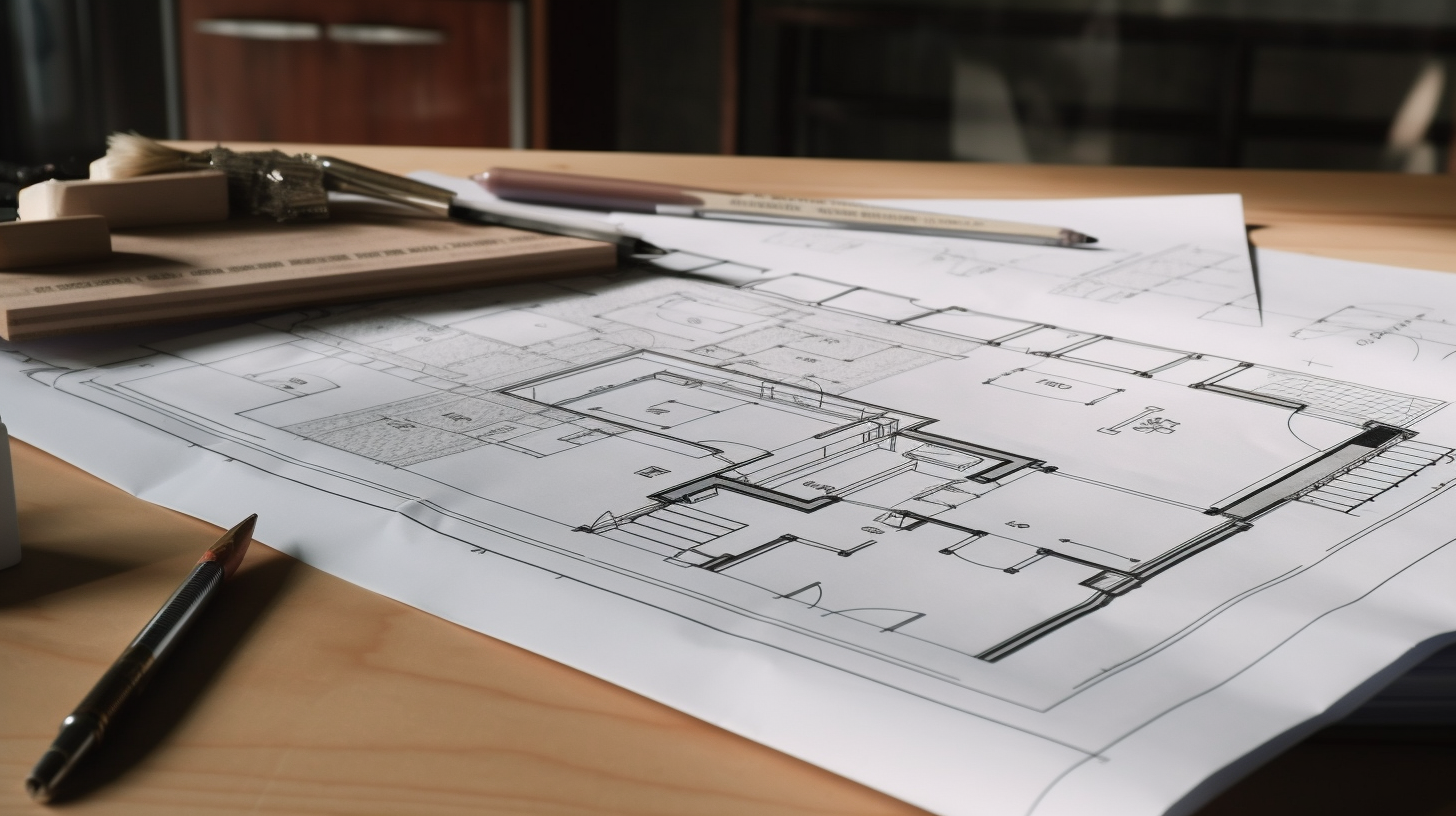
First and foremost, it’s absolutely essential to have a solid plan in place. This is where DIY-Plans.com comes into play. Offering a wide range of comprehensive shed building plans, you can find a design that suits your specific needs and preferences. Each plan provides a detailed list of materials, saving you the headache of figuring out what you need to order. Furthermore, these plans offer step-by-step instructions, ensuring you have a clear roadmap to follow throughout the building process. Having a well-structured plan not only simplifies the building process but also helps avoid costly mistakes and oversights.
Checking Local Regulations
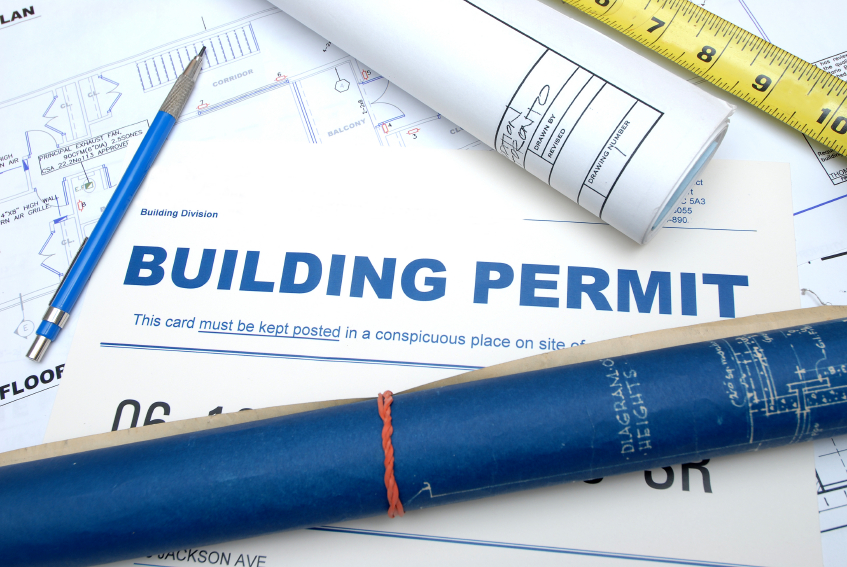
Now that you have an idea of what you want, it’s time to look into local building codes and permits. These regulations help ensure that structures like sheds are built safely and in line with community standards.
- Check with your city or county’s building department for rules about sheds in your area. Some places have size limits or require specific materials.
- You might need a permit before you can start building. If you’re unsure, ask your local building department. They’ll guide you through the process if needed.
It’s essential to follow local rules, as ignoring them could lead to fines or even having to tear down your shed.
Choosing the Right Site
Choosing the right site for your shed is more than just finding a spot where it fits. It’s about considering various factors that can impact the functionality, longevity, and aesthetics of your shed.
Firstly, avoid low-lying areas where water tends to collect. These areas are prone to flooding, which can damage your shed and its contents. Similarly, areas deep in the woods may not be ideal due to the risk of falling branches and limited sunlight.
The site should be level to ensure the stability of your shed. Building on uneven ground can lead to structural issues over time, such as warping or cracking. If your chosen site is not level, you may need to invest time and resources into leveling it before you start building.
Space is another important consideration. Ensure there’s enough room not only for the shed but also for your work area during construction. Additionally, consider whether you’ll have enough space to easily move around the shed once it’s built.
The location of your shed can also greatly impact its functionality. For instance, if you’re building a garden shed, you might want it near your garden. If it’s a tool shed, closer to your house might be more convenient.
Choosing the right site can also enhance the aesthetics of your shed. Consider how the shed will look in relation to other structures in your yard. Will it be visible from the street? How will it look from your house? A well-placed shed can enhance the overall appeal of your yard.
Lastly, consider factors like sunlight exposure and accessibility. If you plan to work in your shed, natural light can be a boon. Accessibility is crucial too, especially if you plan to store large items like lawnmowers in your shed.
In conclusion, a well-chosen site can enhance the usability, longevity, and aesthetics of your shed. It can prevent future problems and additional costs, making your shed project a more enjoyable and rewarding experience.
Gathering Tools and Equipment
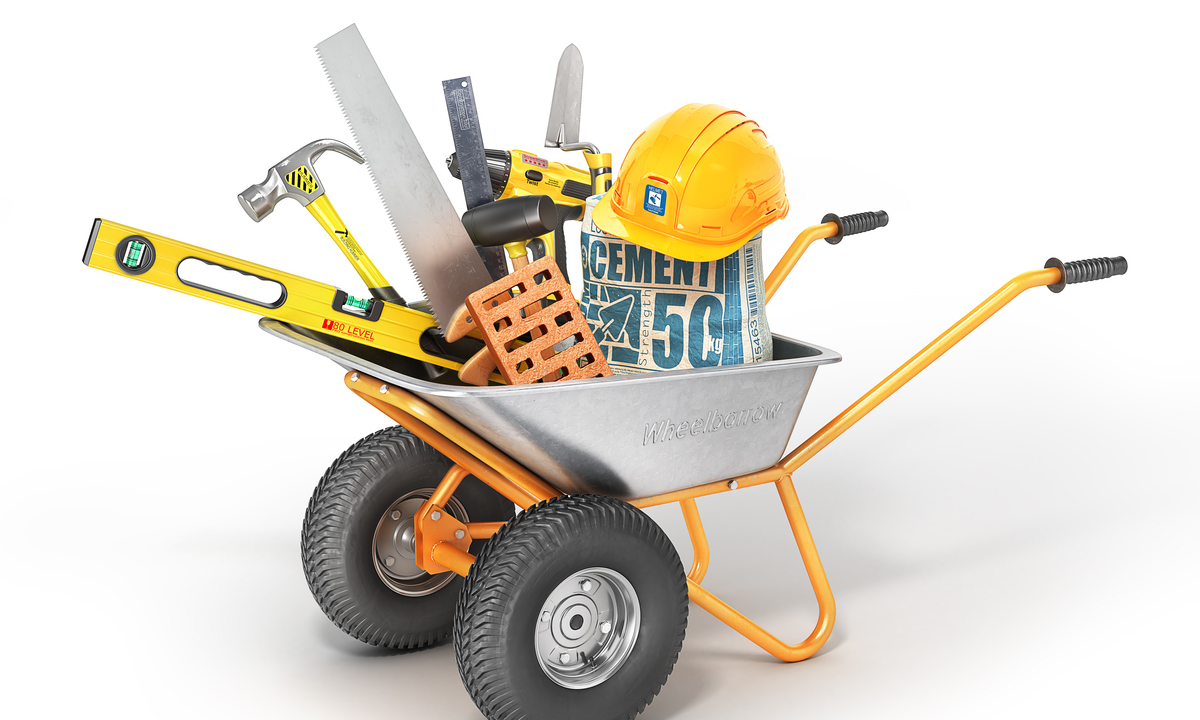
Building a shed requires a variety of tools, each serving a specific purpose in the construction process. Here’s a list of essential tools you’ll need and why they’re important:
- Tape Measure: This is crucial for accurate measurements. From measuring the area for your shed to sizing lumber, a tape measure is a tool you’ll constantly use.
- Level: A level ensures your shed is perfectly horizontal and vertical during construction. This is important for the stability and appearance of your shed.
- Hammer: A basic tool for any construction project, a hammer is used for driving nails, fitting parts together, and breaking things apart.
- Screwdriver or Drill: These tools are used for driving screws. A power drill can also be used for making holes.
- Saw: You’ll need a saw for cutting lumber to the right sizes. A circular saw is a good choice for larger projects like a shed.
- Shovel: If you need to level the ground or dig holes for a foundation, a shovel is necessary.
- Pliers: Pliers are useful for holding objects firmly when you need to manipulate them. They can also be used for bending or cutting wires.
- Utility Knife: A utility knife is handy for cutting material like roofing felt or opening packages.
- Ladder: Depending on the height of your shed, a ladder may be necessary for tasks like installing the roof.
- Carpenter’s Square: This tool helps ensure corners are square and components are aligned correctly.
- Safety Gear: Safety should always be a priority. This includes safety glasses to protect your eyes from flying debris, work gloves to protect your hands, and sturdy boots to protect your feet.
Having the right tools at your disposal can make the building process much more efficient and enjoyable. Additionally, ensure your tools are in good working condition before starting the project. A well-prepared toolbox can significantly streamline the building process.
Weather Climate Factors
When placing a shed in your yard, consider these weather and climate factors:
- Drainage: Choose a location with good drainage to keep the shed dry and protect its foundation.
- Wind exposure: Position the shed in a sheltered spot to reduce wind damage and improve stability.
- Sun exposure: Consider sunlight for workspace lighting or shade for temperature-sensitive items.
- Plant growth: Be mindful of the shed’s shade on nearby plants, relocating the shed or plants if needed.
- Snow accumulation: In snowy areas, pick a location that allows for easy snow removal and reduces roof damage risk.
- Flood risk: Avoid low-lying, flood-prone areas; opt for elevated or well-draining locations.
By considering these factors, you can ensure your shed remains safe, functional, and long-lasting.

Spacing & Setbacks
When building a shed, consider spacing and setbacks for compliance with local regulations and adequate access:
- Local codes and regulations: Check with your local building department for specific shed spacing and setback requirements.
- Property lines: Accurately identify property lines to avoid disputes and legal issues.
- Access and maintenance: Leave enough space around your shed for easy access and maintenance tasks.
- Utility lines and easements: Be aware of underground and overhead utility lines or easements, avoiding building in these areas.
- Fire safety: Follow any fire safety regulations regarding the minimum distance between structures.
- Aesthetics and functionality: Consider how the shed’s placement affects your yard’s appearance and functionality.
By considering spacing and setbacks, you can ensure your shed complies with regulations and allows for easy access and maintenance.
Ask The Inspector: Local Code
When building a shed, it’s essential to consult with a city building inspector to ensure that your project complies with local codes and regulations. Here are some aspects to consider when talking to a building inspector:
- Obtain necessary permits: Ask the building inspector about the required permits for constructing a shed on your property. Permits may vary depending on the shed’s size and purpose.
- Understand zoning regulations: Discuss any zoning regulations that may apply to your shed project, such as setbacks, height restrictions, or specific design requirements.
- Learn about building codes: Inquire about local building codes relevant to your shed, including structural requirements, foundation types, and materials that must be used.
- Discuss utility lines and easements: Consult with the inspector about any utility lines or easements on your property that could impact your shed’s placement.
- Fire safety and drainage: Ask about any fire safety regulations or drainage requirements that may apply to your shed project.
- Inspection process: Learn about the inspection process, including the stages at which inspections may be required, and how to schedule them.
By discussing these aspects with a city building inspector, you can ensure that your shed project complies with local codes and regulations and avoid potential issues in the future.

Public Utilities and Easements
Calling 811 for Public Utilities and Easements
Before starting your shed project, make sure to call 811, a free nationwide service that connects you to your local public utilities. They will inform you about any buried pipes or cables in the area where you plan to build your shed. This service helps you avoid expensive disruptions if you accidentally damage their lines. Additionally, it’s essential to know or determine the exact location of your property lines.

