Frame the Shed Wall
If you’re planning to build a new wall in your house, you may wonder how to frame it properly. Framing a 2×4 wall can be a bit challenging if you’re not familiar with the process. However, with the right tools, materials, and some basic knowledge, you can easily frame a 2×4 wall. In this article, we’ll guide you step by step on how to frame a 2×4 wall with 16″ on center (oc) spacing, without any window or door. Let’s get started!
Measure and Mark the Wall
Measure the length and height of the wall where you want to frame it. Using a measuring tape, mark the top and bottom plates of the wall based on your measurements. Make sure the plates are straight and level.
Cut the Top and Bottom Plates
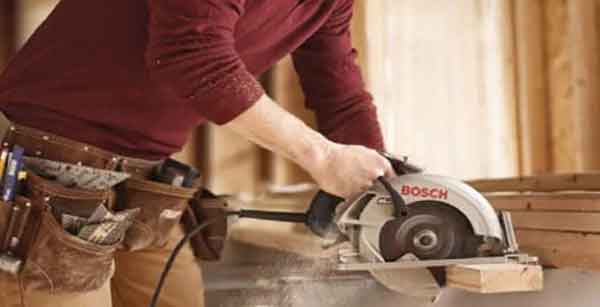
Using a circular saw or hand saw, cut the top and bottom plates based on your measurements. Make sure the cuts are straight and smooth.

Mark the Studs on the Plates
Using a measuring tape, mark the location of each stud on both the top and bottom plates. The standard spacing for studs is 16″ on center. Measure from the center of one stud to the center of the next.
Cut the Studs
Using a circular saw or hand saw, cut the studs based on the height of the wall. Make sure the cuts are straight and smooth.
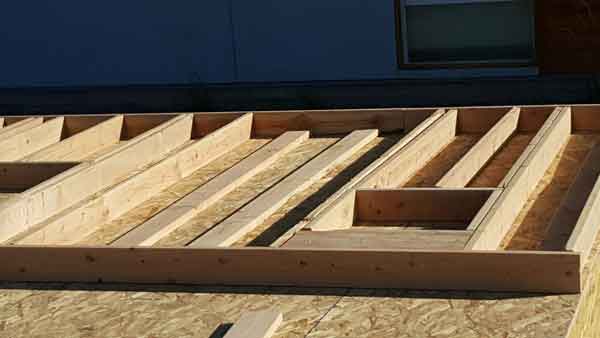
Nail or screw the floor joists to the rim joists to form the floor frame, making sure they are flush with the top edges of the rim joists.
If required by your shed plans, install additional support in the form of blocking or bridging between the floor joists for extra stability.
Check the floor frame for squareness:
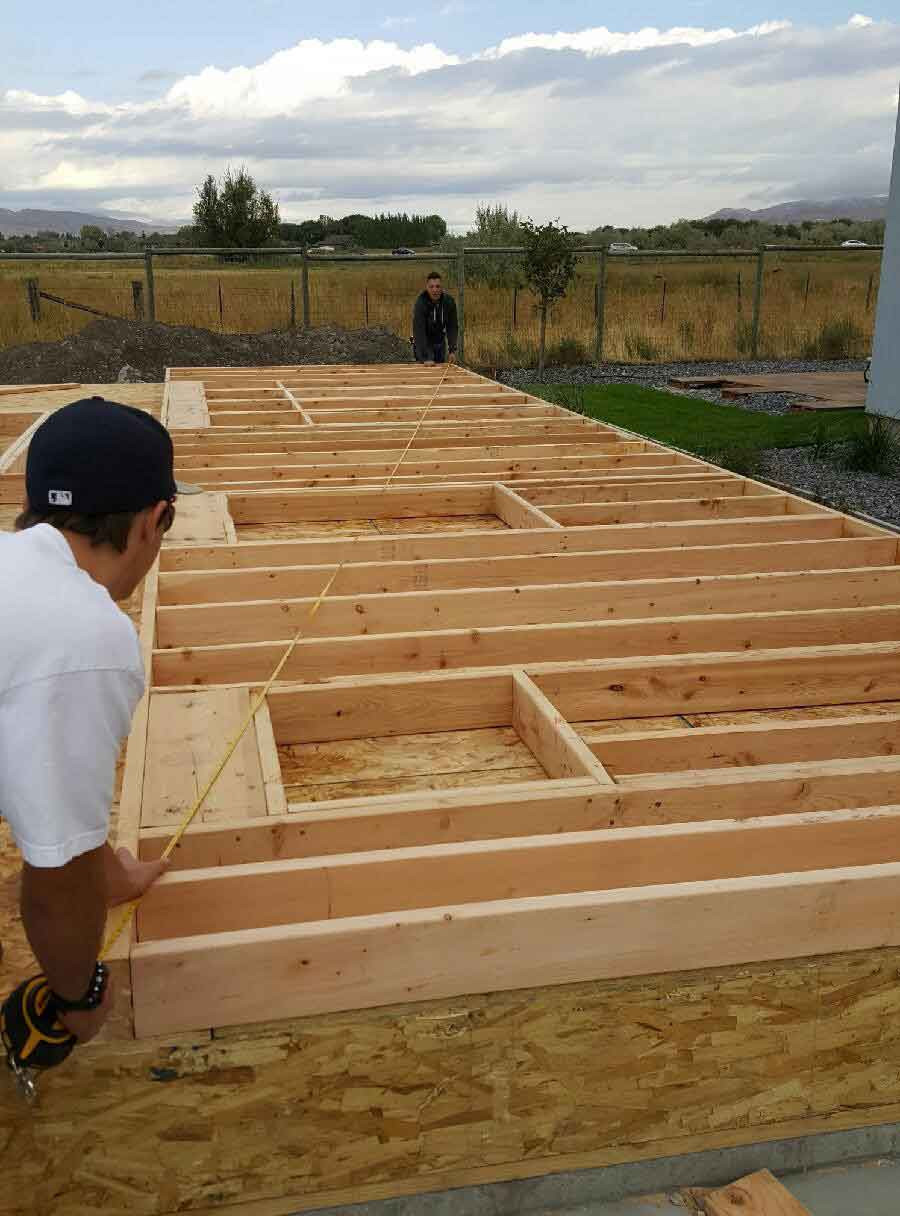
Measure the diagonals of the floor frame using a measuring tape. If the diagonal measurements are equal, the frame is square. If not, make adjustments by applying pressure on the longer diagonal or shifting the frame’s corners until the diagonal measurements are equal.
Assemble the Frame
Lay the bottom plate on the ground and place the studs on top of it, making sure they are lined up with the marks on the plate. Then, place the top plate on top of the studs and line it up with the bottom plate. Use a framing hammer or nail gun to attach the studs to the plates.
Install the Frame (and Use a Support Brace)
Once you have assembled the frame, lift it up and place it in the location where you want to install it. Make sure it is level and plumb. You may need someone to help you hold it in place while you secure it.
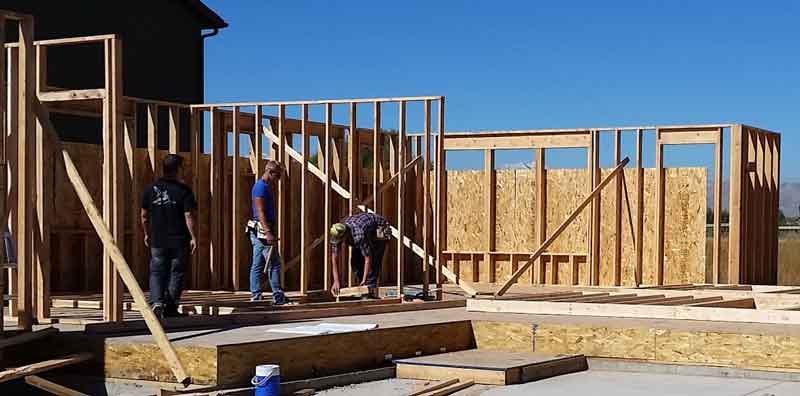
To help maintain plumb and level, you can use a support brace. A support brace is a temporary diagonal brace that is attached to the floor and the top plate of the wall frame. It helps to keep the wall frame in the correct position while you secure it. To attach the support brace, place it at a diagonal angle across the wall frame and secure it to the floor using screws or bolts. Then, secure the top of the support brace to the top plate of the wall frame using nails or screws. Once the wall frame is secured, you can remove the support brace.
Secure the Frame
Using a framing hammer or nail gun, attach the frame to the existing structure of the house. If there is no existing structure, you can attach the frame to the floor using screws or bolts.
To ensure that the wall is straight and not bowed, you can use a string to guide the placement of the studs. Attach a string to the top plate of the wall frame at one end and stretch it to the other end of the wall. Make sure the string is level and straight. Then, use the string as a guide to position each stud in the wall frame. This will help ensure that the studs are straight and the finished wall is not bowed.
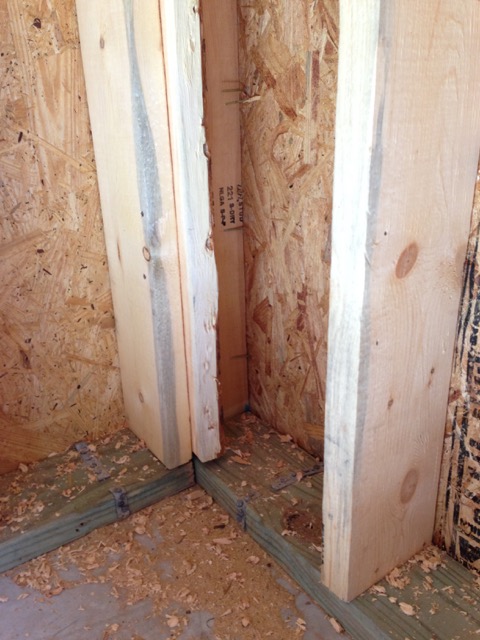
To stabilize the wall, it’s important to attach the wall corners together. To do this, install the first wall frame and then install the second wall frame perpendicular to it. The two wall frames should meet at a corner. Once the walls are up on the double top plate, use a framing square to make sure the corner is at a 90-degree angle. Then, use nails or screws to attach the two wall frames together at the corner. Repeat this process for any other corners in the wall. Attaching the wall corners together will help to stabilize the wall and keep it from shifting or moving.
Once the wall frame is complete, use a level to check that it is straight and plumb. Make any necessary adjustments before moving on to the next steps.
Chapter 7
Framing the Windows And Doors

chapter 8
Framing the Shed Roof System

chapter 9
Roofing the Shed


