Clearing, Leveling, and Measuring
Properly preparing your lawn for placing a storage shed is essential to ensure a stable, long-lasting structure that will serve you well for years to come. Here’s a comprehensive, step-by-step guide to help you with site preparation
Choose the location: Begin by selecting the ideal spot for your shed, taking into account factors like accessibility, sunlight exposure, drainage, and any local regulations for setbacks and spacing. Consider how the shed’s location will impact your overall backyard layout and whether it will blend well with the surrounding landscape.
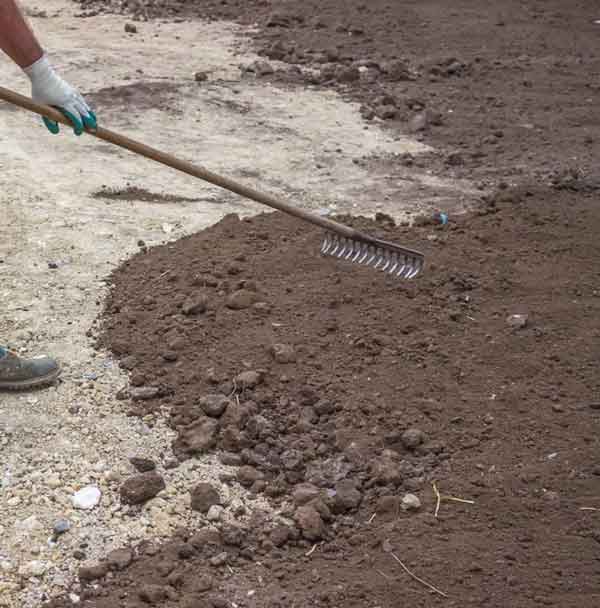
Clear the area: Thoroughly remove any grass, plants, rocks, or debris from the selected site. Be cautious of any utility lines or underground pipes in the area. Call 811 or your local utility company to have these lines marked before you begin clearing. This step will ensure you avoid any damage to essential utility lines during the site preparation process.


Create a level surface: Use a long, straight board and a level to check for unevenness in the ground. Identify high and low spots in the area. Remove soil from high spots and fill in low spots with dirt or gravel to create an even surface. Compact the soil with a hand tamper or a rented compactor to create a stable foundation for your shed. Properly leveling the ground will help prevent issues like water pooling or an unstable shed structure.
Measure the shed dimensions: Based on the shed plans, measure and mark the exact dimensions of your shed’s footprint using stakes and string. Ensure that the marked area is square by measuring diagonals between opposite corners. Adjust the stakes and strings if necessary until both diagonals are equal in length. Accurate measurements are critical for a successful shed installation.
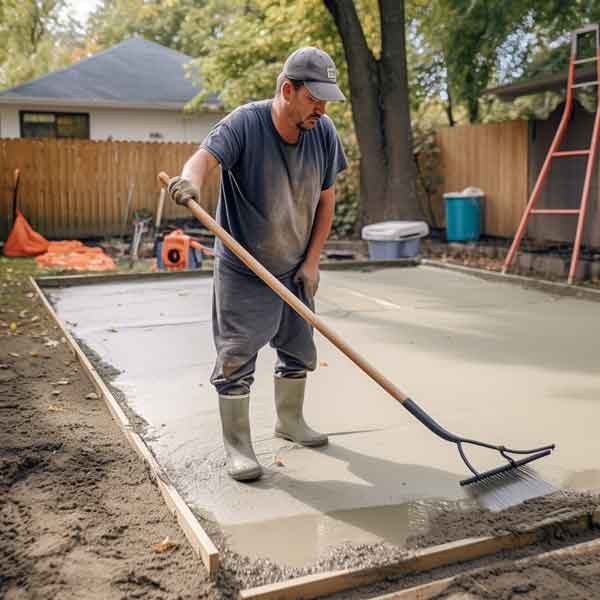
Install the foundation: Depending on the type of shed and local building codes, you may need to install a foundation, such as a concrete slab, gravel pad, or wood frame. Excavate the area, if necessary, and install the appropriate foundation, ensuring it’s level and square. A solid foundation will provide the necessary support for your shed and help it withstand various weather conditions.


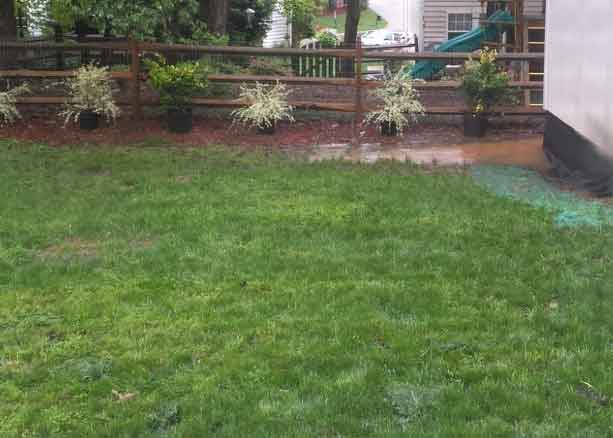
Check drainage: To avoid water pooling around your shed or causing potential damage to the structure, make sure the site has proper drainage. Slope the ground away from the shed’s foundation or install a drainage system, like a French drain or swale, to direct water away from the structure. Good drainage will help maintain the integrity of your shed’s foundation and prevent issues like rot or mold growth.
Verify measurements: Before proceeding with the shed construction, double-check the measurements of the cleared, leveled area and the foundation to ensure they match your shed plans. Make any necessary adjustments to avoid complications during the building process. Taking the time to verify measurements will save you time and effort in the long run.
Chapter 5
Framing the Shed Floor
chapter 6
Framing the Shed Wall
chapter 7
Framing the Shed Window / Door


