Frame the Shed Floor
In this chapter, we’ll focus on gathering the necessary materials for your shed project and constructing the shed floor. A well-built floor is essential for a stable, long-lasting shed.
Gather materials and tools: Start by collecting all the necessary materials specified in your shed plans, such as lumber, screws, nails, brackets, and floor sheathing. Prepare the required tools, including a circular saw, hammer, drill, level, measuring tape, and carpenter’s square.
Cut the lumber: Based on your shed plans, cut the lumber to the required lengths and angles for the floor joists, rim joists, and skids. Label each piece to avoid confusion during assembly.

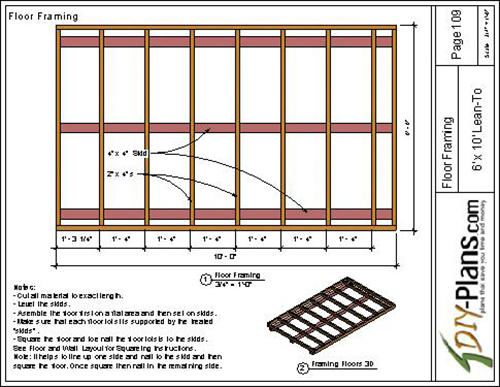
Assemble the floor frame:
Lay out the rim joists on a flat, level surface, with the floor joists placed evenly between them according to the spacing specified in your shed plans. Typically, floor joists are spaced 16 or 24 inches apart.
Use a level to confirm everything is straight.
Nail or screw the floor joists to the rim joists to form the floor frame, making sure they are flush with the top edges of the rim joists.
If required by your shed plans, install additional support in the form of blocking or bridging between the floor joists for extra stability.
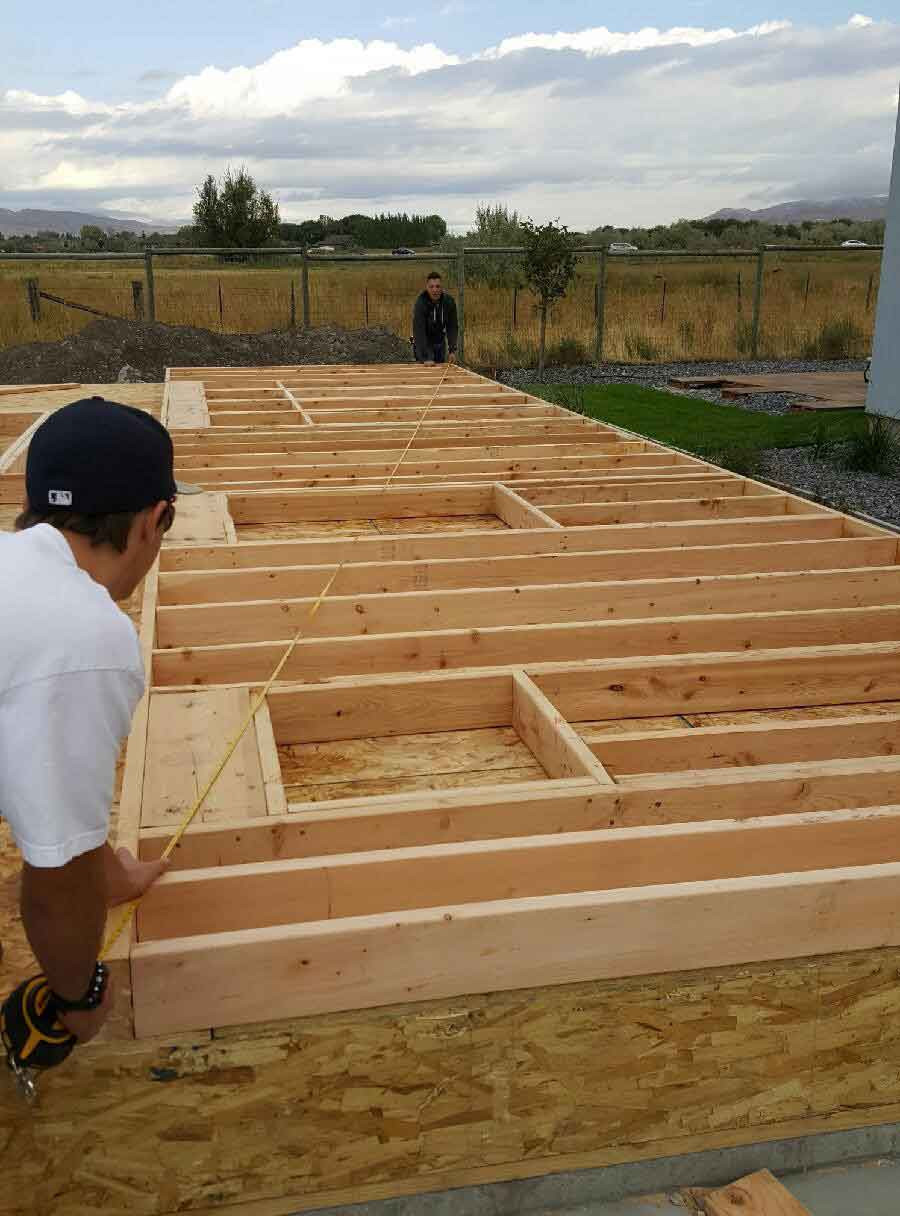
Check the floor frame for squareness:
Measure the diagonals of the floor frame using a measuring tape. If the diagonal measurements are equal, the frame is square. If not, make adjustments by applying pressure on the longer diagonal or shifting the frame’s corners until the diagonal measurements are equal.
Attach the floor frame to the skids:
Place the assembled floor frame onto the leveled skids or foundation, ensuring the frame is properly aligned with the skids.
Check the floor frame for levelness and make any necessary adjustments.
Secure the floor frame to the skids using screws or nails, or by using metal brackets or hangers for added strength.
Install the floor sheathing:
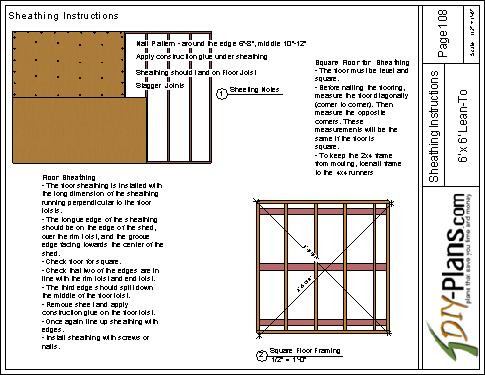
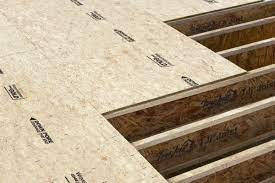
Lay out the plywood or OSB (oriented strand board) sheathing on top of the floor frame, ensuring that the sheathing edges are aligned with the floor joists.
Stagger the seams of the sheathing for added strength and stability, and leave a small gap (about 1/8 inch) between the panels for expansion.
Attach the sheathing to the floor frame using screws or nails, spaced evenly (usually every 6 to 8 inches) along the floor joists. Follow the sheathing manufacturer’s recommendations for fastener spacing.
Chapter 6
Framing the Shed Wall
chapter 7
Framing Shed Windows and Doors

chapter 8
Framing The Shed Roof System


